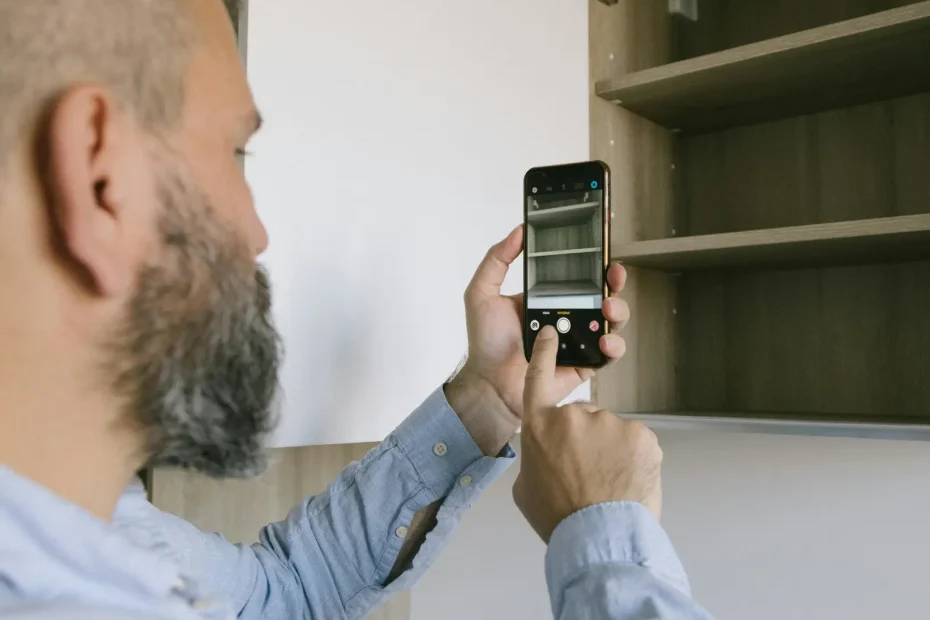
One unclear photo can turn a simple repair into a drawn-out guessing game for everyone involved. Taking three clear photos and preparing the appliance properly lets you cut out the back-and-forth, pinpoint the fault quickly and set realistic expectations for repair or sale.
This guide shows you how to identify a fault and prepare the appliance, take wide, close-up and context shots, and document, annotate and share the evidence. Follow these steps to produce clear, usable images that help repairers diagnose the issue more quickly and provide sellers with verifiable proof of the appliance’s condition.
1. Find the fault and prepare the appliance for repair
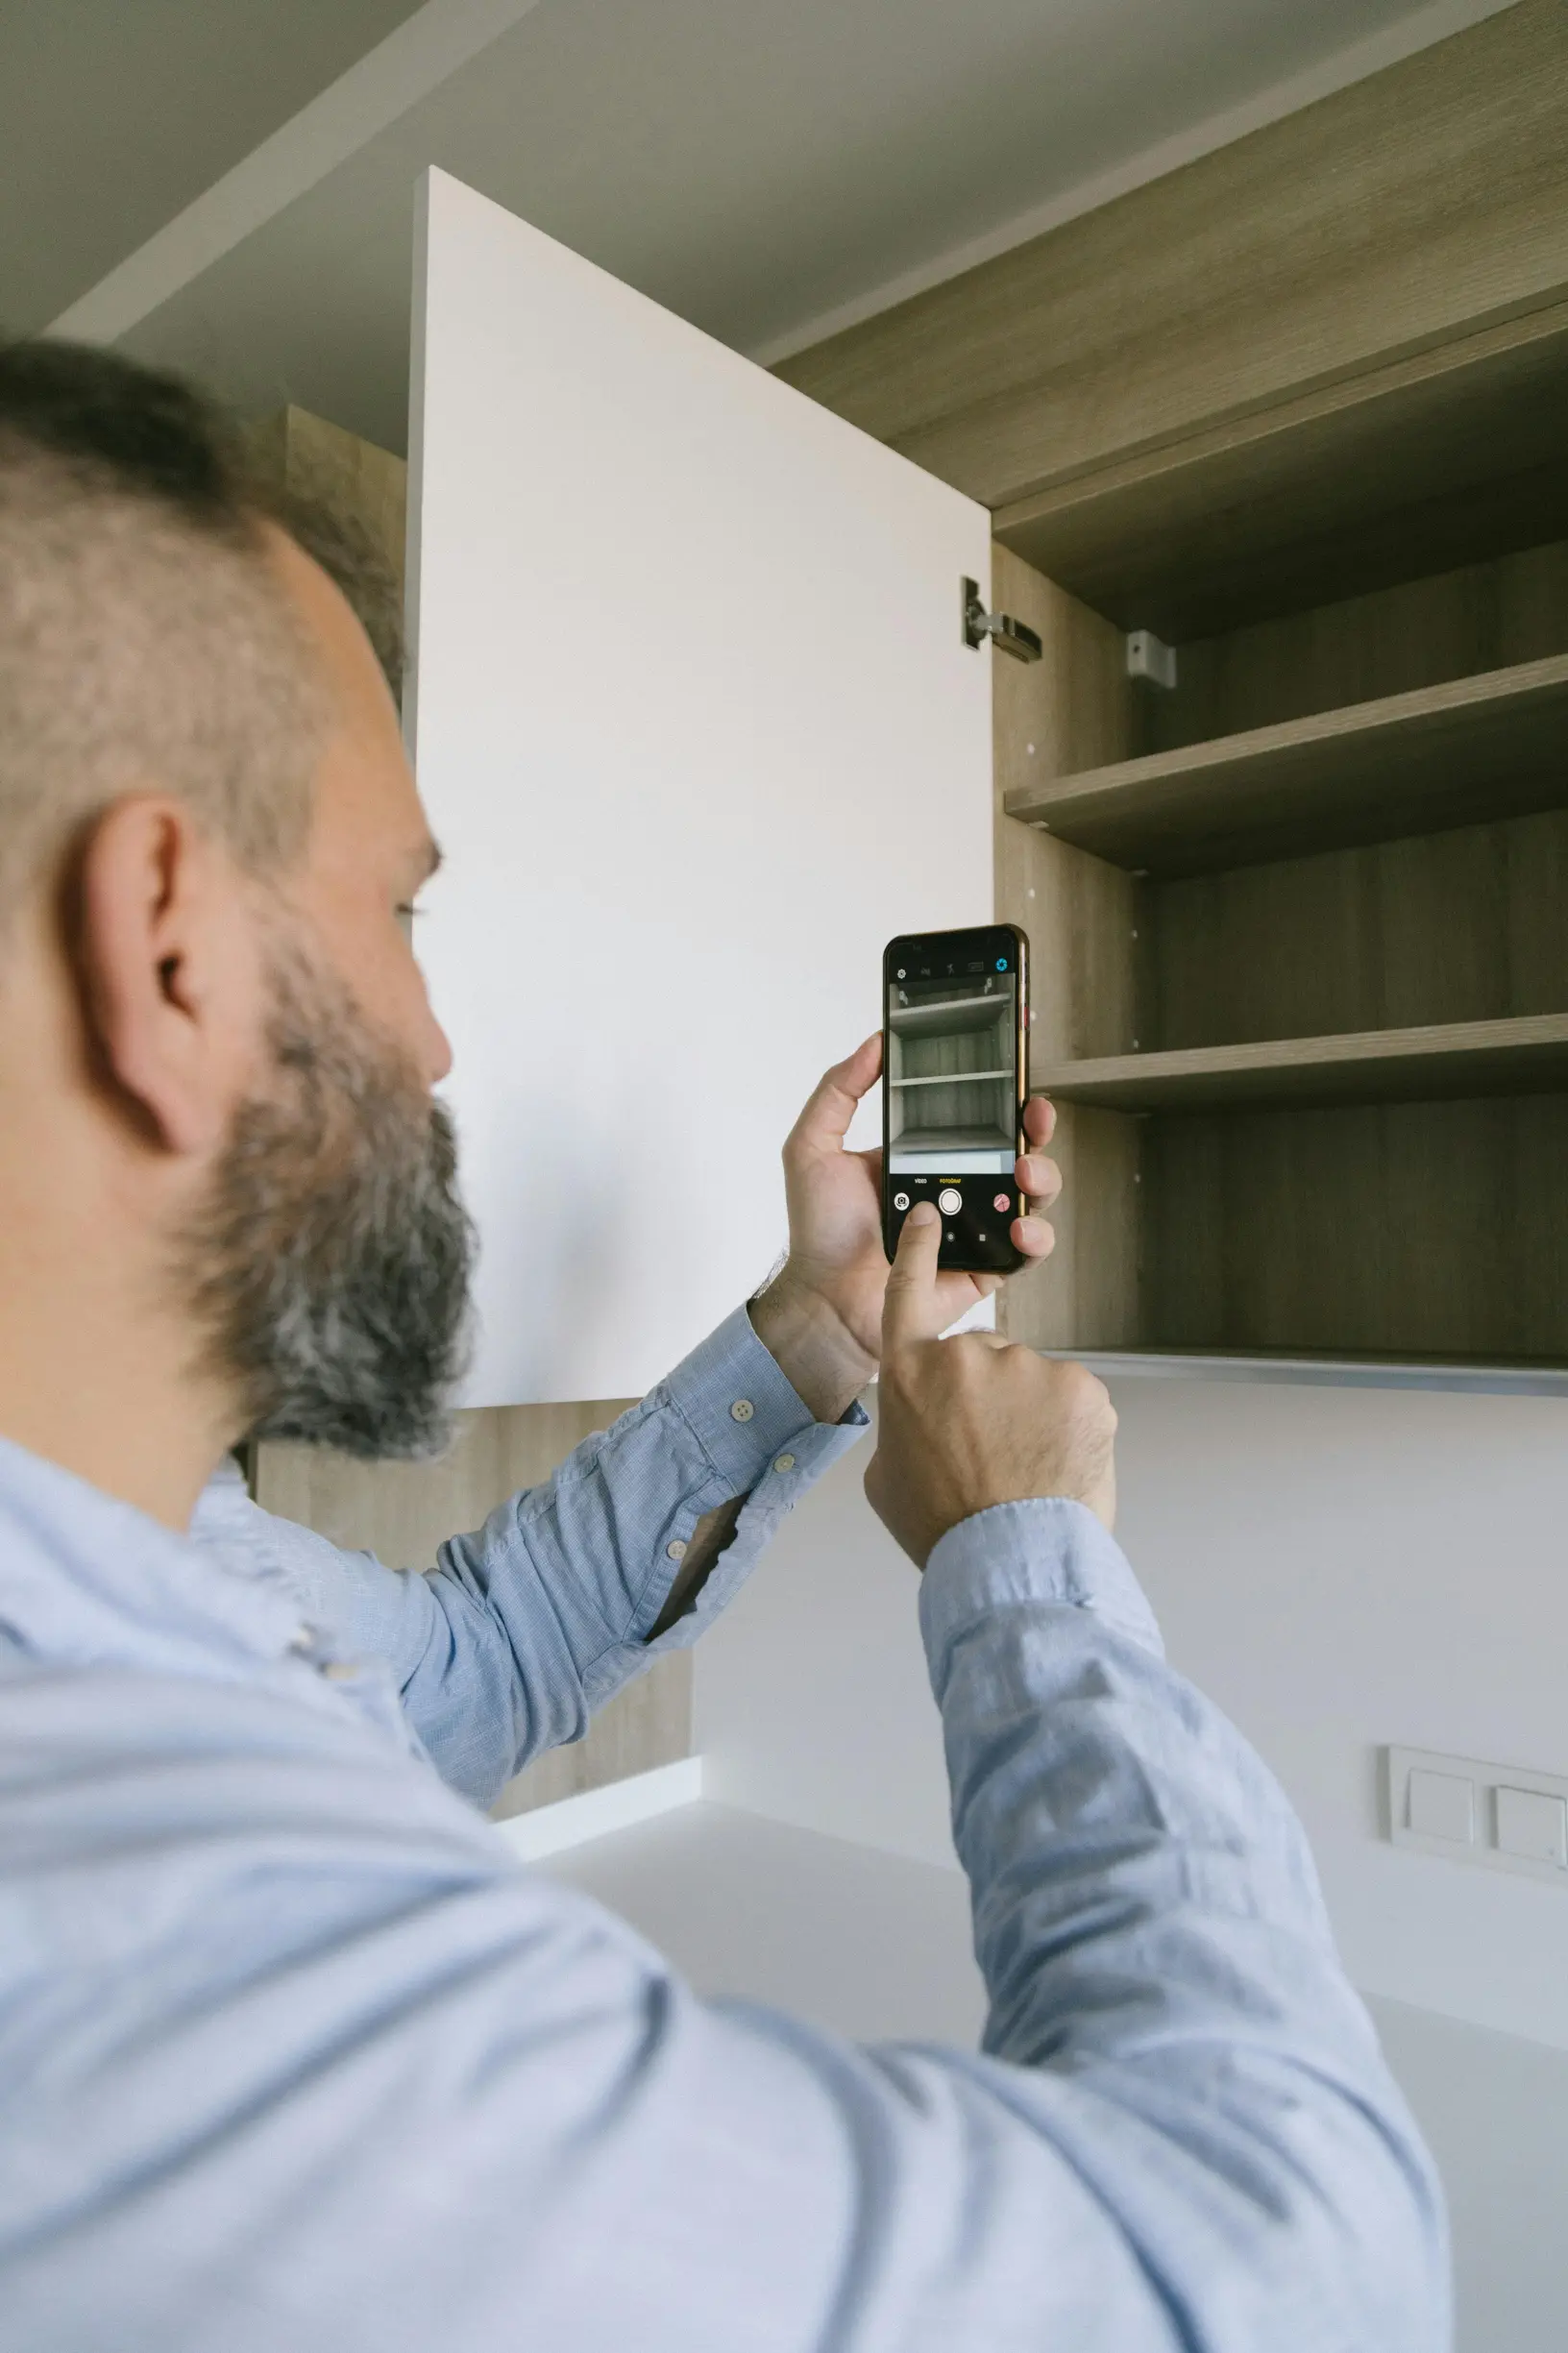
To help the repairer diagnose the fault more quickly, take three photographs: a wide shot showing the appliance in its setting, a mid shot focusing on the affected area, and a close-up of the visible fault. Name the files so the sequence is preserved and the repairer sees context before detail. If the symptom is intermittent or moving, record a short video showing the exact motion, leak or noise, and capture several repeat cycles so the repairer can judge frequency and severity. Clear away loose items and wipe off surface grime, and include a separate, sharp photograph of the model and serial plate to ensure the appliance is correctly identified.
If you need to show a fault to a repairer, clear photos and a short video can save time and visits. Try these simple steps:
– With the appliance switched on, take close-up photos of any error codes or illuminated indicators so the fault is visible.
– Where it is safe to do so, switch the appliance off and isolate the power, then photograph internal components. This helps distinguish electrical problems from mechanical ones.
– Include a scale reference, such as a ruler, a coin or your hand, so the size of parts is clear.
– Photograph surrounding connections, hoses and the cabinetry so a repairer can assess what access and tools will be required.
– Label and sequence the images, give the files clear names, and attach a short video if it shows the symptom clearly.
Those clear, contextual photos and clips let a repairer or seller judge severity remotely and plan the access and tools needed without unnecessary visits.

2. Take wide, close-up and context shots to tell the full story
A few clear photos will make diagnosing the fault much easier. Start with a wide shot that shows the whole appliance, its immediate surroundings and any sockets, pipe runs and floor or wall fixings so an engineer can assess installation constraints and see the fault in context. Next, take medium shots from several angles that focus on the affected area to reveal how parts connect, the mounting points, seals and gaskets, and any misalignment or corrosion that might not be obvious from a single view. Finish with a close-up in sharp focus of the actual fault, and include a common object, such as a coin or ruler, to provide scale.
If you need to show a fault or confirm compatibility, a few clear photos and a short video make life much easier. Try these simple steps:
– Photograph identification labels and serial plates clearly, avoiding glare. Also take an extra shot that shows the label in its installed position so compatibility and access can be checked.
– Record a short video or a rapid burst of stills to show the fault or any intermittent behaviour, capturing the symptom as it happens.
– Name files or add concise captions that note the angle, the condition, and whether the appliance was powered during capture so an engineer or buyer can prioritise images.
– Keep each image sharp and well lit so signs like frayed wiring, burn marks, cracks, leaks, or error lights are obvious.
A little care up front saves time later and makes it easier for whoever inspects the appliance to understand the issue.

3. How to Document, Annotate and Share Evidence Effectively
If you’re sending photos or video to help a repairer diagnose a fault, keep things clear and simple so they can see exactly what’s going on.
– Record a short video showing the fault. Narrate the exact controls or steps you used, and slowly pan to the surrounding area so the repairer can see the context and any mounting points. Try to keep the clip steady and well lit.
– Photograph any identifying marks, model and serial numbers, and labels. Take close-ups of the faulty part from several angles to show wear, damage or residue.
– Pick one photo or a single video frame to annotate with arrows, circles and short labels that point out the failure mode, any error codes, and any unusual sounds or smells you noticed.
Write one short paragraph that outlines how to reproduce the problem, the exact behaviour you observed and any safety steps you have already taken. Keep the originals and a set of clearly annotated copies, using filenames that state the appliance type, a brief fault description and the shot type, and share files in common formats. Include at least one short diagnostic measurement or a screenshot if you can. Finish by recommending a sensible next step, for example asking for an inspection, a parts check or an on-site repair, so the repairer or seller can triage the issue and respond efficiently.
A few good photos can save time and hassle by cutting out the guessing. Show the fault, how easy it is to access, and which appliance it is before anyone comes to visit. Take staged wide, mid and close shots, record a short video of the problem in action, and get a clear photo of the model and serial number plate. That gives a tradesperson or seller what they need to assess the issue and plan the work.
A quick way to help a technician or adviser is to send one annotated image or a single video frame, with a short note explaining how to reproduce the issue and any safety steps. Keep the original file alongside a clearly labelled copy so nothing gets lost. Follow a simple three-shot approach: a close-up of the fault, a wider shot showing where it sits, and a control or reference shot. Record any controls and error codes, and share concise files. This speeds up diagnosis, reduces unnecessary visits and gives both parties a verifiable record.