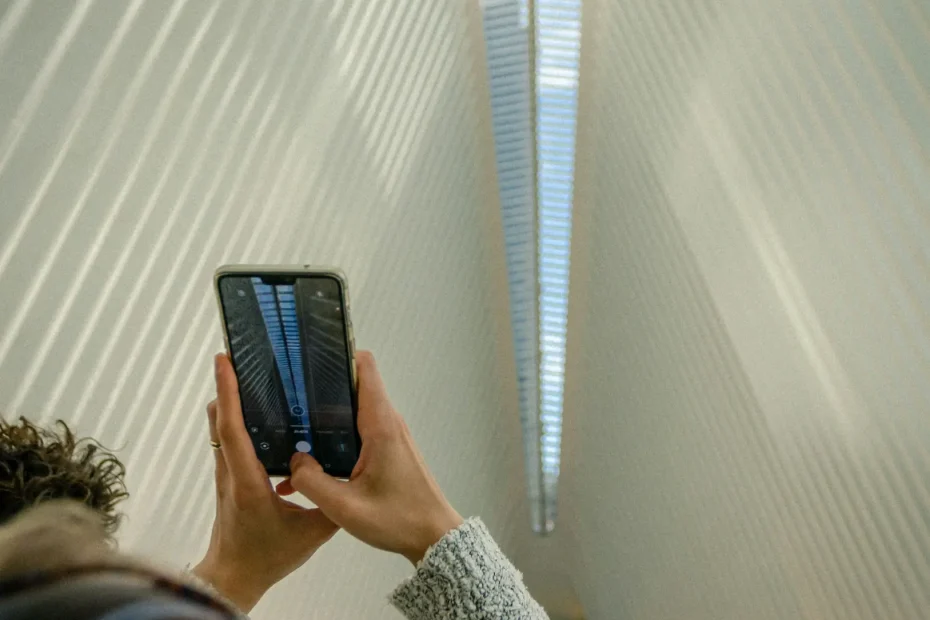
Ever had a minor fault turn into a long back-and-forth because the photos left the assessor guessing? I get it. Five deliberate shots that show the wider context, the scale and a few close-up details let a remote assessor measure, compare and prioritise the issue without extra site visits.
It helps to prepare your phone and the area before you begin. Check the lighting and adjust exposure so the true condition is visible. Take wide shots to show context, include something for scale such as a coin or ruler, and capture close-up images of any important details. Finish by noting brief, clear observations so others can judge severity and suggest sensible next steps.
1. Get your phone ready and set up the scene
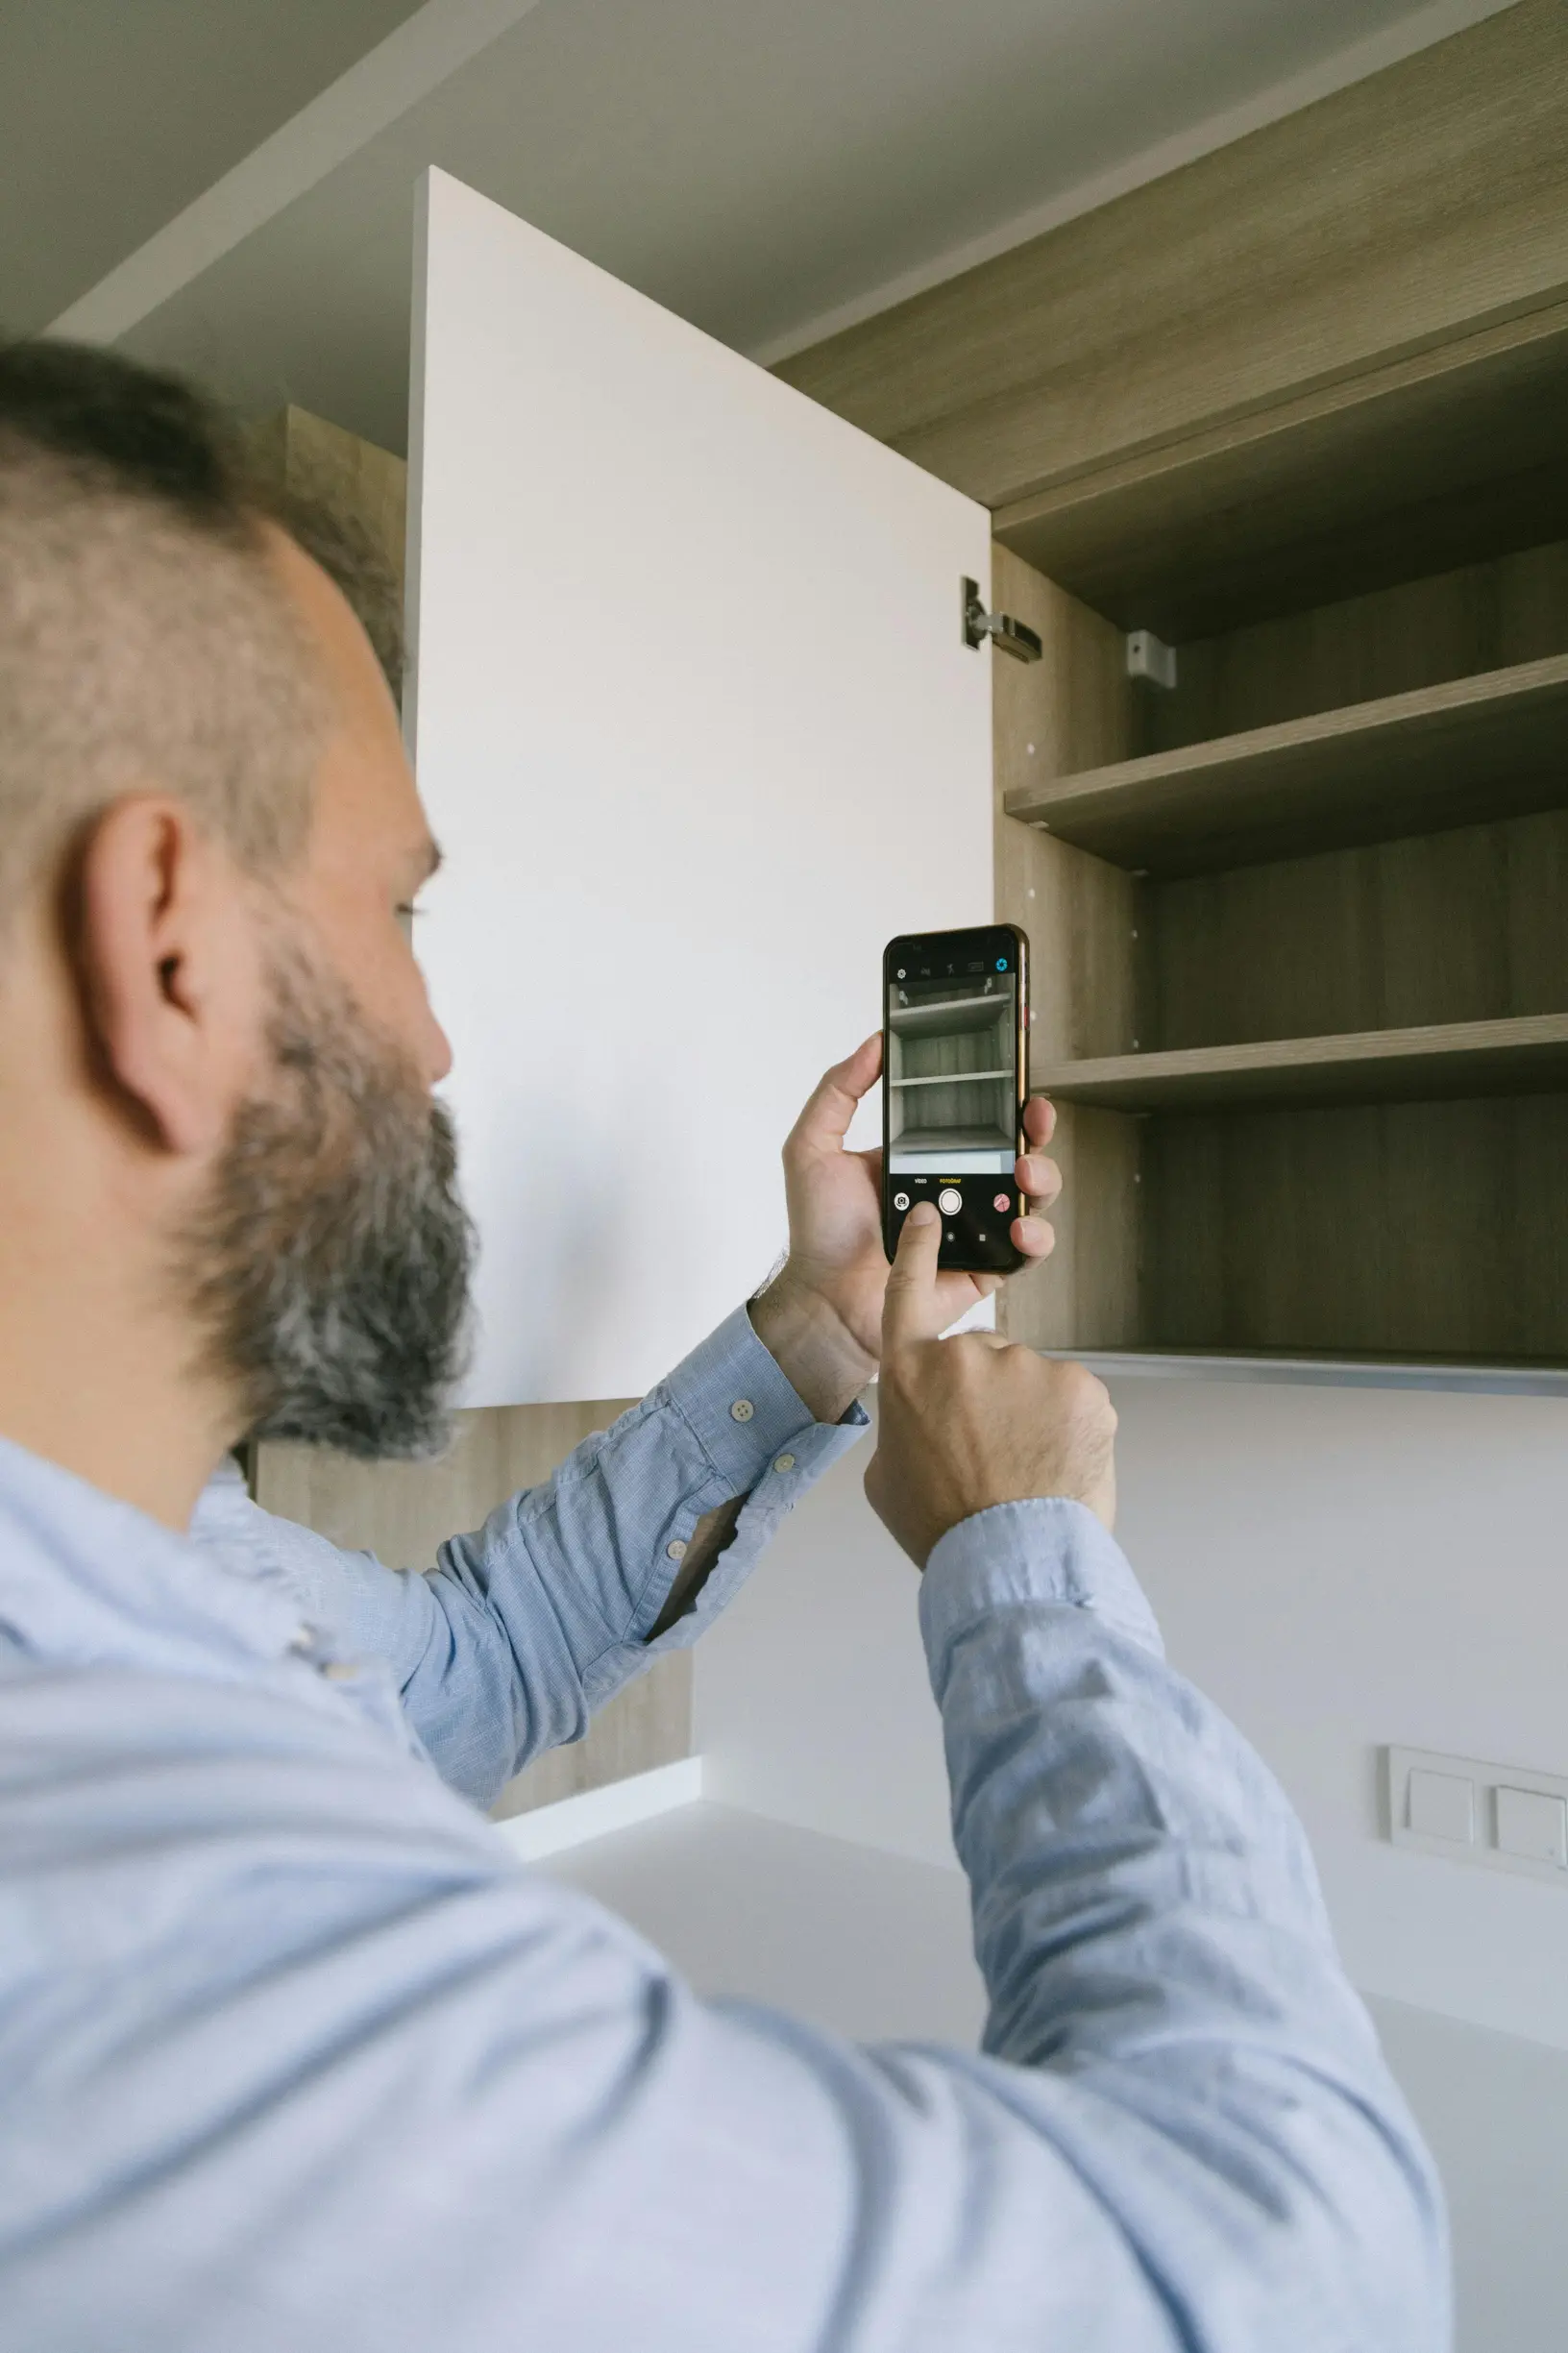
If you want clearer phone photos, try these simple steps. Set your phone to the highest image quality, switch off filters and automatic enhancements, and turn on gridlines to help with composition. Make sure you have enough storage and battery so you can take several shots without interruption. Give the lens a quick wipe with a microfibre cloth, then steady the phone against a solid surface or hold it with both hands and a tucked elbow to reduce blur. Take a few consecutive images to improve your chances of a sharp shot. Work with soft, directional light at a low angle, and adjust exposure or tap the subject on screen so the camera captures texture and detail rather than blown highlights.
If you need to share a photo of a defect for remote assessment, a few simple steps make it much easier to judge what’s wrong. Place a known-size object or a tape measure in the same plane as the defect. Take one photo straight on and another at an angle so size and depth are visible. Then take a wider shot that shows the defect’s location in relation to nearby features; that context often helps explain likely causes. Clear away unrelated clutter and secure any loose or hazardous items so the frame is safe and easy to read. Check the image for private information such as documents or faces before sharing, and take several photos so the assessor can choose the best views without asking you to repeat the shoot.
2. Control lighting and exposure to improve your photos at home
If you need to reveal surface flaws like scratches, dents or hairline cracks, start with raking light at a low angle so shadows highlight texture and defects. Follow with a diffuse, front-lit shot to show the overall condition without distracting shadows. Soften harsh light using a translucent panel or by moving the item into even shade to avoid specular highlights and blown-out areas that hide detail. Check your camera’s histogram or highlight warning for clipped highlights and adjust the exposure if necessary. Finally, use a small, focused torch at oblique angles to bring out edges and glazing issues, and photograph the item from several viewpoints so nothing is missed.
If you need to photograph something for a remote assessment, aim to preserve as much detail as possible so defects are easy to spot. Shoot in RAW if you can, or bracket exposures to capture a range of tones. Provide at least one exposure for highlights, one for midtones and one for shadows so an assessor can choose or combine them. Keep white balance neutral and consistent between shots, or include a neutral reference card or grey patch in the frame so colours can be corrected accurately. Taken together, these steps preserve maximum information and help reveal stains, corrosion and discolouration that uniform lighting can hide.

3. Frame your shots to show the scene and context
When photographing a defect for an assessor, think in three clear shots to show what went wrong and why.
1. Wide shot: place the defect in its surroundings, showing nearby structures, access routes and adjacent equipment. This gives the assessor the context they need to judge constraints and likely causes.
2. Medium shot: frame the whole component or surface that contains the defect. Keep the defect centred but leave visible edges or joints so it is clear how the part interfaces with the rest of the assembly.
3. Close-up: include a scale reference or align the defect with a recognisable feature so the assessor can estimate dimensions and tolerances without visiting site.
A few clear photos will save time and hassle later. Take at least two oblique angles to show depth and profile, because changing the viewpoint often reveals hairline cracks, separations or fastener details that a single perpendicular shot can miss. Include orientation and access shots that show which way is up and how a technician would reach the defect, for example the object’s position relative to a wall, floor or an access panel. Label and number image files to record orientation and viewing order so the inspection can be recreated remotely. Shoot at different scales and viewpoints to give an assessor the evidence they need to judge cause, severity and likely repair options from a distance.
4. Include a clear scale reference for accurate sizing
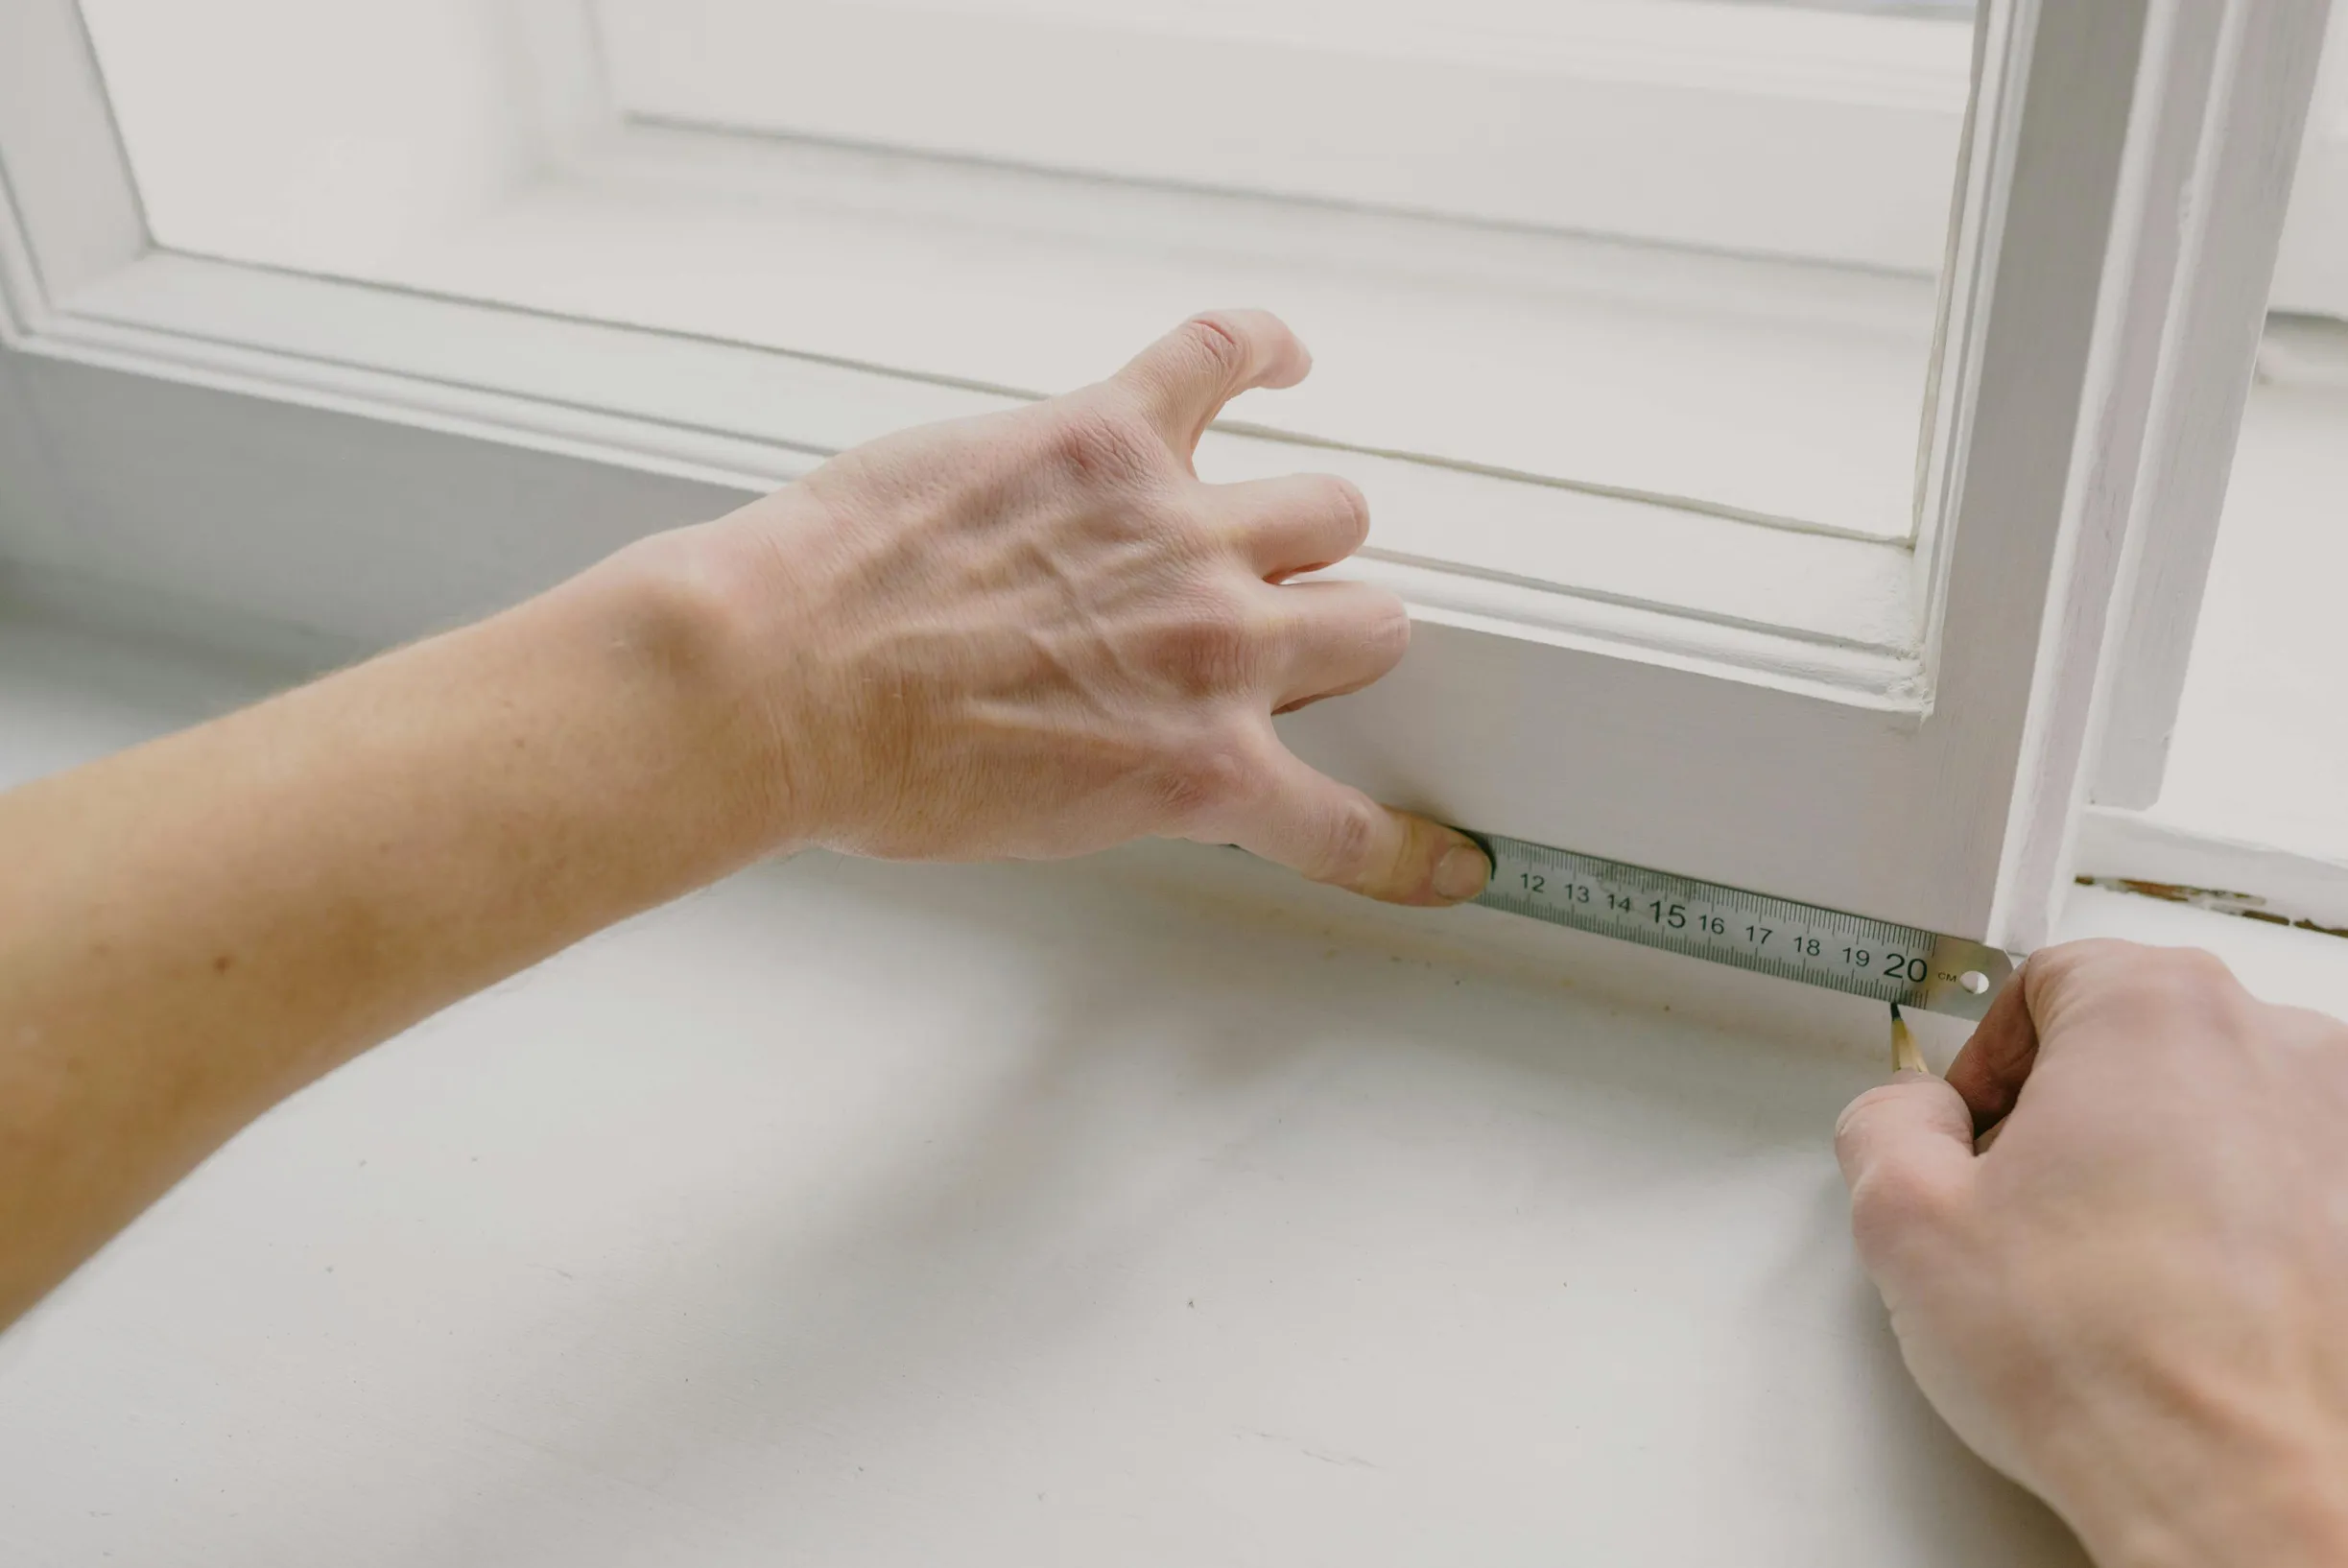
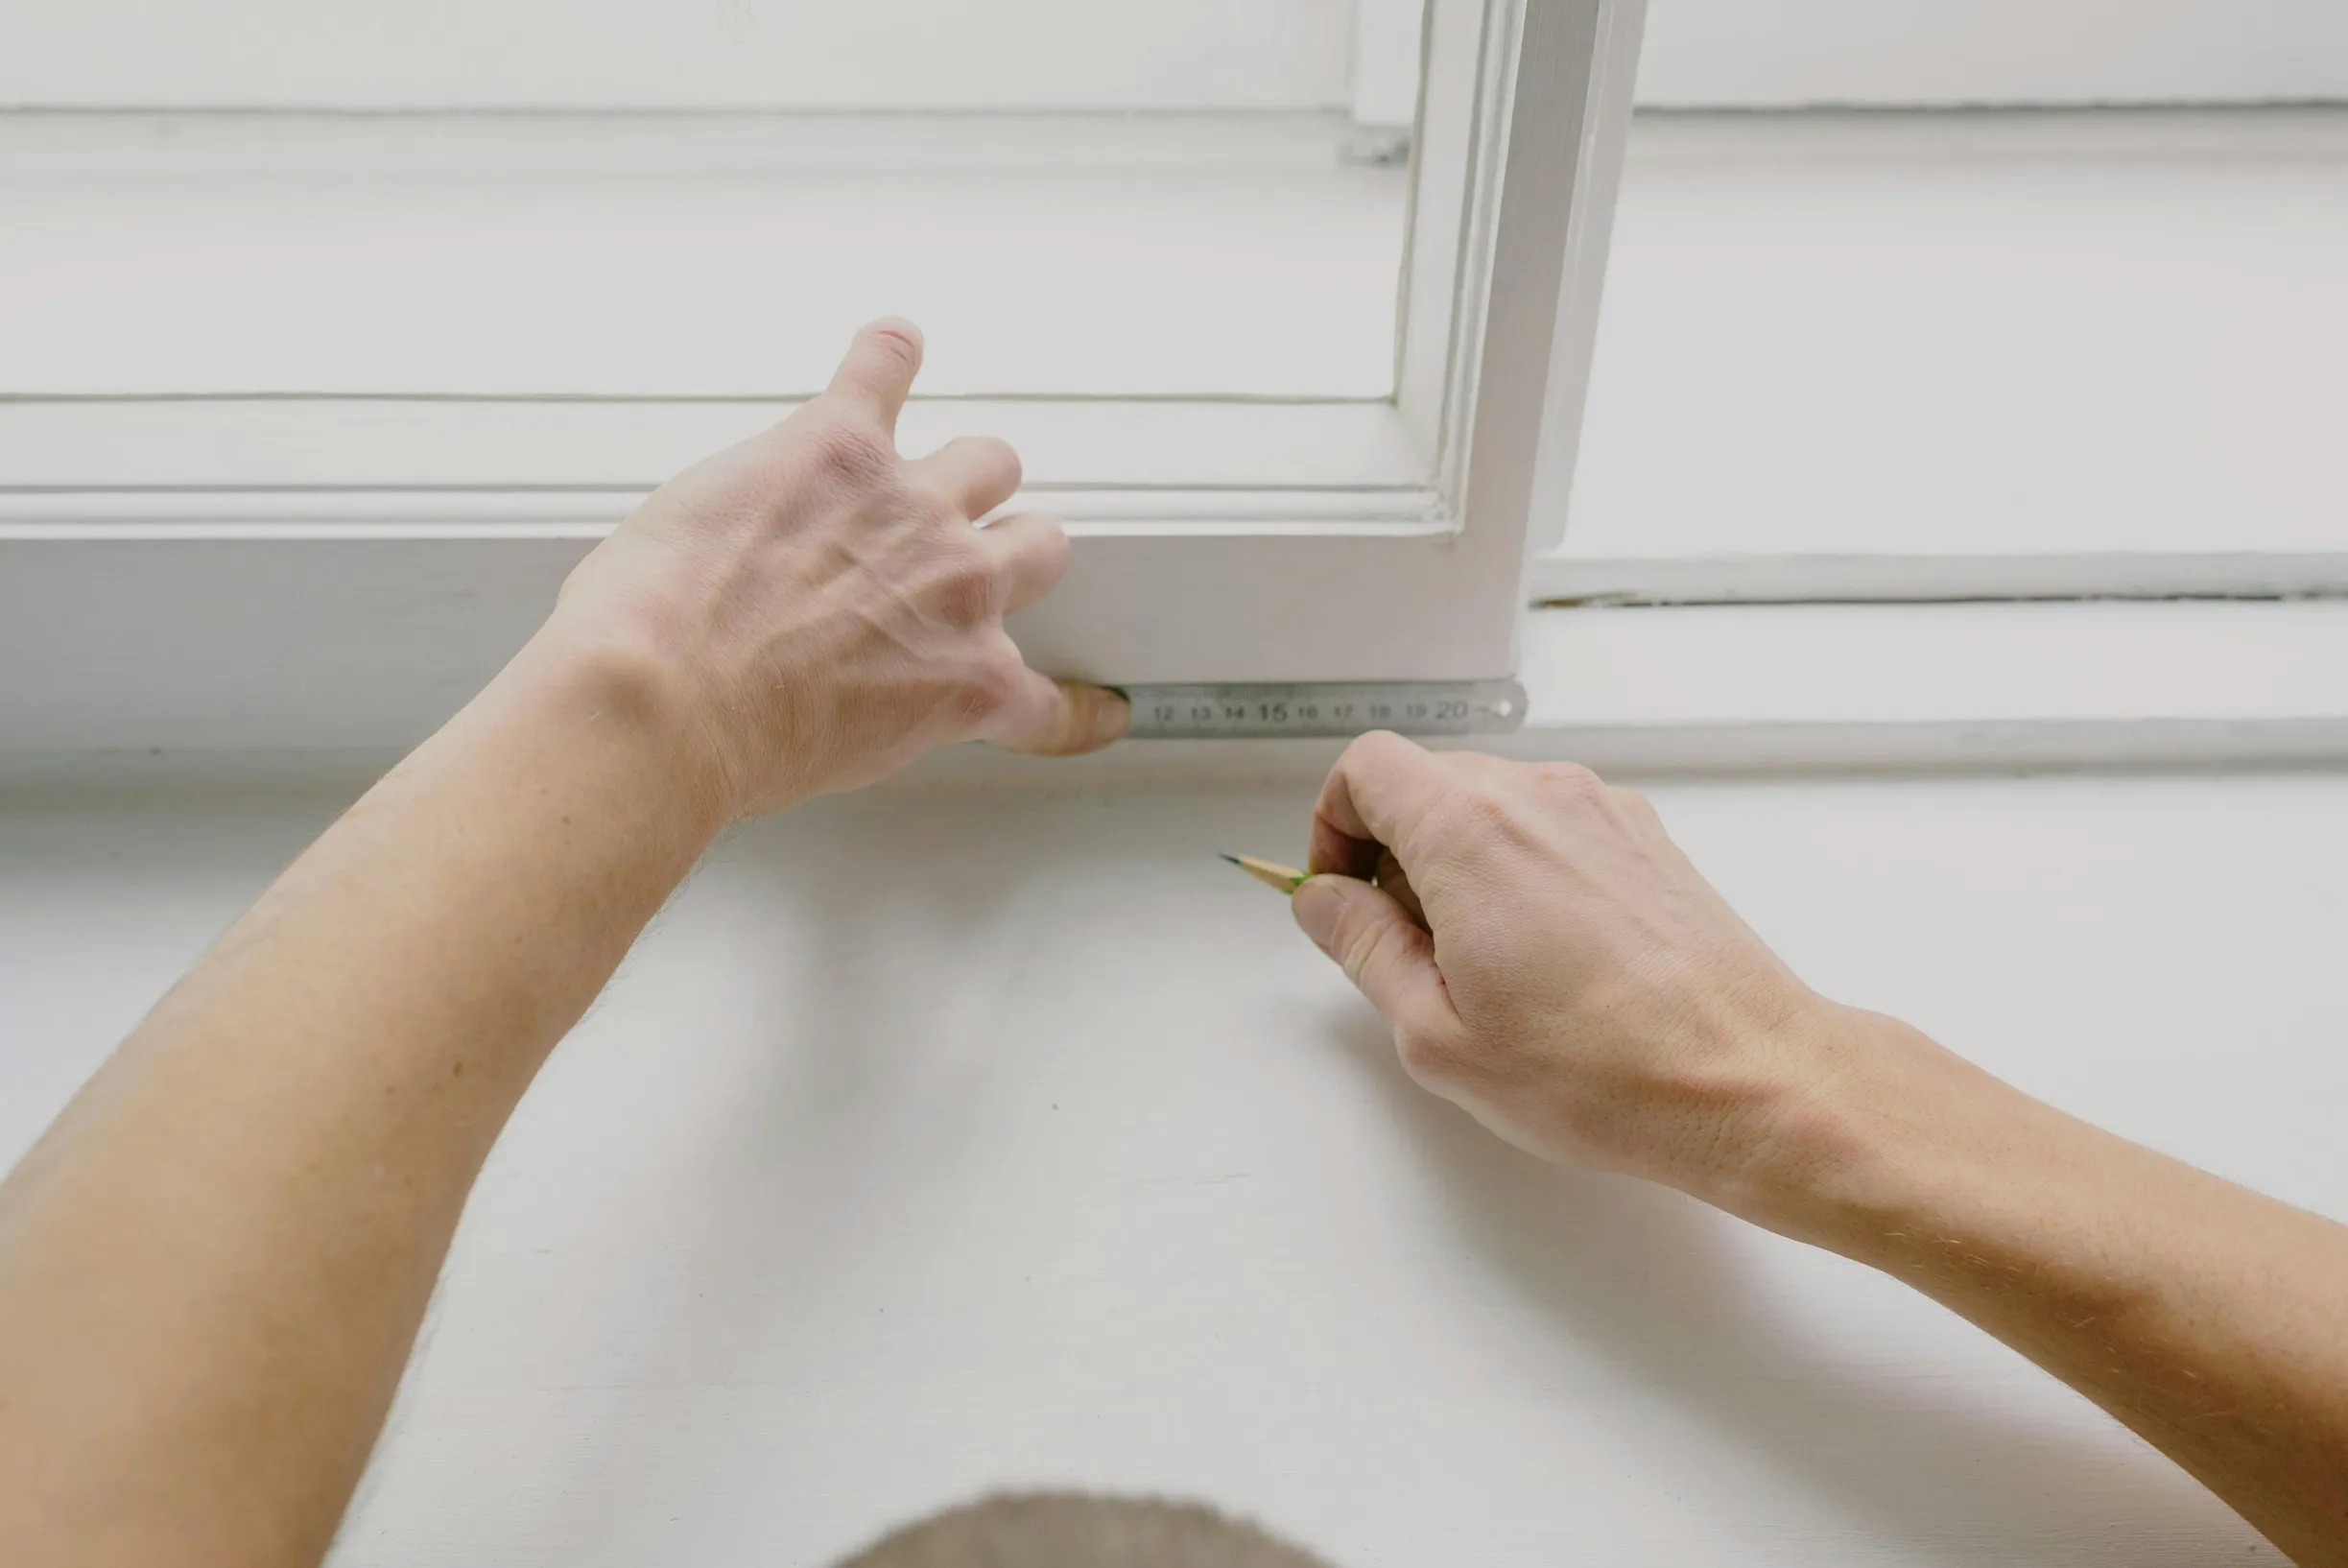
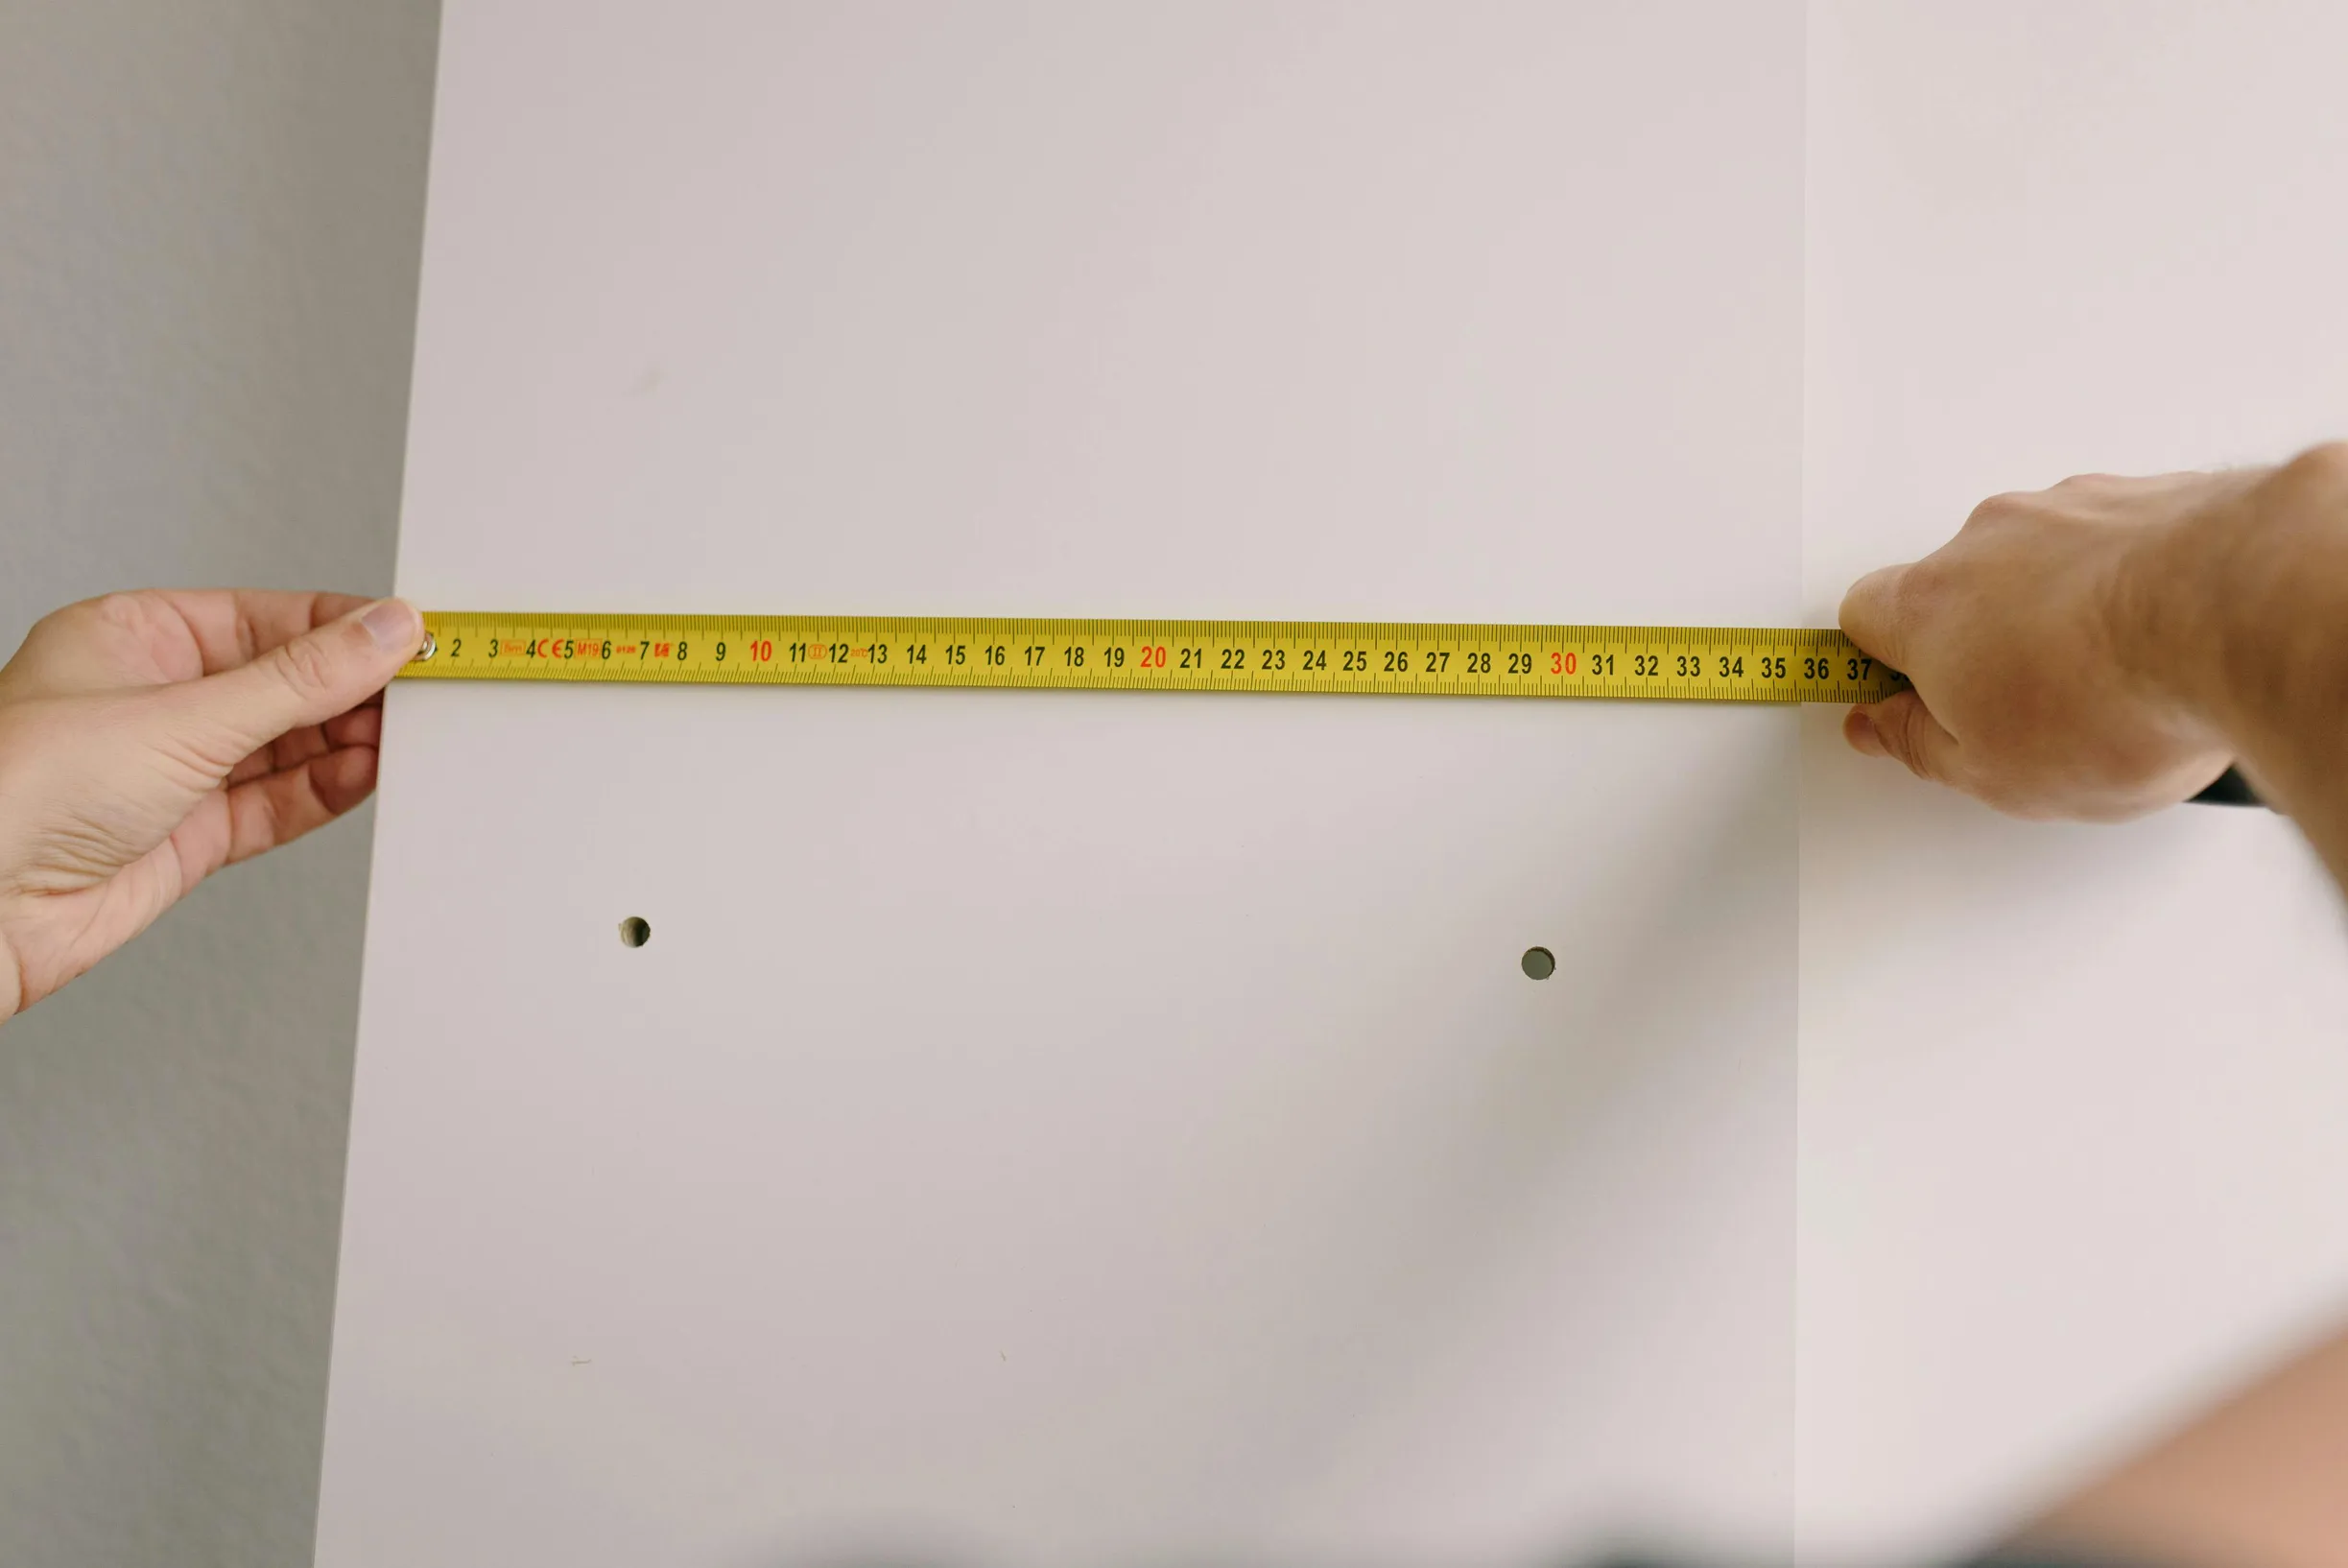
To photograph a defect so you can measure it accurately, place a standard-sized card or ruler flat against the surface so the reference and the defect sit in the same plane. This avoids foreshortening, which makes lengths look shorter when shot at an angle. Take at least two photos: a tight close-up with the scale filling the frame for precise measurement, and a wider view that shows the scale and surrounding context for orientation. Use printed metric scales or graph paper, make the units clear in the image or caption, and keep grid lines visible so measurements can be read later by eye or with software.
If you need to document a fault for a remote assessor, a few simple photo habits make a big difference. Position a thin ruler or a marked pin upright next to the fault and photograph from level with the feature so the vertical scale is clear. Take a separate side-on view to show thickness or penetration. Make sure the scale contrasts with the background and that both the scale and the defect are in focus. Check the image at full resolution so numbers and graduations are legible; if markers are blurry, retake the shot. Following these steps lets an assessor measure dimensions, judge severity and compare changes over time without visiting the site.
5. Capture close-up details and record your findings clearly
When photographing a defect for assessment, take a close-up macro photo that isolates the problem. Place a clear scale or a familiar object in the same plane so size, depth and surface texture are easy to compare. Capture three complementary views: a perpendicular shot to show surface pattern, an oblique shot to reveal depth or separation, and a side-on profile to show cross-sectional shape. This helps others judge the geometry rather than rely on a single image. Make sure edges and fine surface detail are sharp and in focus so the likely failure mode is clear from the photo.
When documenting a defect, capture more than a single still. Record a short, steady pan or a focus-stack sequence (several images taken at different focus points and combined) and save representative frames. Motion and small focus changes often reveal subtle cracks, undercuts or corrosion that a single sharp image can miss.
Annotate images with arrows and measurement callouts, and add a concise caption that explains the measurement method, the materials present and any suspected cause. Note any tactile or audible feedback you observed while checking the area. Embed key notes in the file name or in the image metadata so context travels with the file and stays useful for remote assessors.
Also include close comparisons of adjacent unaffected areas, the same feature after gentle manipulation or under slight load if it is safe to do so, and any repeat occurrences. These comparisons help assessors decide whether a defect is isolated, progressive or systemic.
Five thoughtful photos are usually enough for someone to assess a defect remotely, helping avoid an extra site visit. Prepare your phone and the scene: steady the camera, clear away loose clutter and make sure the area is safe to photograph. Control the lighting and exposure so details are easy to see. Take one wide shot for context, one mid-range shot that shows scale with a familiar object or a ruler, and several close-ups from different angles. Include a clear scale in at least one picture. These steps keep the information needed to judge cause, severity and likely repairs when assessing remotely.
Think of the five headings as a simple shooting checklist: sequence wide, medium, oblique, scale and close shots that follow the facts. Consistent, well-documented photos cut down on follow-up queries, allow remote measurement and create a useful record for comparing changes over time.