Ever opened a parcel to find a small but crucial part missing? A few clear, well-lit photos can be the difference between a frustrating back-and-forth and getting the problem sorted quickly.
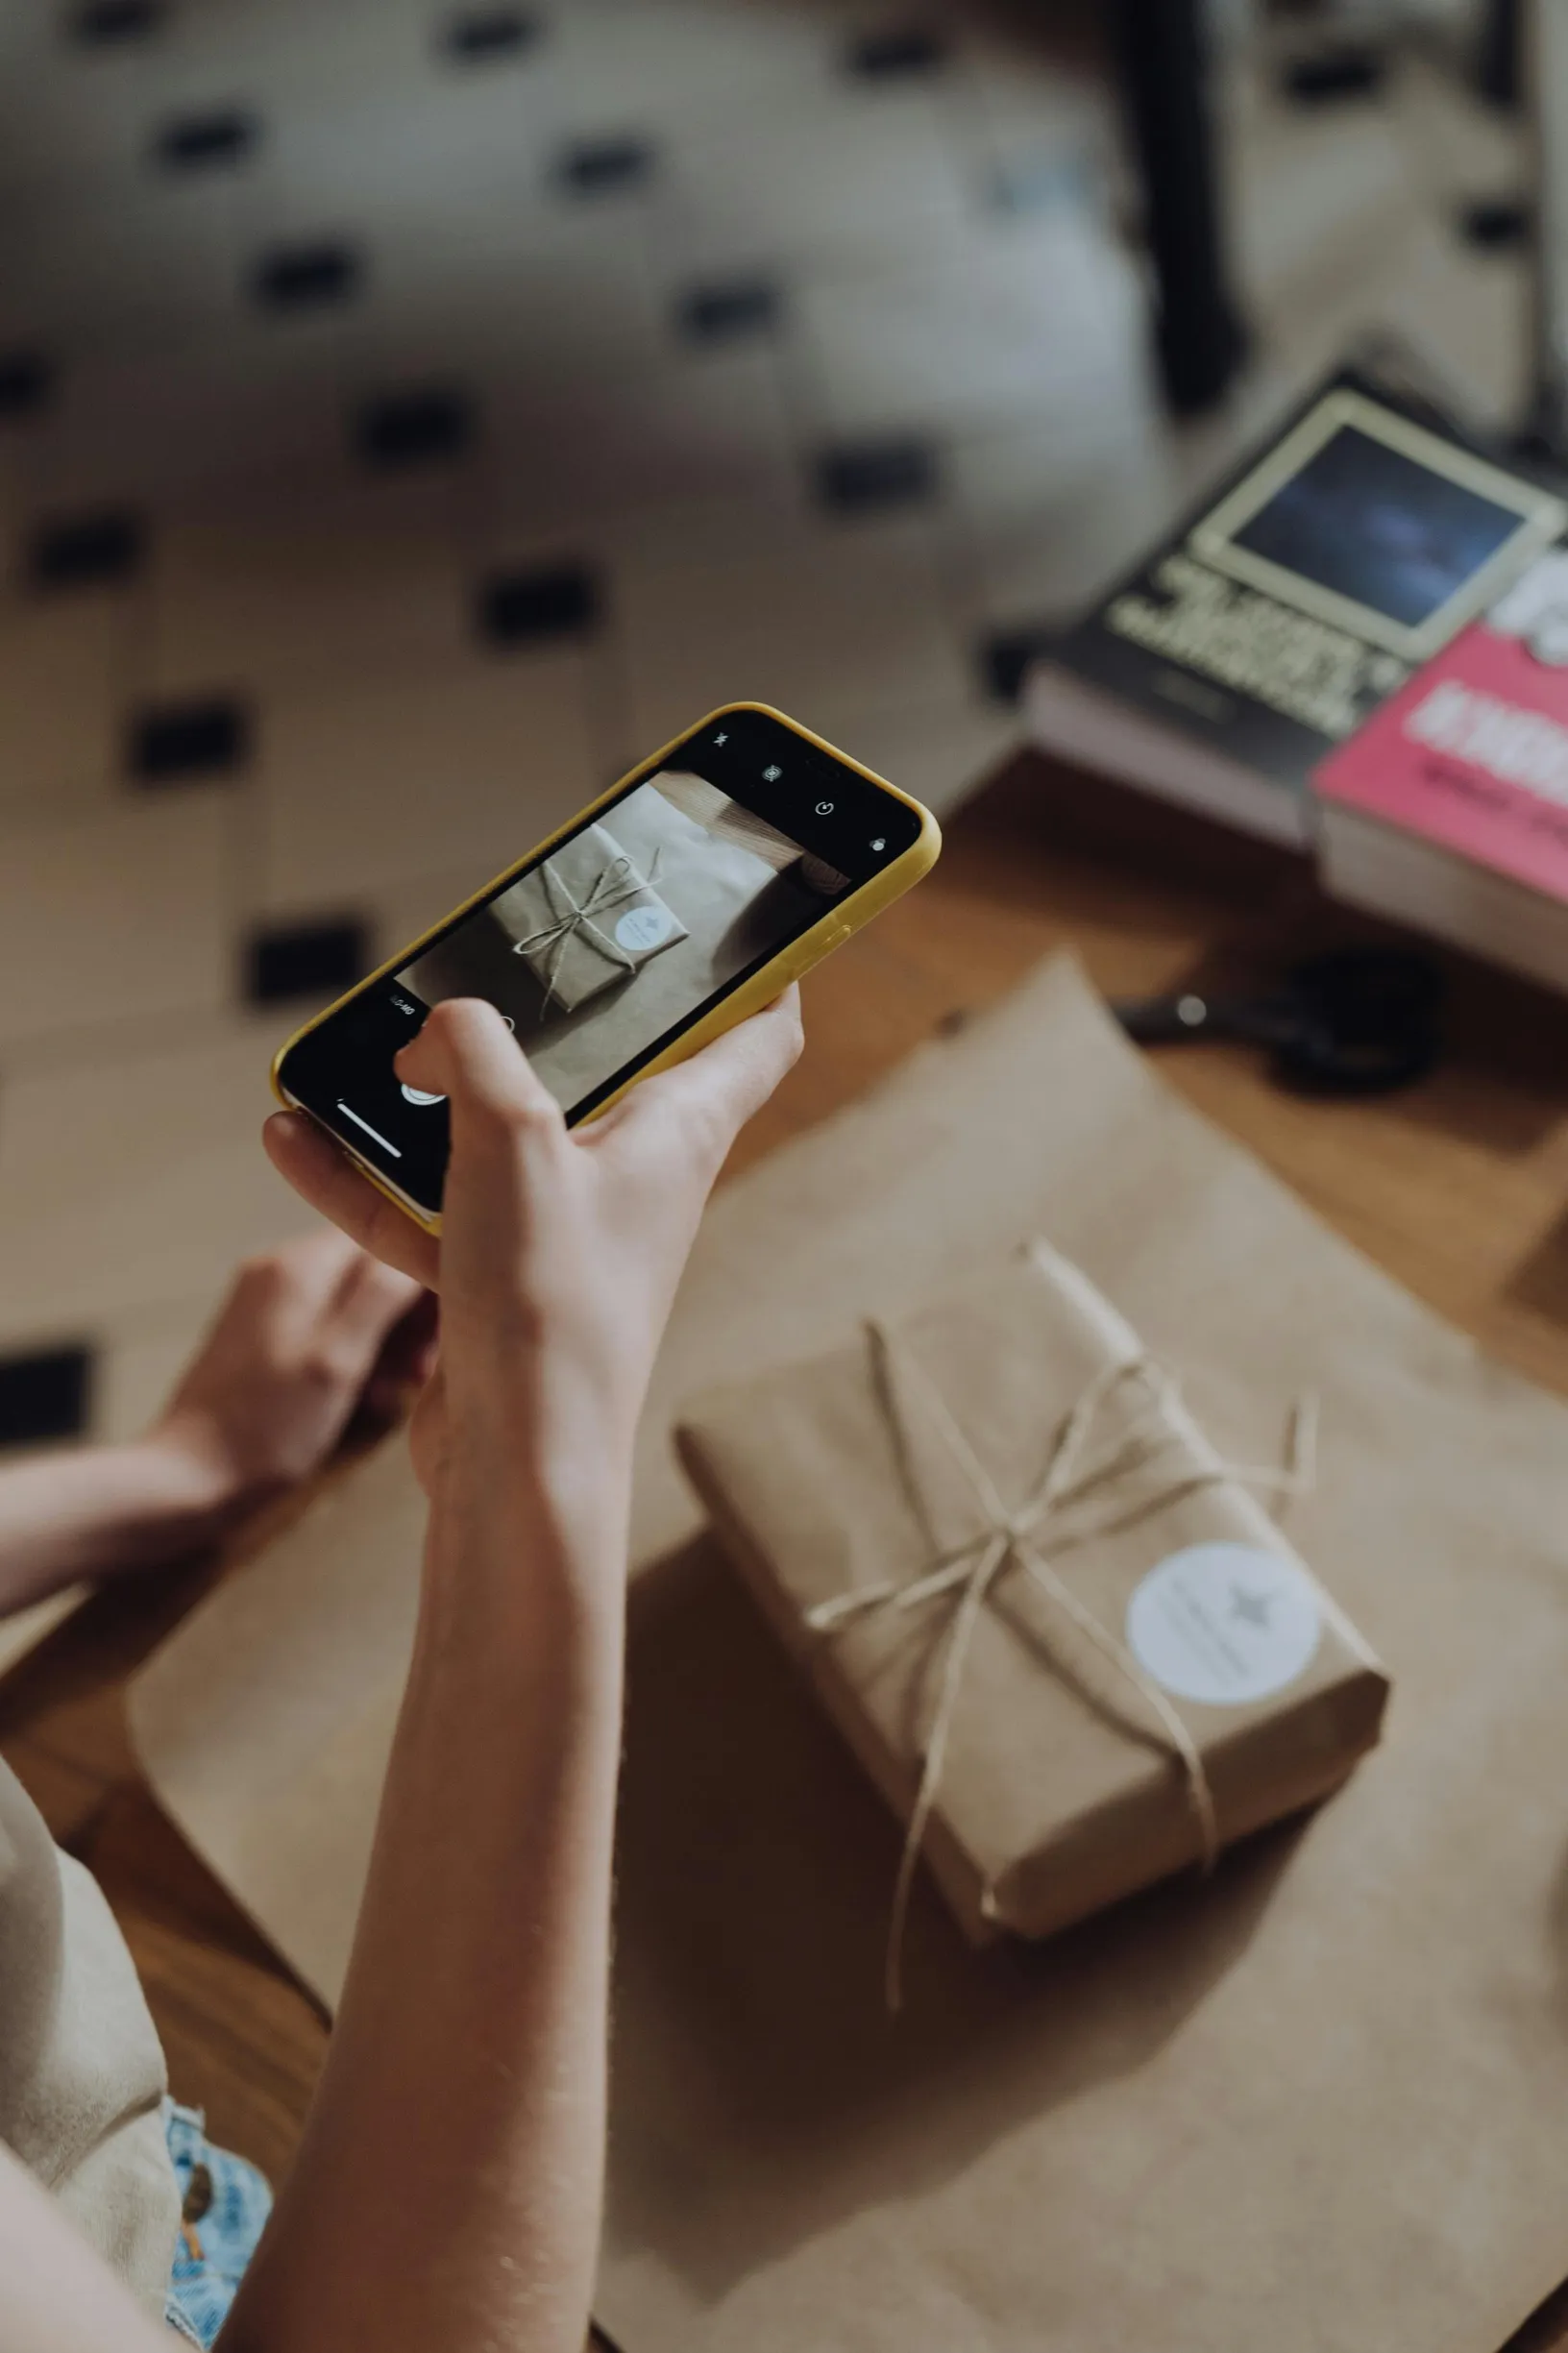
Need to document an item’s condition? Take these ten photos: parcel exterior, shipping labels, order confirmation, sealed inner packaging, the unboxing sequence, the full contents, any empty compartments, close-ups of serial numbers, a clear size reference and the product in use. Make each shot deliberate, well lit and in chronological order so you can prove the condition on receipt and support any return or replacement request with minimal fuss.
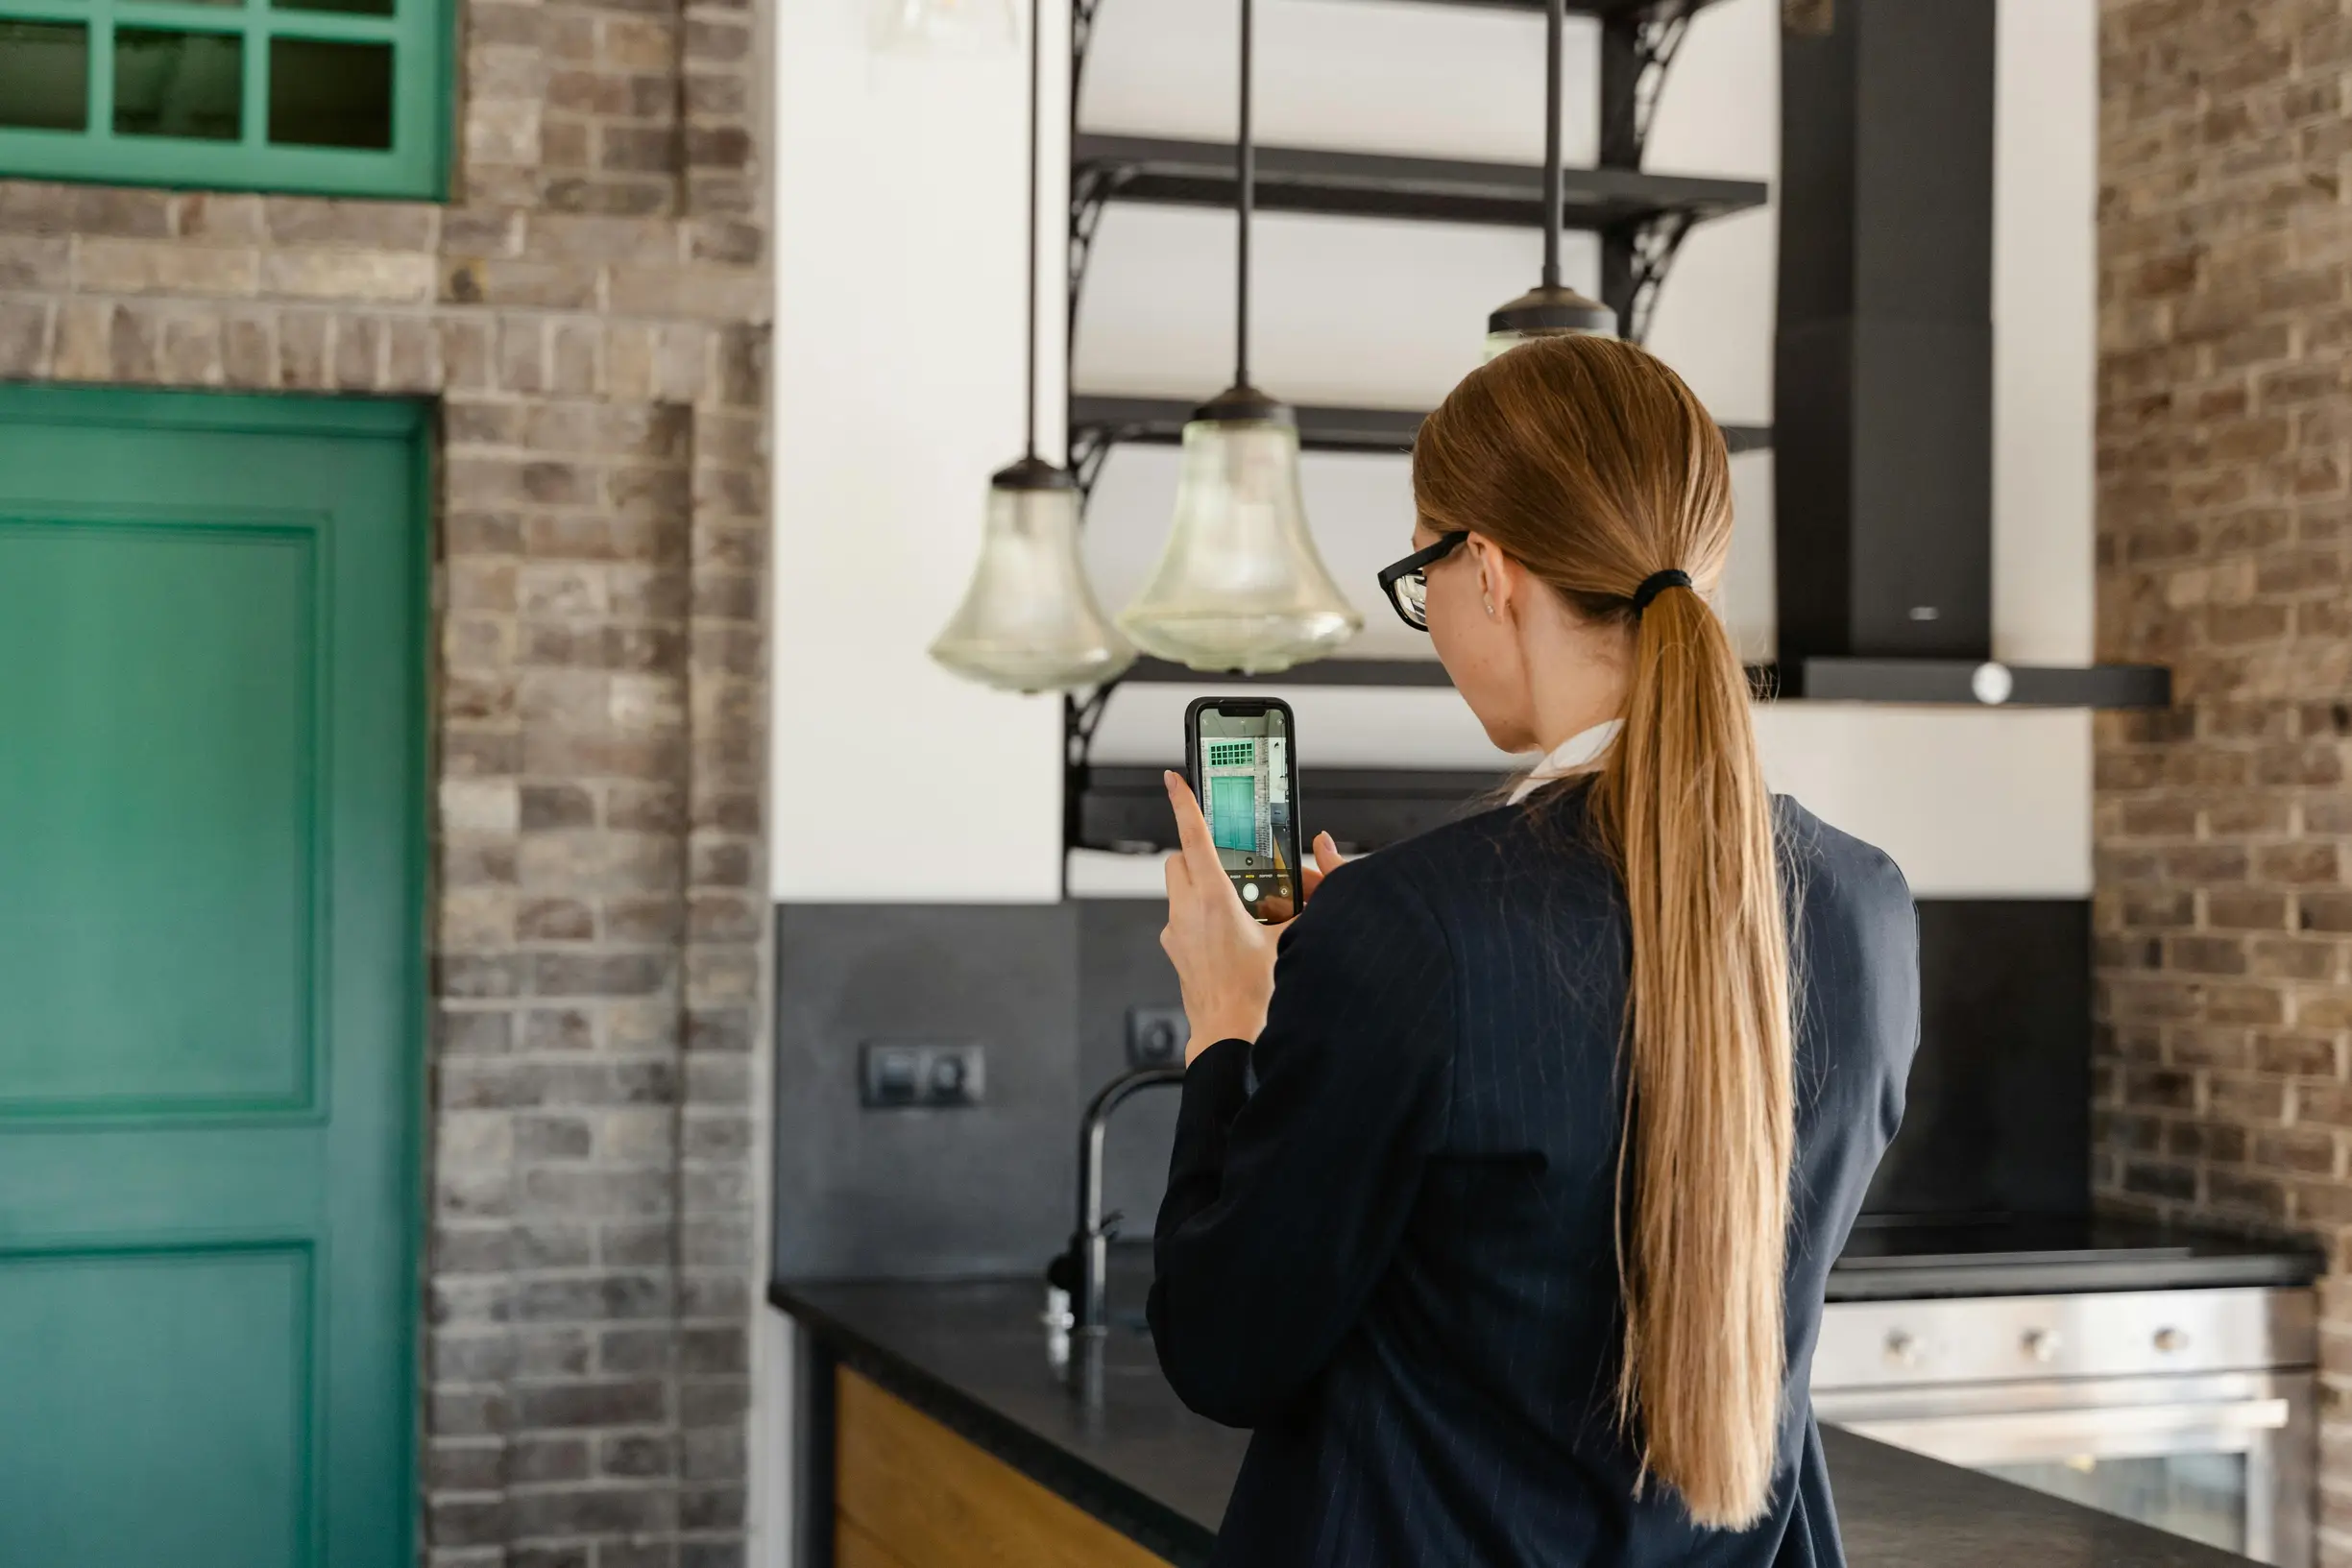
1. Prepare your camera, lighting and workspace for recording
If you need to photograph a part for a return or record, set up a clean, neutral workspace. Steady your camera by resting it on a solid surface or using a tripod, and use diffused light to reveal texture and colour without harsh flash. Include a scale and identification in every shot by placing a ruler or a common coin beside the part, and add a plain handwritten card with the order reference and a short note so the images tie back to the delivery. Follow a simple photo sequence: start with wide shots of the sealed package and label, then photograph the opened box and internal packing, and finish with the cavity where the part should sit.
If you need to photograph an item for a missing-part claim, follow these practical steps to make sure details are clear and verifiable:
– Use macro or high-resolution settings, lock the focus and take multiple shots with different depths of field so fine details like serial numbers, mould marks and wear patterns remain legible.
– Take close-ups from directly above and from oblique angles to reveal threads, markings or fracture lines that support the missing-part claim.
– Preserve the evidence by leaving items as you received them and photographing any loose pieces where they were found so context is retained.
– Give each image a clear, descriptive filename and a short caption that references the order.
– Back up the original files to create a reproducible record that assessors can verify during the claims process.

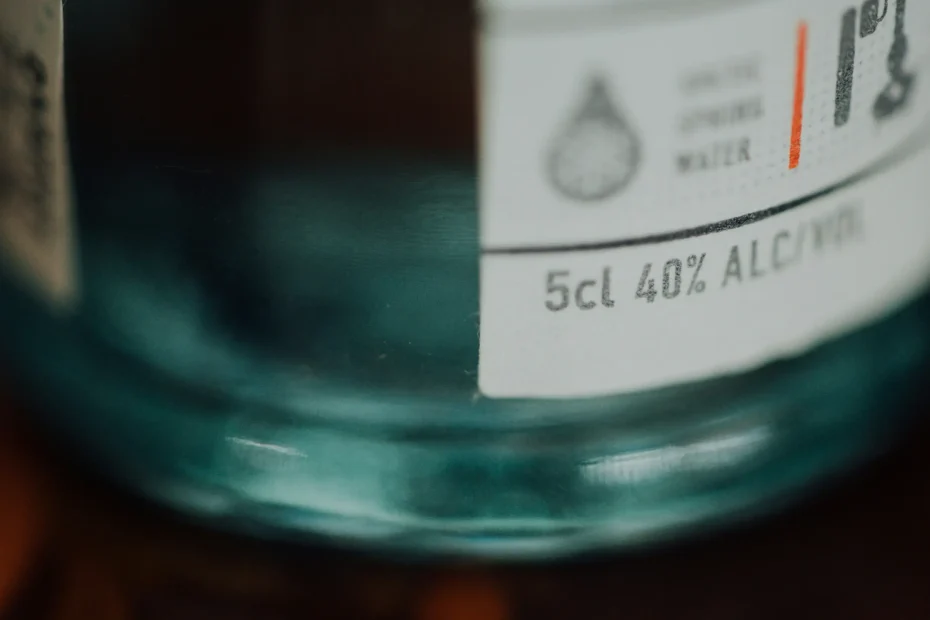
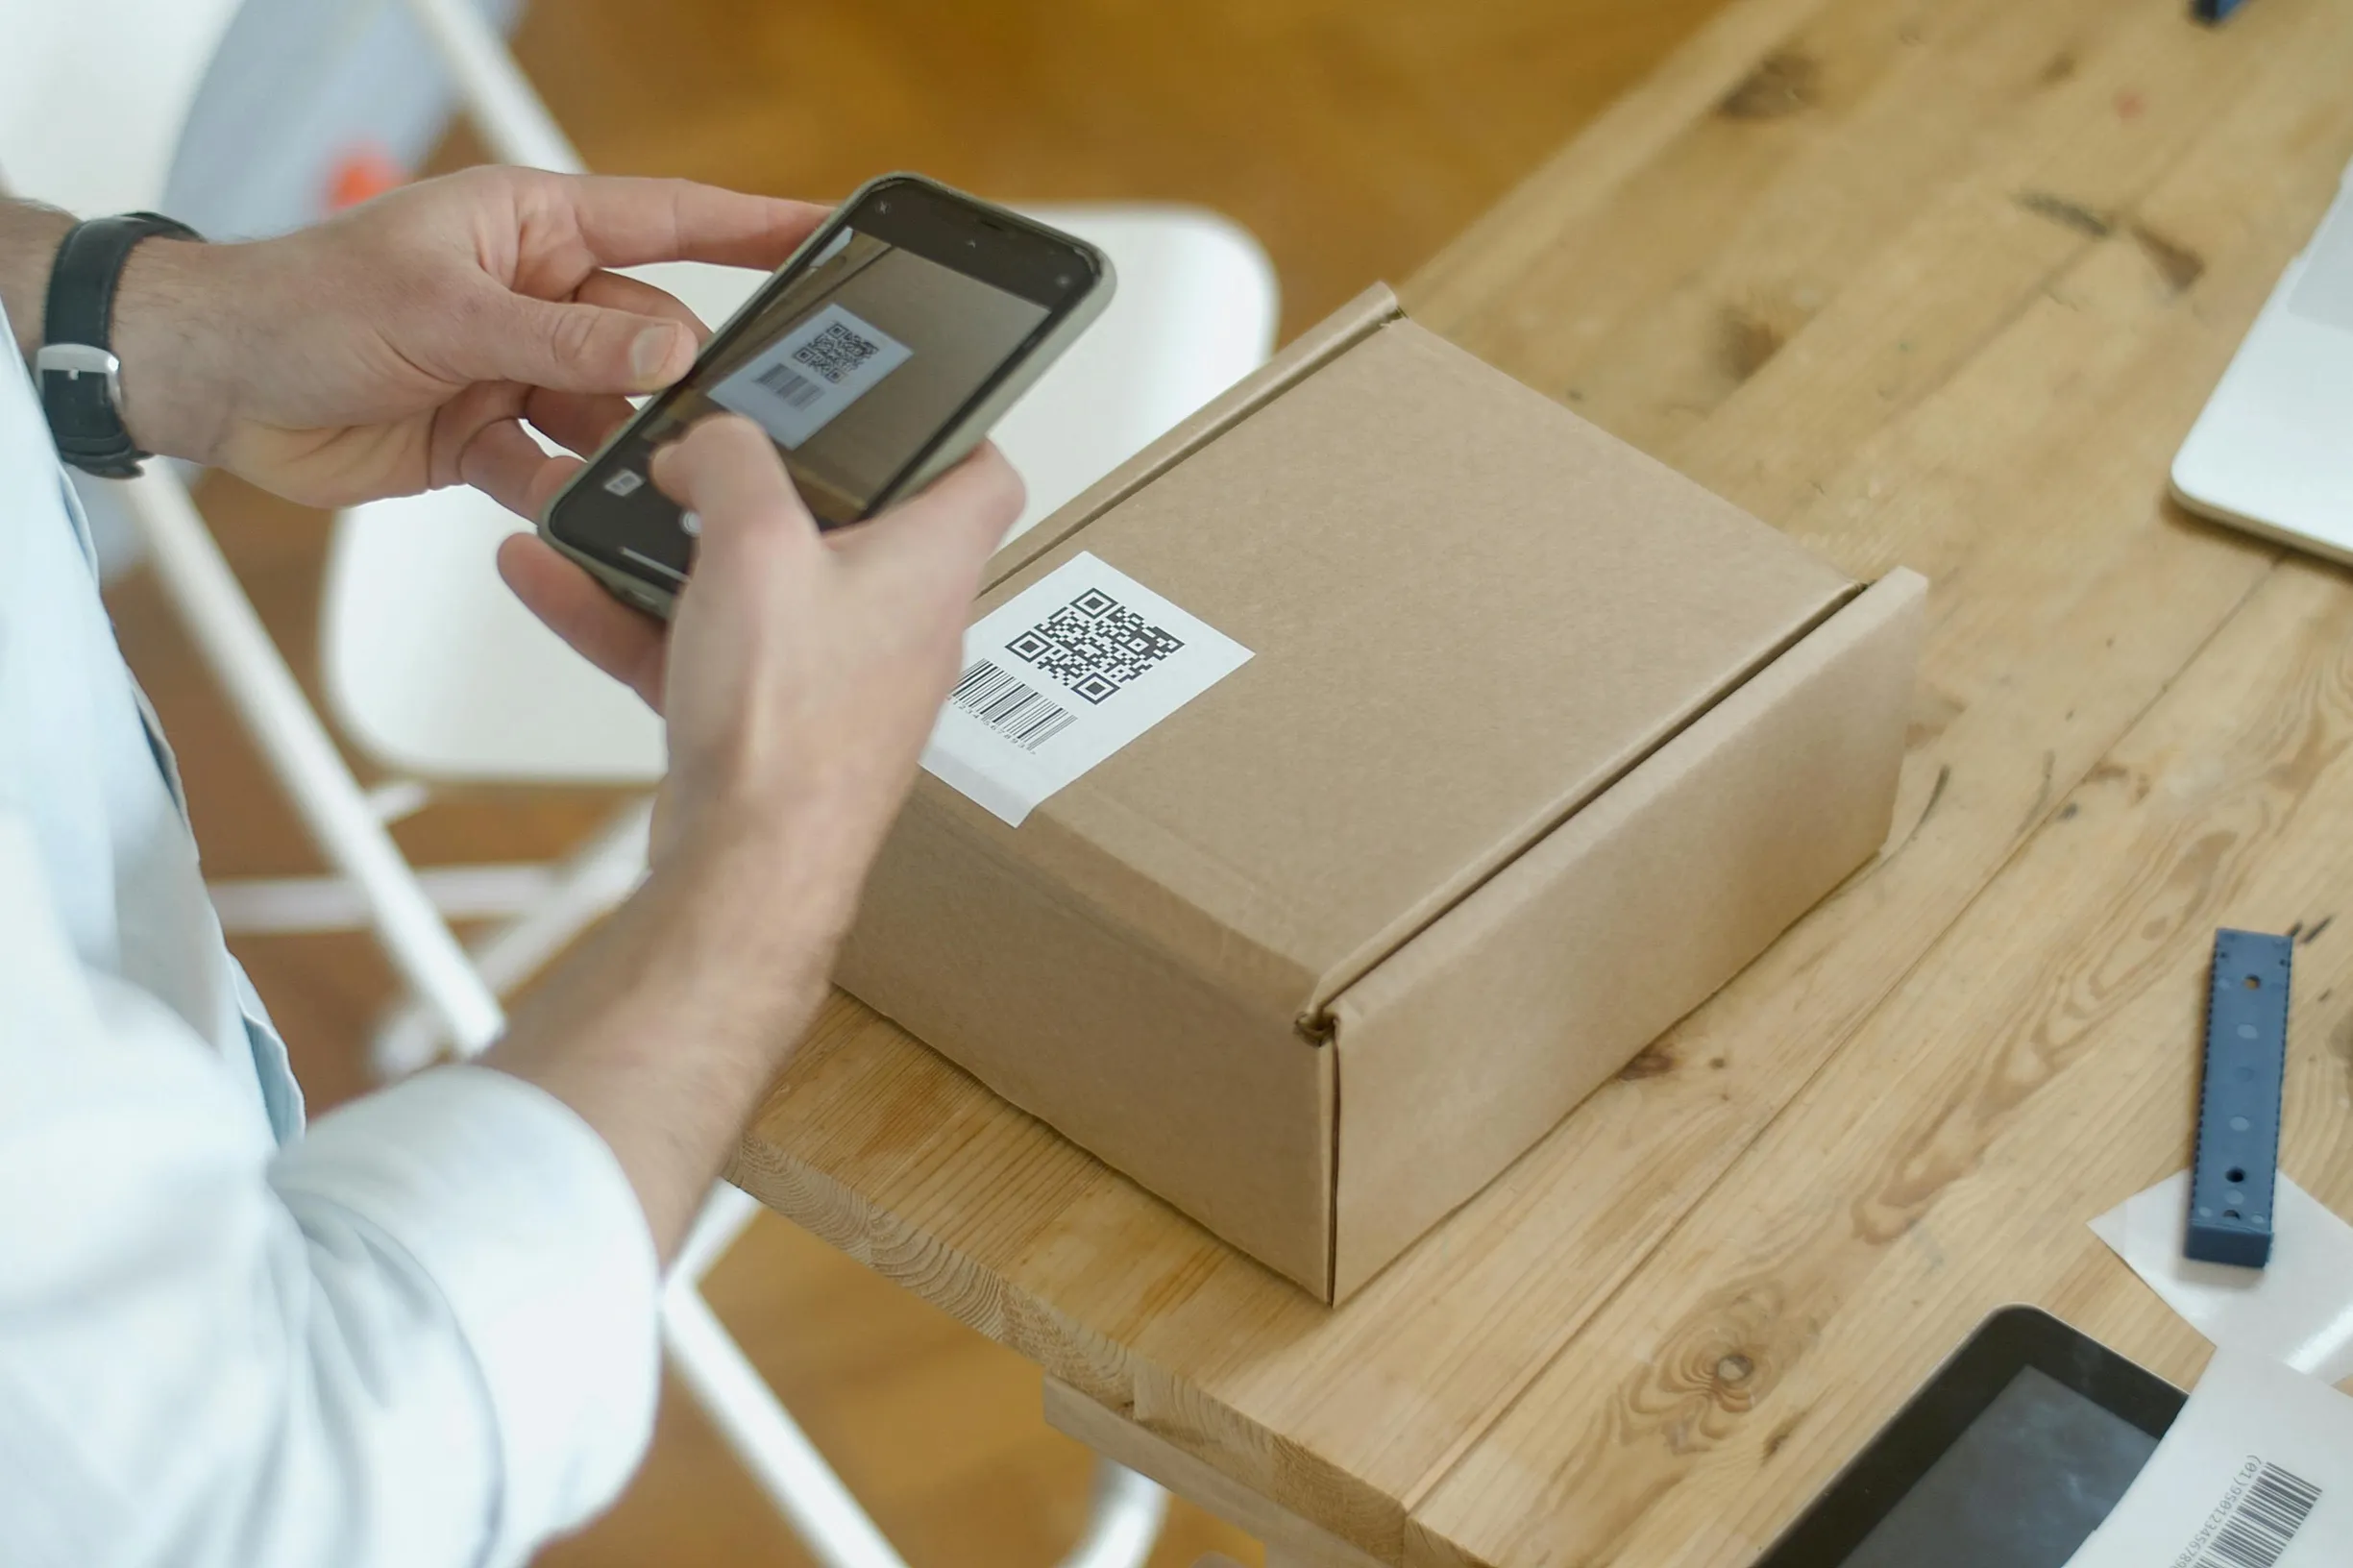
2. Photograph the parcel exterior and all shipping labels
If you need to report a delivery problem, take a photo of the whole parcel showing front and back in a single frame so the label position, courier stickers and overall orientation are clear. Keep the original image file unedited and back it up to preserve the evidence. Then take a clear, in-focus close-up of the shipping label and barcode so the tracking number, recipient address and any printed identifiers are easy to read, and include a small part of the parcel edge to show the label is attached. Keeping both the wider view and the close-up unedited makes it simple to prove the label belongs to the parcel.
If a parcel looks tampered with, clear photos are the best way to support a claim. Start by photographing seals, tape overlaps, seams and any obvious tamper marks from several angles so differences in tape texture or layers are visible and it is clear whether the parcel was opened or resealed. Include something for scale, such as a common object, a ruler or your hand, and take at least one wider shot that shows where the parcel was left to confirm the delivery location and surroundings. Follow a simple photographic sequence before opening: a wide shot of the parcel in place, a medium shot of the label and overall condition, close-ups of any damage and seals, then photos of the contents and the area where a missing item should have been. Keep the parcel and all packaging until your claim is resolved, and save the original image files to support any investigation.
3. How to document order confirmations and product listings
If you need to document an order or prove a missing part, follow these straightforward steps to make your evidence clear and verifiable:
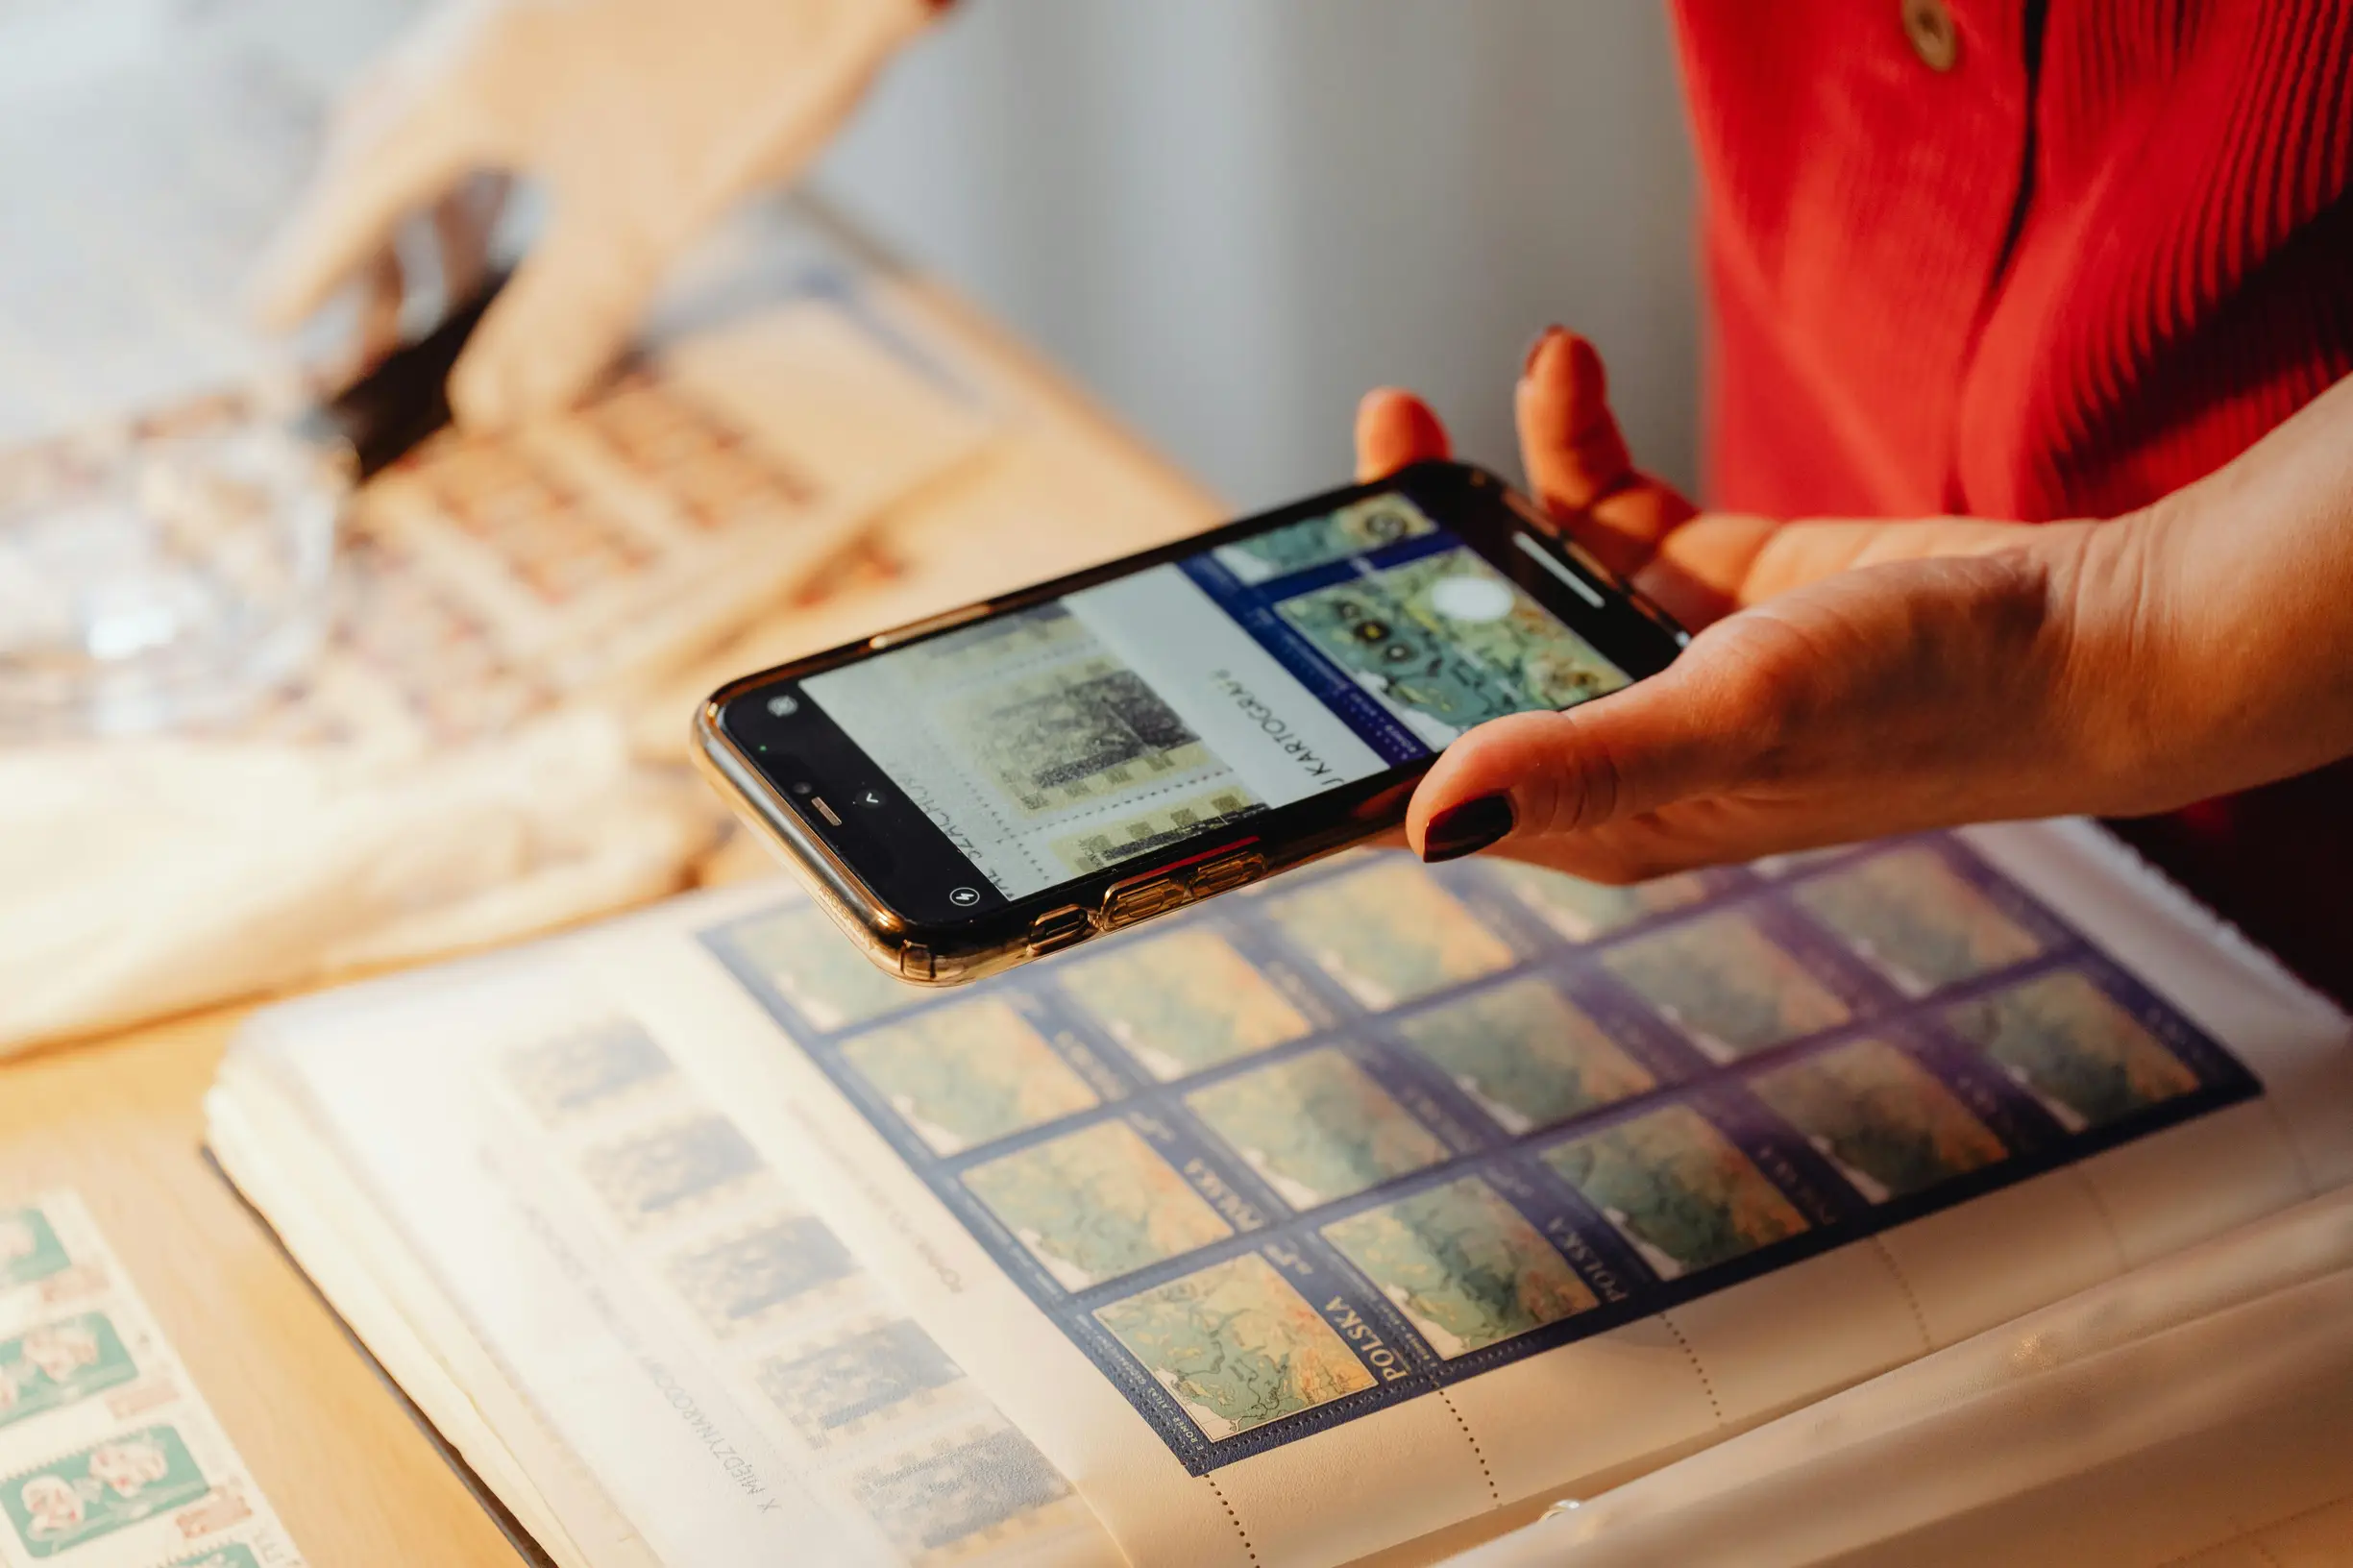
– Take a full screenshot of the order confirmation and also a cropped close-up that clearly shows the order number, SKU, item name and the itemised contents.
– Save a PDF copy of the confirmation page to preserve the source URL and metadata. Include the browser address bar in at least one image or screenshot so the source can be verified.
– Photograph the product listing and the specification sections on the retailer page, including any exploded diagrams and the “What’s included” section.
– Zoom in on the specific product image that shows the small part so the listing explicitly represents it as included.
If an item arrives wrong or incomplete, gather clear, organised evidence to make your case easier to resolve. Use this checklist:
– Create a side by side visual or an annotated screenshot comparing the packing slip or delivery note with the product listing. Highlight any missing line items, quantity mismatches or absent accessories and point to matching SKUs, part numbers or descriptive text.
– Export transactional communications such as order confirmation emails, seller messages and user manuals as PDFs so you have permanent records showing what was advertised and what you were told after reporting the issue.
– Photograph labels, barcodes and serial numbers on the outer box, inner packaging and the product itself. Take close-ups of stickered SKUs and barcode numbers so they are plainly readable.
– Match those details to the order confirmation and product listing to prove the delivered package corresponds to the specific order and to rule out a mis-shipment.
Tip: Keep all photos and PDFs in a single folder so they are easy to share with the seller, the courier or any consumer support service.
4. Show sealed inner packaging and clear tamper-evident indicators
When you need to document a sealed parcel, follow these simple steps to create clear, verifiable photos.
Take a close-up photograph of the sealed inner package. Make the tamper-evident feature, such as tear strips, perforations, security tape or adhesive joints, sharp and legible. Include any visible batch codes or printed identifiers on the seal.
Take a wider shot that shows the inner package inside the outer parcel. Include a ruler or a finger for scale, and make sure all edges and seal ends are visible against an uncluttered background so it is easy to see exactly where the seal sat on arrival.
Do not edit the original image files. Give each photo a concise filename and a short caption describing what it shows and any visible identifiers. This helps preserve metadata for cross-referencing.
Take a clear sequence of photos so the process is easy to follow. Start with a shot of the inner packaging fully sealed. Then photograph as you open it to show any failure or change to the seal. Finish with a photo of the contents after opening to show whether anything had been removed before you accessed the item.
Use angled lighting and a close-up or macro setting, and shoot from several angles to reveal subtle signs of tampering, such as stretched glue lines, hairline tears, creases or residue. Photograph both sides of the seal and the adjoining surfaces to show whether edges align or mismatch.
Include tight close-ups of any defects and wider shots that show the whole parcel alongside labels or inventory references so investigators can compare everything. Add short captions to each image that note the viewpoint and any visible defects. Present the photos in order so viewers can follow the chain of custody from arrival to opening.

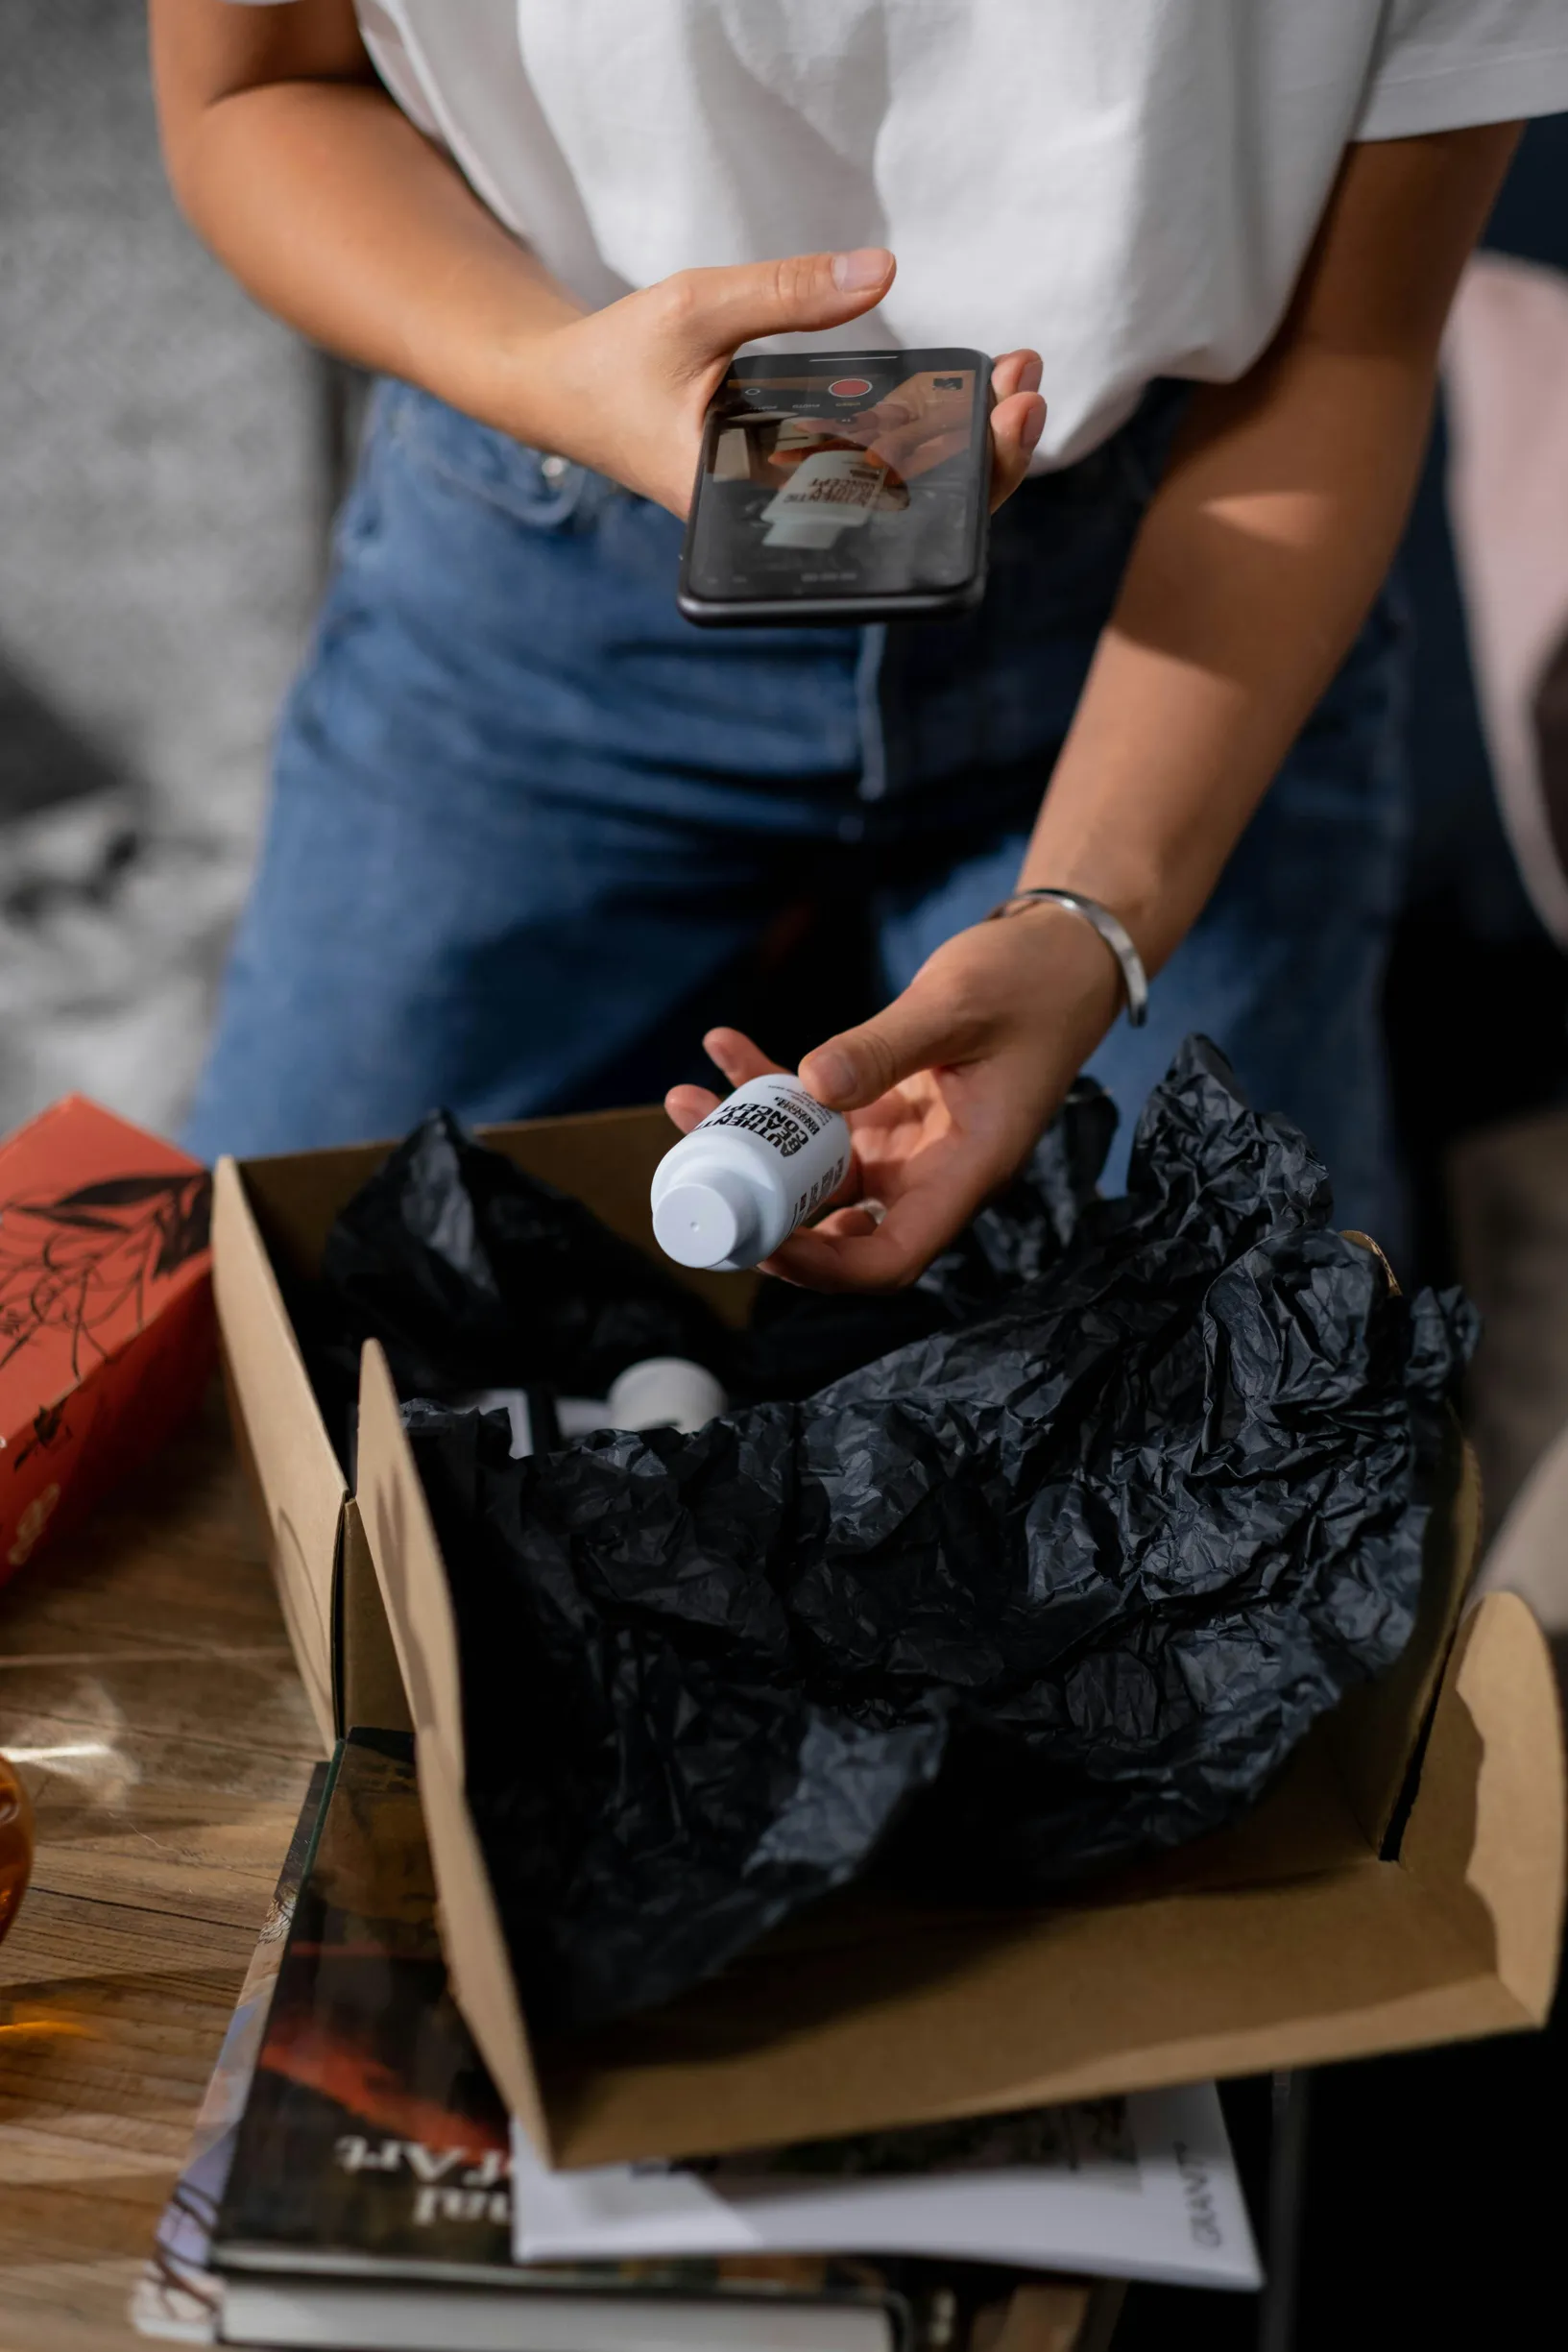
5. Film the unboxing from start to finish
Start recording before you cut any tape so the exterior, labels, tracking numbers, delivery stickers and any transit damage are captured. Slowly pan the parcel to establish context. Keep the camera steady by using a tripod or resting it on a stable surface, and record in one continuous clip rather than several short ones. Narrate your actions as you go, for example saying when you open flaps or remove padding so the sequence and intent are clear. Show scale and absence by taking close-up shots of inner compartments and packing cavities. Include a ruler or pen for scale, and photograph the place where the small part should have sat to clearly demonstrate the empty location.
If you need to document a delivery, record the unpacking in one continuous shot. Lay out the packaging materials, any paperwork and the final contents so you can later check what arrived and whether anything could have been concealed in the padding. Shoot both wide frames to show the overall arrangement and close-ups to reveal empty cavities or specific items. Save the original footage and back it up straight away. Do not edit the master file, and export an unaltered copy with metadata intact so timestamps and location details remain verifiable evidence.
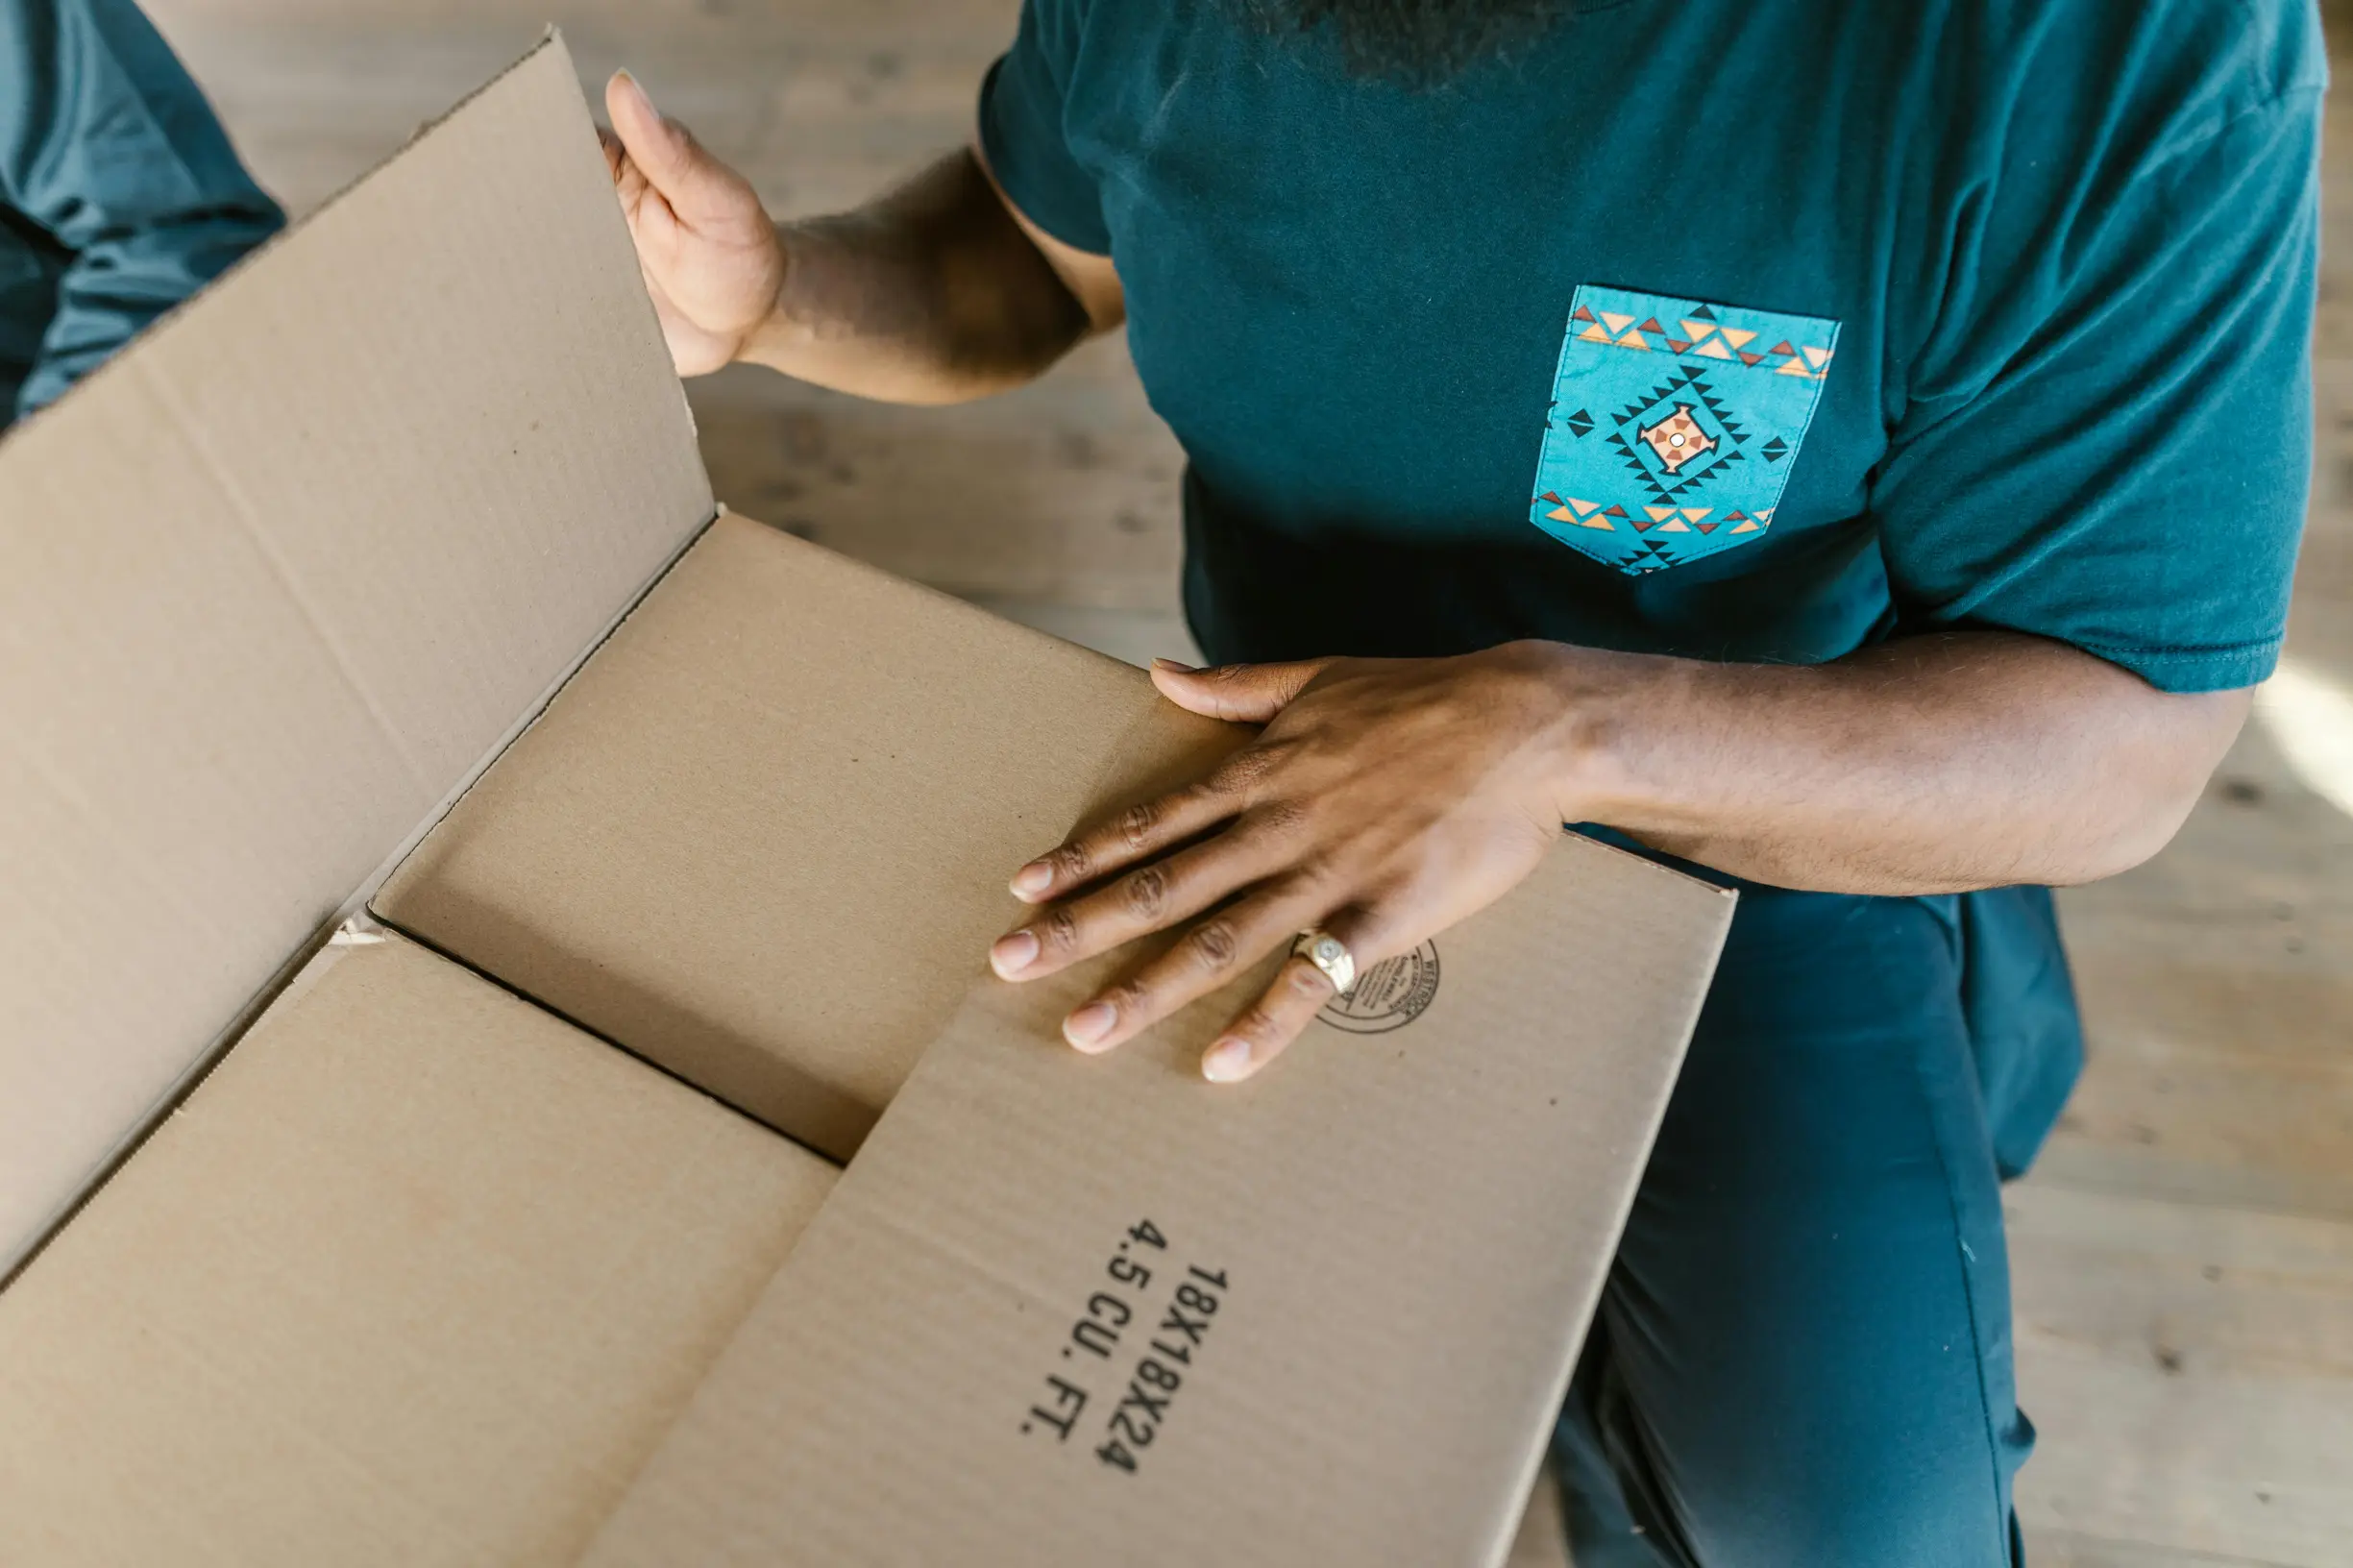
6. Arrange items neatly and photograph all contents clearly
Missing parts are a pain. To make claims, inventory checks or repair requests easier, try this simple approach: lay out every component, the packaging and any paperwork on a plain background, spacing items so nothing overlaps. Take a clear overhead photo that shows the full contents and any obvious empty spaces where something should be. Include a familiar size reference such as a ruler, credit card or coin to show scale. Photograph the packaging and any protective inserts, and take close-up photos of details and gaps so it’s possible to see whether a missing piece might have been tucked away. Label items with numbered sticky notes or paper tags, photograph the whole set with the numbers visible, then photograph each numbered item close up so each description can be linked to its image.
When you unpack an item, photograph all internal packaging, foam and compartments. Include shots that show empty cut-outs or loose pockets and any tears, dents, stains or residue that might explain a missing part. Take several sharp photos from different angles, keep the original files unedited to preserve context and metadata, and use consistent lighting and focus so details remain clear. Back up the originals so you can provide high-quality evidence to customer support or your insurer.
7. Check for empty compartments and signs of missing parts in packaging
Start by photographing the opened parcel from above so the interior layout is easy to see. Make sure the purchase label or invoice is visible in the frame and include a ruler or a coin for scale so viewers can quickly confirm parcel identity and cavity sizes. Capture a short sequence of shots that moves from the sealed exterior, through the opened flaps, to close-up photos of empty sections, creating a simple visual timeline that links the parcel exterior to its interior condition. Keep the label and scale in the same position across each shot to make later comparisons straightforward.
If you suspect an item has been removed from its packaging, clear photos will help document what happened. Try these practical steps when taking pictures:
– Take close-up and macro shots of moulded trays, foam cutouts and blister cavities while they are empty. Focus on edge impressions, residue or dust patterns that suggest a long-term absence rather than a hidden item.
– Photograph seals, overlapping tape, adhesive residue, any mismatched filler materials and displaced padding to show torn or resealed areas and signs of tampering.
– Capture part outlines, stamped cutouts, SKU or serial labels and adhesive marks inside cavities so you can match the missing component’s shape to the packaging evidence.
– Use consistent, even lighting and a shallow depth of field so details are clear. Include a scale reference in at least one close-up to show cavity dimensions precisely.
It may feel fiddly, but these photos give a clear, practical record that makes it easier to explain what you found.
8. Zoom in on serial numbers, labels, and markings
Need to document a missing part? Follow a simple photo sequence that links the piece to its packaging. Start with a wide shot to show context, then take close-up macro shots of serial numbers, labels and stamped markings. Save both the original files and cropped insets so you can zoom in later without losing detail. Use soft, even lighting, stabilise the camera with a tripod or steady surface, and angle the item slightly to reduce glare. Make sure each letter and digit is sharply in focus and include a familiar item such as a ruler or coin to show scale and placement. Name files clearly and keep the originals to preserve metadata so the sequence is easy to review.
When you need to document an item for review, photograph the matching identifiers on the component, any internal parts or cavities, the outer box and the delivery paperwork so reviewers can compare them side by side. Photograph any signs of tampering clearly — for example scratches, re-stamped digits, damaged seals, inconsistent fonts and displaced labels. Then take a wider shot to show those clues in relation to the whole package. Keep the original image files so metadata is preserved, and create annotated copies with arrows and close-up insets to highlight the critical details. Use clear, descriptive filenames that reference the delivery and the photo sequence so evidence can be located and verified quickly.
9. Use a familiar object to make size clear
If you need to photograph a missing part, make it easy for someone to judge its size. Place a ruler or measuring tape flat beside the part so the millimetre markings are fully visible and run parallel to the camera. If you do not have a ruler, a common item of known size, such as a coin or a standard bank card, works well as a scale. Take at least two photos: a tight close-up showing the part edges and the scale, and a wider shot showing the part in its packaging or on the delivery surface so others can see the context. Keep the camera perpendicular to the plane of the part and the scale, and place both on the same flat surface to avoid perspective distortion.
If you need to show a tiny part clearly, good photos make all the difference. Use even, shadow-free lighting and make sure the scale markings and small part details are sharply in focus. Keep the scale and the part on the same plane so the apparent size stays accurate, and position the markings parallel to the camera lens to avoid distortion. Include both a close-up and a wider shot so detail and context are visible at the same time. These simple steps produce unambiguous photos that others can check without having to guess.

10. Gather a clear, chronological evidence pack for submission
If a part is missing, clear photos make it much easier for someone to understand the problem. Start by photographing the parcel exterior: a full-frame shot of the package, a close-up of the shipping label and barcode, and any seals or tape so it is clear the parcel arrived intact. Record the unboxing in order, photographing inner packaging, protective materials and the items laid out. Include a ruler or a familiar object in at least one photo to show scale. Take both close-up and slightly wider shots of where the missing part should be, focusing on mounts, sockets, threads and any visible model identifiers or serial numbers. Finally, photograph the packing slip or parts list alongside the physical contents so an assessor can easily compare what was listed with what you received. Keep images well lit and in focus for the best results.
Keep original files and their metadata intact so you can preserve clear evidence. Avoid edits that strip EXIF information. Number images sequentially to show the order, and add a short caption to each picture describing what it shows. If you can, include an unedited video of the unboxing. Finally, put the originals and any annotated copies together in a single clearly labelled folder to make review straightforward. These simple steps help provide the context needed for a claim about a small missing part.
If you’ve ever received a parcel with a missing part, good photos can turn guesswork into clear evidence. Think about your lighting, take shots in a logical order, include something for scale such as a coin or ruler, and keep the photo file details and location info so you capture who, what and where to support returns or investigations.
Take the ten essential shots, in order, to create a clear, chronological record assessors can review quickly. Keep the original files, add short captions and organise the images so you can act with confidence and resolve any disputes with minimal fuss.