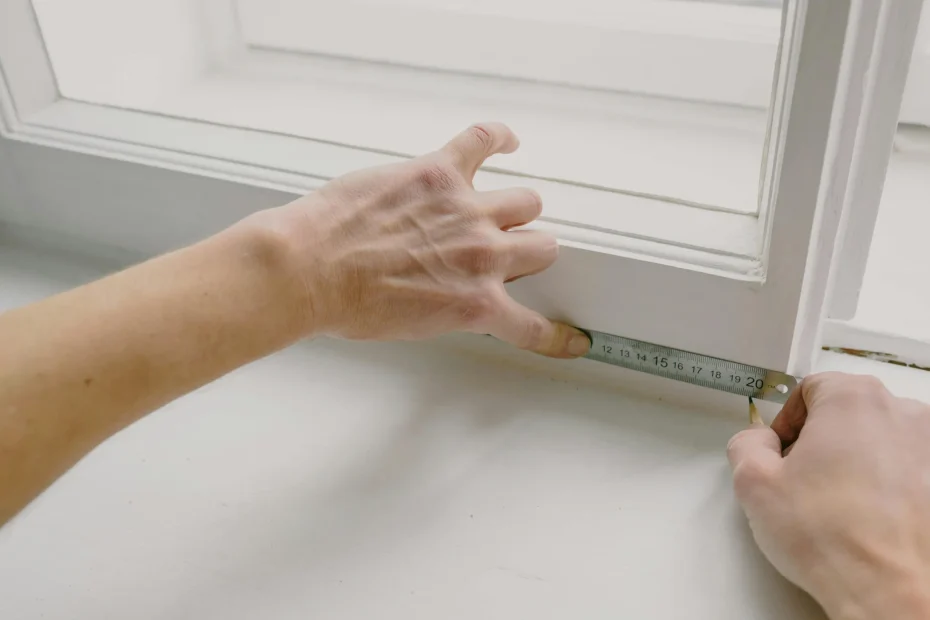
Ever used a photo to judge size and then been surprised by the actual dimensions? It happens to all of us. Small changes in distance, angle or camera position, along with a poor or missing reference object, often make things look the wrong size and lead to measurement errors.
In this post we explain why scale matters, how to choose a reference that suits your subject and context, and where to place it to control distance, alignment and perspective. We also cover camera, focus and lighting adjustments, plus straightforward recording and annotation techniques so your images become reliable records for comparison and measurement.
Why scale matters and how to avoid common mistakes
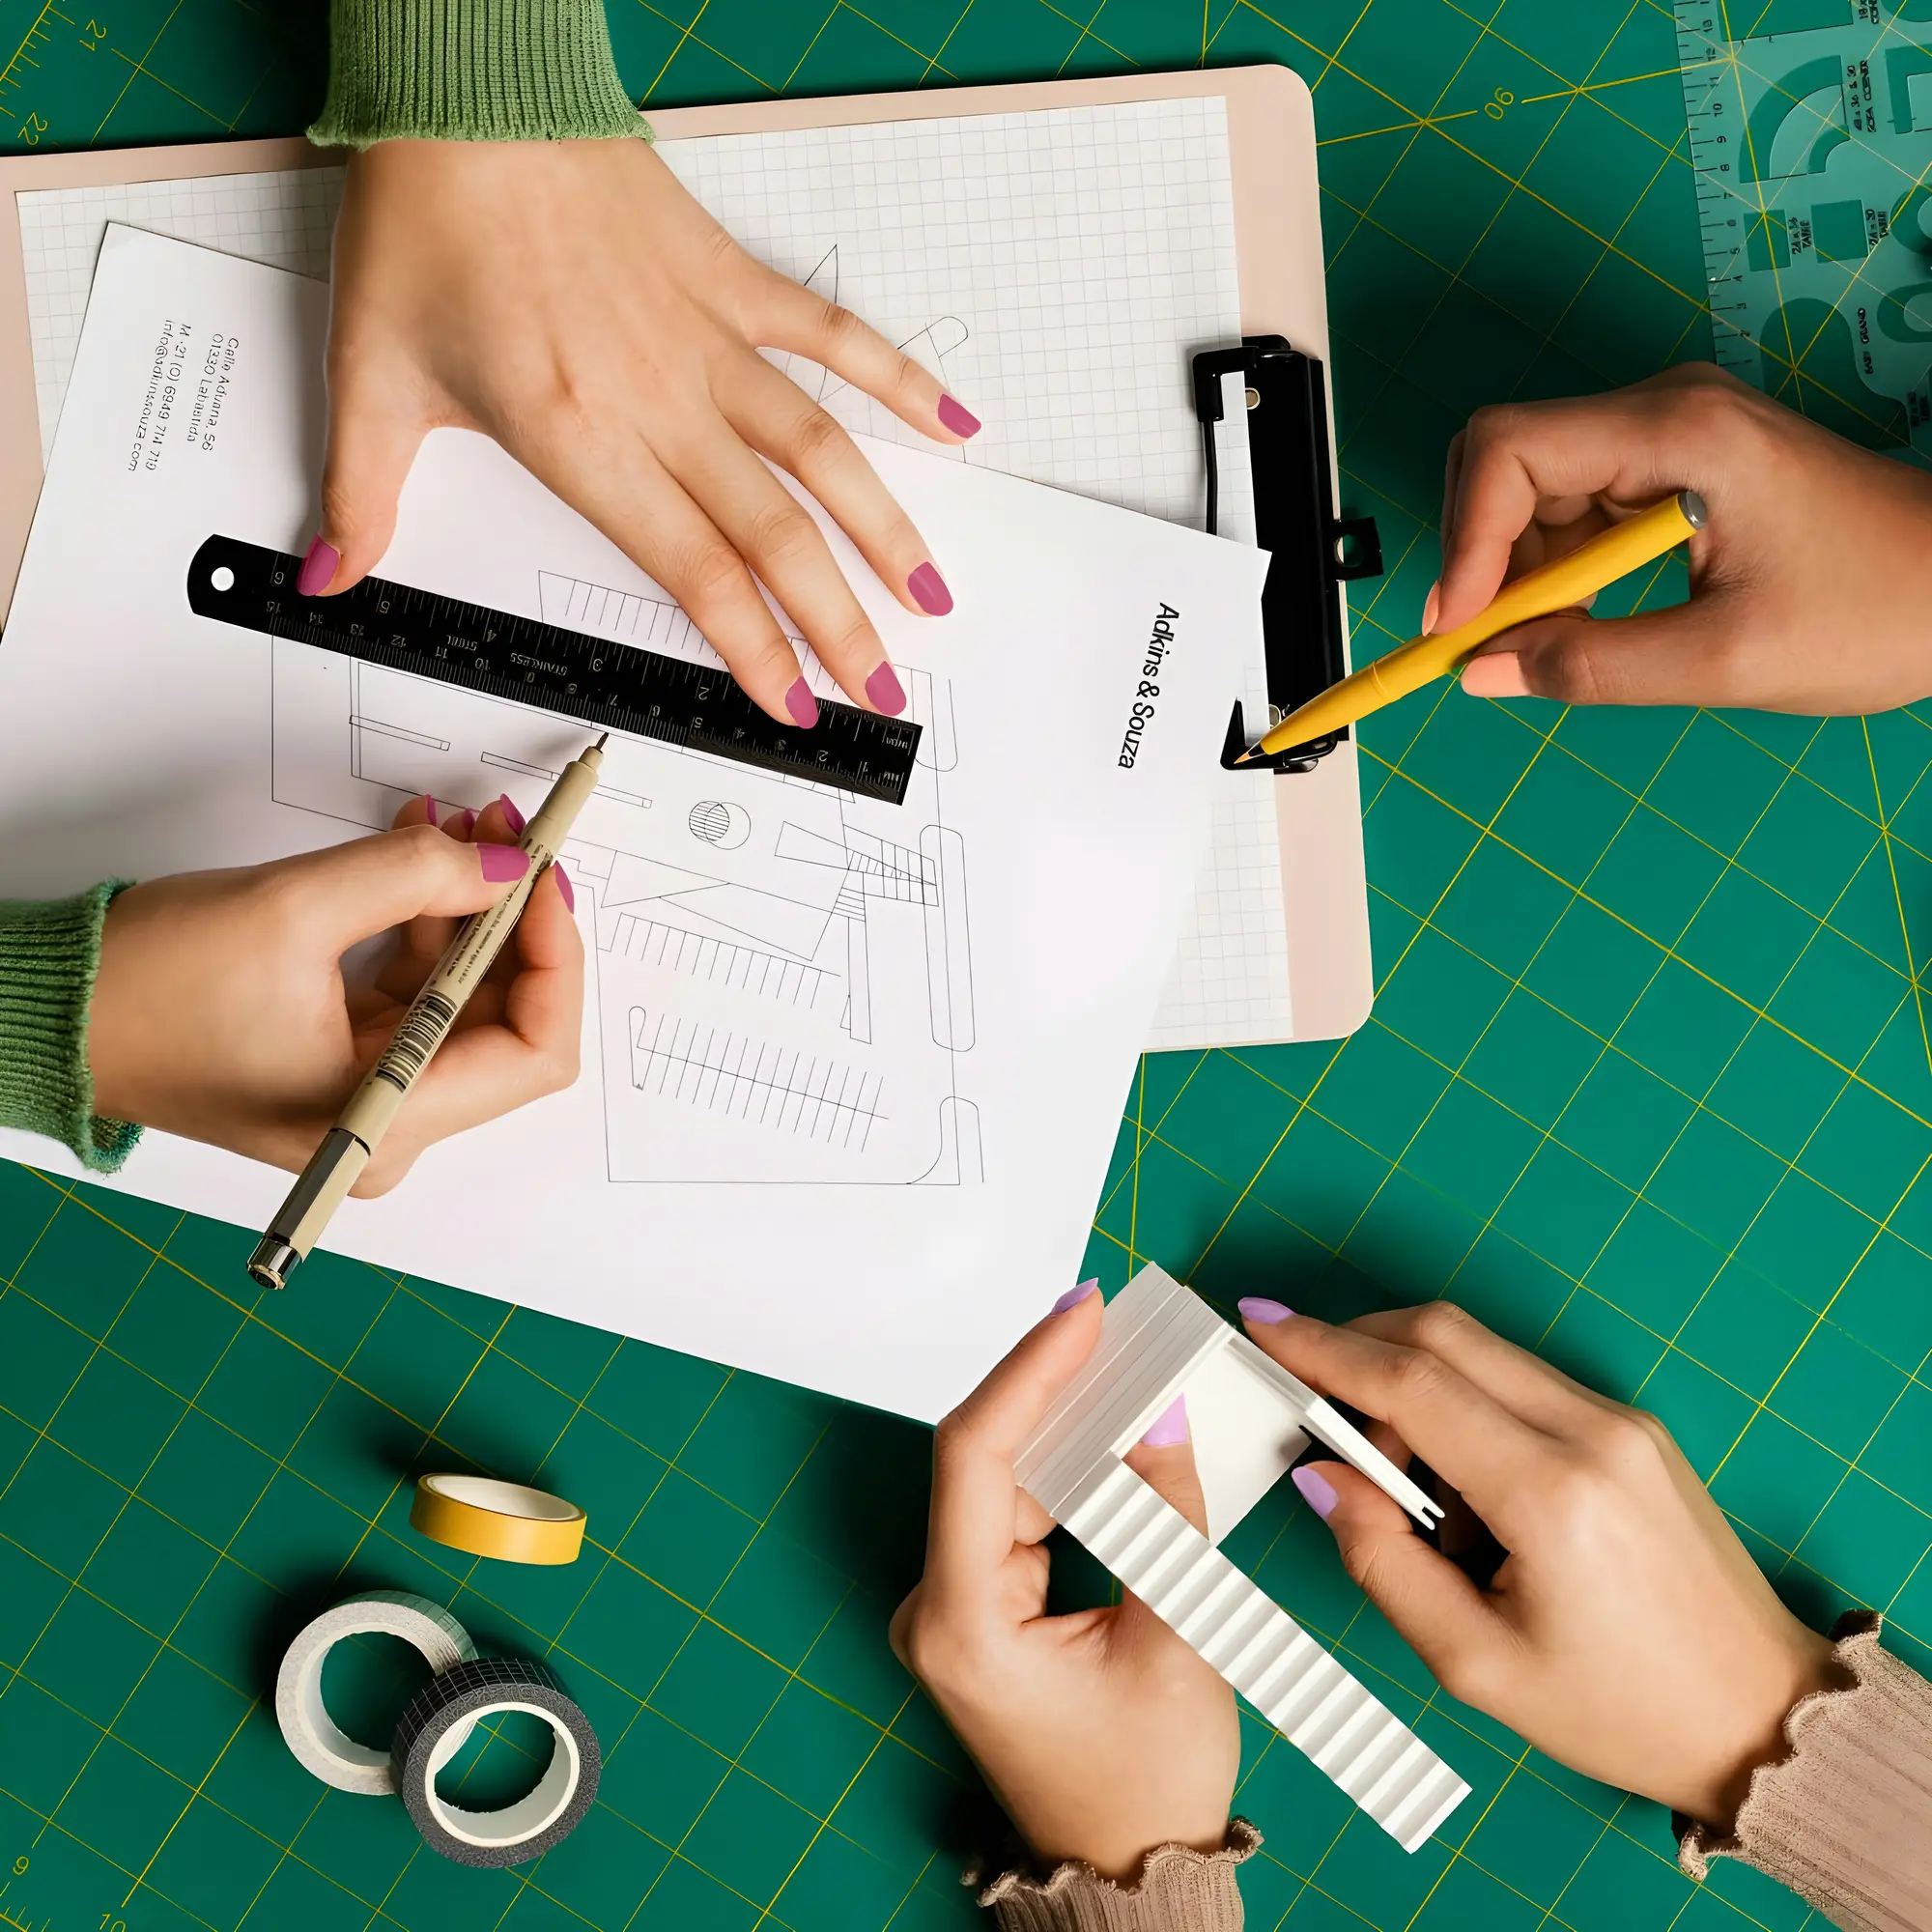
Try a simple hands-on experiment to see how apparent scale changes with distance. Photograph a 10 centimetre ruler at three different distances, keeping the camera settings identical each time. Measure the ruler’s height in pixels in each image to confirm that apparent size decreases as distance increases.
When you shoot, place the ruler on the same plane as your subject and align its base with the subject base to avoid parallax. Keep the ruler upright and match its lighting and orientation so shadows or foreshortening do not affect measurements. Keep the focal length constant and avoid cropping the reference. Finally, show pairs of images that demonstrate how each common error skews perceived scale.
If you want to reproduce measurements from photos later, record a few simple details on site. Note the distance from the camera to the subject, the camera height above the ground, the focal length or zoom setting, which face of the reference faced the lens, and take a separate close-up of the reference so its dimensions can be checked independently. Use a reference object of known length in the same plane as your subject when possible.
To convert pixels into real world size, use this method: divide the subject pixel height by the reference pixel height, then multiply the result by the known length of the reference. In other words:
subject real height = (subject pixel height / reference pixel height) x reference real height.
A short walkthrough for measuring pixels: open the image in any basic image editor or viewer that shows pixel dimensions, use the marquee or measurement tool to get the height in pixels for both the subject and the reference, and record those numbers. If your editor does not show pixels, check the image properties or use an online pixel ruler.
Include annotated visuals with traced perspective lines so readers can follow the geometry and reproduce the calculation accurately. Add examples that demonstrate how perspective alters apparent size, for example a nearby reference making a distant subject look much smaller, or a low camera angle lengthening objects.
Finally, highlight common mistakes with concrete examples: placing the reference too close or too far from the subject; angling the reference so it appears to float off the surface; using an object of unknown or variable dimension; changing focal length between shots; or cropping out parts of the reference. Pointing out these errors helps others avoid them and get reliable measurements.

How to pick the right reference object for your subject and context
When you need to show scale, pick reference objects that suit the subject. For small items, place a ruler or a coin flat on the same plane as the subject to avoid parallax and make dimensions easy to compare. For larger subjects, include a person, vehicle or architectural feature so size is immediately obvious. Everyday shapes like a hand, chair or sheet of paper work well because viewers instantly recognise proportions and can infer how the item is used.
Choose high-contrast, matte reference objects that stand out from the background without creating specular highlights or colour casts; this also helps camera metering. Wherever possible place the reference at the same distance from the camera as the subject. If you cannot, note the offset or add multiple references at different depths to reveal foreshortening and lens distortion. Use the same reference, placement and orientation across a series to keep results comparable. Mark the reference spot and record camera height and angle so later measurements and comparisons remain reliable and reproducible.
Positioning a reference point to control distance, alignment and perspective
If you need accurate proportions, put the reference on the same level as the subject so perspective does not make things look the wrong size. Use two or three references placed near, mid and far. Compare how their apparent sizes and sideways shift change across frames to judge depth and to spot when a single reference might be misleading. Line up the bases of the reference and the subject, or place a small ground marker, to prevent vertical distortion from camera tilt, since converging verticals can make heights look off.
When you need accurate scale between two shots, match the camera height, viewpoint and focal settings for the reference and the subject. Any change in viewpoint or lens characteristics will alter apparent size. Choose a simple, recognisable reference object with known dimensions and good contrast against the background so both your eye and any measurement tools can lock on reliably. Record the reference’s exact measurements with each image and note where it sat in relation to the subject and the camera. Consistent viewpoints, using more than one reference when possible, and clear records of dimensions make it much easier to calculate scale and depth confidently and to spot when perspective might be misleading.
Positioning, camera matching, and measurement procedures
- Place references on the same plane as the subject, align bases or use a ground marker or plumb line to remove vertical tilt, and physically fix markers so they cannot shift; deploy two or three references at near, mid, and far positions to reveal parallax and expose when a single reference is misleading.
- Replicate camera viewpoint and optics: match camera height, tripod position, focal length, focus distance, and crop or sensor setting, lock zoom and focus, and level the camera to prevent converging verticals from altering perceived height; keep exposure and contrast settings that preserve reference edges for measurement.
- Record precise metadata and measurements with every shot: note each reference’s exact dimensions, its position relative to the subject and camera, distance to camera, and all camera settings; annotate images or include a scale bar in-frame so measurements are traceable and reproducible.
- Use parallax and simple photogrammetry to compute scale and validate results: compare apparent sizes and lateral shifts between references across frames to estimate depth, convert pixel measurements to real units using the known reference, and cross-check with triangulation or an independent measurement when possible to detect perspective errors.

How to adjust your camera position, focus and lighting to minimise distortion
If you need photos for reliable size comparisons, a few simple tweaks make a big difference. Put a reference object level with your subject and keep the camera sensor square to that plane to reduce parallax. Step the camera back and, where practical, use a longer focal length to compress perspective. If you must change focal length between shots, try to keep the camera-to-subject distance the same so comparisons remain fair. Increasing the distance lessens the exaggerated look of nearby items, giving more trustworthy size estimates. Stick to the same setup each time so measurements and scale judgements stay comparable.
Keep the reference on the same plane as your subject. Use a smaller aperture to increase depth of field, or capture several focus points and blend them in post so the reference stays sharp and does not appear to change size because of blur. Light the reference from the same direction, with the same quality and intensity as the subject to preserve contours, texture and accurate edge definition. Check your setup with test shots and use grid lines, a spirit level or scale markers to confirm alignment, and inspect images from slightly different positions to make sure skew and parallax are minimised.
How to record measurements, annotate images and capture multiple views
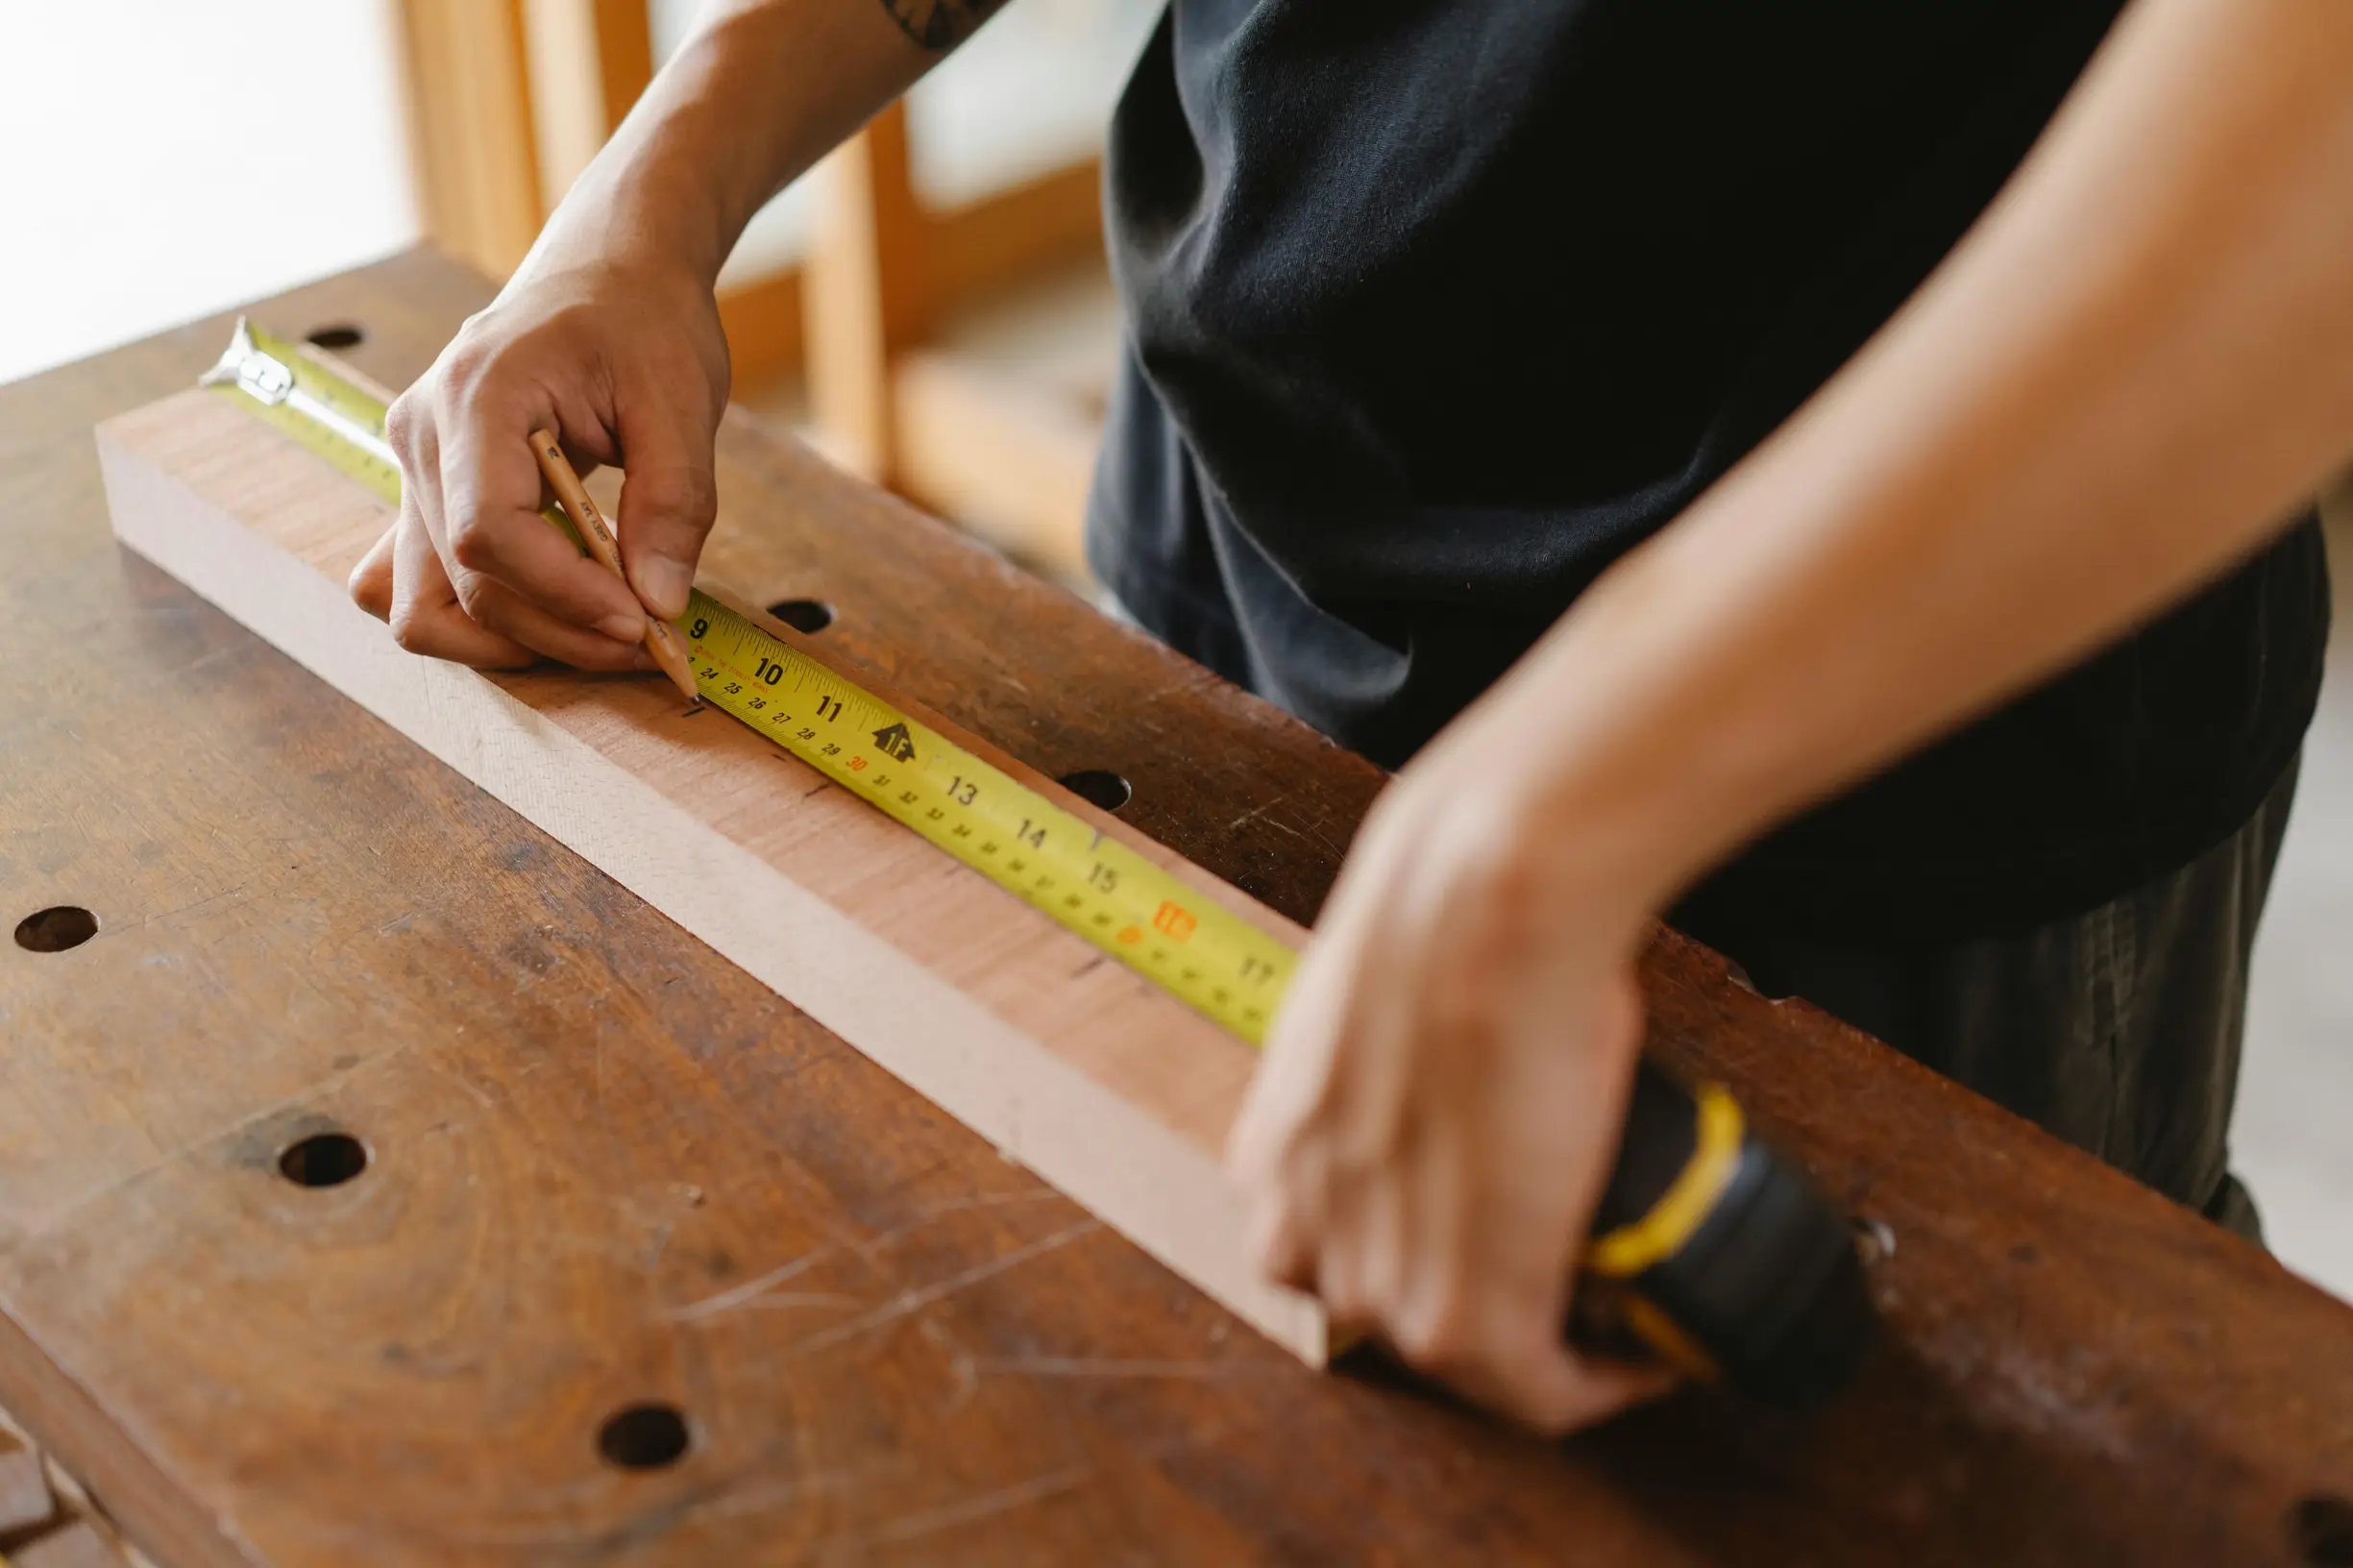
Getting accurate measurements from photos can be fiddly. Use a reference object and follow these simple steps to minimise parallax and improve measurement reliability:
1. Position the reference correctly: put the reference object flush against, or in the same plane as, the subject. Aim to shoot with the camera perpendicular to that plane. If you cannot shoot perpendicular to the plane, record the camera-to-object distance and the camera height so you can apply geometric correction later.
2. Capture at least three complementary views:
– A wide, contextual shot showing where the reference sits relative to the subject.
– A close-up with the reference touching the feature of interest so you have a direct scale.
– An orthogonal or top-down view for accurate dimensioning.
Label each image with its vantage point so you can keep them organised.
3. Use multiple reference objects: include known objects of different sizes, all kept in the same orientation. Compare measurements derived from each reference to spot perspective distortion and to quantify measurement uncertainty.
Following these steps will help you reduce distortion and produce measurements you can trust.
If you need a third party to reproduce or verify measurements from your photos, make the images self explanatory and store clear technical notes with each file. On every image include a scale bar, arrows and measurement labels with units, an orientation arrow, and a short caption that states tolerances so someone else can reproduce your results. Also record camera metadata with each file: camera position and height, approximate lens field of view or focal length, image resolution and lighting conditions. Keep these details together with the images so you can apply metric correction, reprojection or photogrammetry when precise dimensions are required. Clear annotation plus complete metadata lets you correct perspective, cross check measurements and document uncertainty for reproducible verification.
If you need accurate measurements from photos, a little planning makes all the difference. Place a high-contrast object of known size on the same plane as your subject so it shares the same focal distance. Keep the camera geometry consistent by using the same angle and distance, and match lighting and focus settings between the reference and the subject. Capture complementary views from different angles and note contextual details and metadata for each image. It might feel fiddly at first, but these simple steps help turn ordinary photos into reliable, verifiable measurement tools.
To make your measurements reproducible, include repeated measurable reference points, flat aligned bases and clearly annotated images. That reveals perspective effects and lets you quantify uncertainty so others can repeat your work. Follow the checklist for positioning, camera settings and annotations from the headings to reduce error, keep results comparable and make each photograph a reliable record. It might feel a bit fiddly, but these steps make checking and sharing measurements much simpler.