
Even a single crop or small retouch can change what a photo seems to say, turning useful context into confusion and chipping away at viewers’ trust. How can professionals and creators edit images to make them clearer or more attractive without losing the truth, the context, or the trust of the people who see them?
Try this straightforward workflow for handling image edits responsibly.
– Verify context, intent and consent before you begin.
– Make careful, precise edits. Export clearly labelled copies and keep the originals unchanged.
– Preserve metadata and be transparent about any changes you make.
Following these steps reduces the risk of misinterpretation, strengthens credibility and helps maintain a clear, honest relationship between your images and your audience.
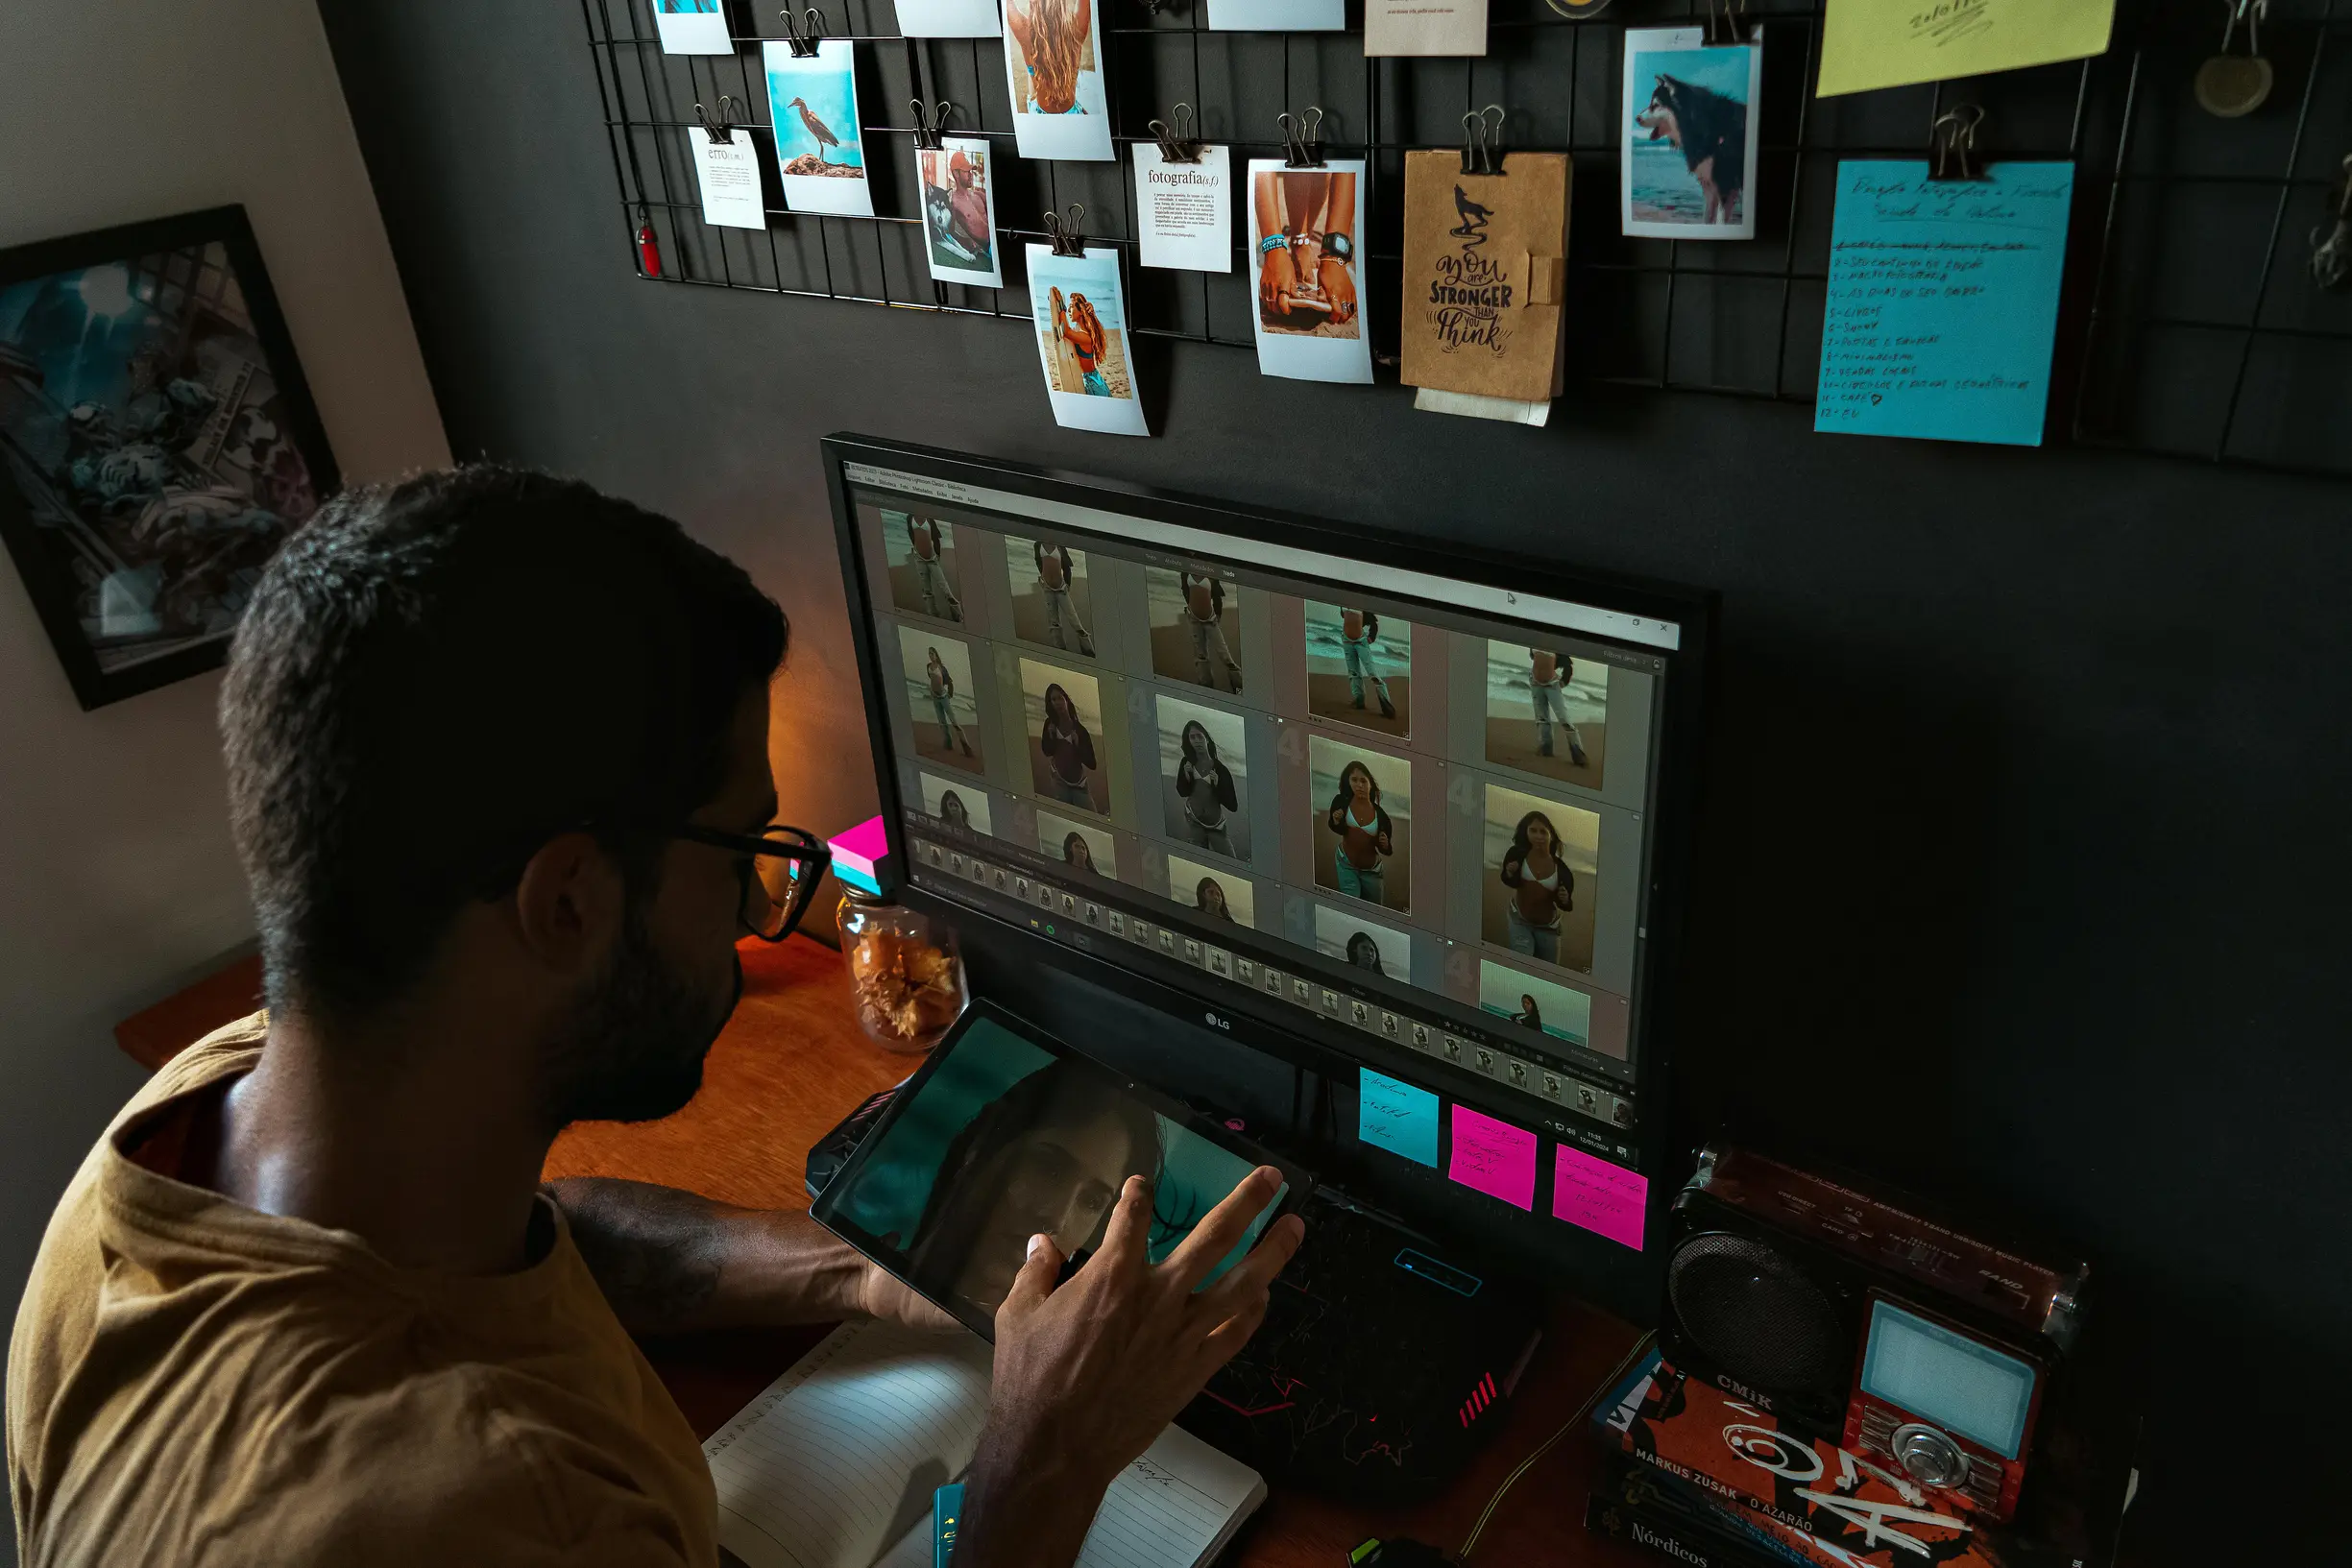
How to Check Context, Intent and Consent Safely
If you need to check or edit an image, start by finding the earliest available copy and compare its file metadata, publishing history and visual details. Differences between the original and the current file often reveal misattribution or prior alterations. Keep the originals and record their provenance so you have clear evidence of where the image came from.
Be clear about why you are editing the image. Ask how it will be used and classify the intent as informational, artistic, journalistic, commercial or persuasive. That helps you decide how much to alter the image and what level of disclosure is appropriate.
Always obtain and document consent from anyone who can be identified and from rights holders before changing recognisable features. Secure written or recorded permission, note the permitted scope of use, and explain how edits could affect a person’s anonymity or dignity. Keeping clear records will protect you and respect the people in the image.
Images can be really helpful, but they can also mislead or cause harm if edited without care. If you are editing or sharing visuals, try these practical steps to protect context and trust.
– Label important changes and add captions that explain what was altered. This helps readers understand the image at a glance.
– Avoid cropping that removes key context. If the crop changes the meaning, keep a version that shows the full scene.
– Make original images available or clearly note when an original is not shown, especially if edits could affect interpretation.
– Do a simple risk check. Imagine how the image might be misused, what privacy harms could arise, and whether edits could mislead people. If risks turn up, reduce or undo edits, add clear disclosures, retain originals, or choose not to publish.
– When unsure, favour transparency. Share provenance, basic edit logs, or side-by-side comparisons so readers can judge for themselves.
Following these steps helps preserve trust while still allowing legitimate uses of imagery in informational, artistic, or commercial contexts.

Make precise edits and export clearly labelled copies
Keep an untouched master so you can always revert or reproduce your edits. Save the original RAW or highest-quality capture, plus a layered work file that records every change. Think of the master as your safety net.
Use a clear file-naming convention so files are easy to find and understand. For example: filename_orig, filename_master, filename_export_v1.
Embed provenance metadata that records who edited the file, which tool was used, and a short summary of the changes. That makes it easy for others to see how a file was altered.
Maintain a plain-text changelog listing each adjustment with the numeric settings used. This helps reviewers judge the extent of any alteration without opening the layered file.
Create cryptographic hashes for the originals so third parties can verify file integrity if needed.
It might feel like extra work at first, but these non-destructive habits make editing more reliable and give you peace of mind when you need to revert, share, or validate files.
When exporting images for archiving and distribution, keep things organised and transparent so edits can be reproduced later. Try this approach:
– Create an archival master in a lossless format (for example TIFF or PNG) with an embedded colour profile and full metadata. This is your high-quality source file.
– Produce separate distribution copies sized and compressed for the intended platform, and use clearly labelled filenames so it is obvious which file is which.
– For any significant manipulations, add an on-image caption or small inset explaining the change and include visual evidence. Useful options are a side-by-side before-and-after, a difference map that highlights pixel-level alterations, or an interactive toggle to show what was changed.
– Store exports in a versioned folder structure and include a README that states intended use and any restrictions for each version.
– Keep a short notes file listing key slider values or percentage changes used during editing to improve transparency and make future adjustments easier.
Following these steps makes it simpler to track changes, share work with others, and revert or reproduce edits when needed.

How to preserve originals, keep metadata and disclose edits
If you want to keep original files safe and make edits fully traceable, follow this simple checklist. Store originals untouched in a read-only archive and generate a cryptographic hash for each file so you can verify they have not been altered. Keep every derived version and document how each one was created so you can demonstrate what changed. Use non-destructive editing workflows by working with layers, adjustment stacks and sidecar edit files, and export final images as separate files. Keep a clear, human-readable edit log that lists the tools used and the key parameter changes so others can reproduce your edits from the originals.
When you publish images, try to preserve embedded metadata such as EXIF and IPTC where possible. Record any changes to location or camera settings in a separate provenance record, and attach a short machine-readable summary to published files so their history is clear.
Label and disclose any significant edits in captions or an accessibility note. Say whether you cropped the image, changed exposure, applied colour grading, composited elements, or removed objects, and explain the editorial reason so readers can judge how those changes affect meaning.
Publish originals alongside edited versions, and annotate the key differences. Run simple tests, for example by showing a cropped or desaturated version, to demonstrate how perception shifts. Use those comparisons and tests to set internal editing thresholds and to provide transparent evidence when presenting images to an audience.
If you edit images, aim to keep their link to the truth and the trust of your audience. Record an image’s provenance, keep clear, readable edit logs and provide transparent before-and-after comparisons so others can verify what changed and judge the impact.
Try a simple, practical workflow when handling images: check the context, intent and consent; use non-destructive, precise edits and produce clearly labelled exports; and keep the original files, metadata and any disclosure notes so decisions remain accountable. Doing this consistently reduces misinterpretation, protects the people shown in images and helps readers interpret visuals for themselves.