
It can be worrying. Asbestos can lurk in unexpected corners of older homes and buildings, and a quick inspection often misses the materials that bring health and legal risks. How do you choose the right survey to make sure any hidden asbestos is properly identified?
This guide explains the three survey approaches that target likely asbestos locations and signs, how to match the survey scope to your property and concerns, and the questions to ask to clarify findings and next steps. Read on for practical steps to spot hidden materials, interpret reports and avoid unexpected problems during refurbishment or ownership changes.

1. Identify common asbestos hotspots and warning signs around your home
If you come across any of the following materials, they commonly indicate the presence of asbestos: textured or stippled ceiling coatings, cloth-wrapped or rope-like pipe lagging, corrugated or cement sheeting with fibrous edges, vinyl or linoleum floor coverings with felt or bitumen backing, and brittle, powdery patches where paint or cement flakes.
Pay particular attention to boiler and plant rooms, roof spaces and eaves, pipe runs and service voids, fireplaces and flues, and under floorboards, because these areas were often used for insulation, fireproofing and adhesive products.
Assess the condition to estimate how likely fibres are to be released. Look for cracking, flaking, chalking, water staining or makeshift repairs. Visibly damaged, crumbling or dusty materials are much more likely to release fibres than intact, bonded products.
Document what you find without disturbing any materials: photograph suspect areas, map their exact locations and note the material appearance and how accessible it is. If you spot anything suspicious, avoid touching, sweeping or disturbing it. Do not attempt to sample or remove materials yourself; leave sampling and testing to qualified professionals.
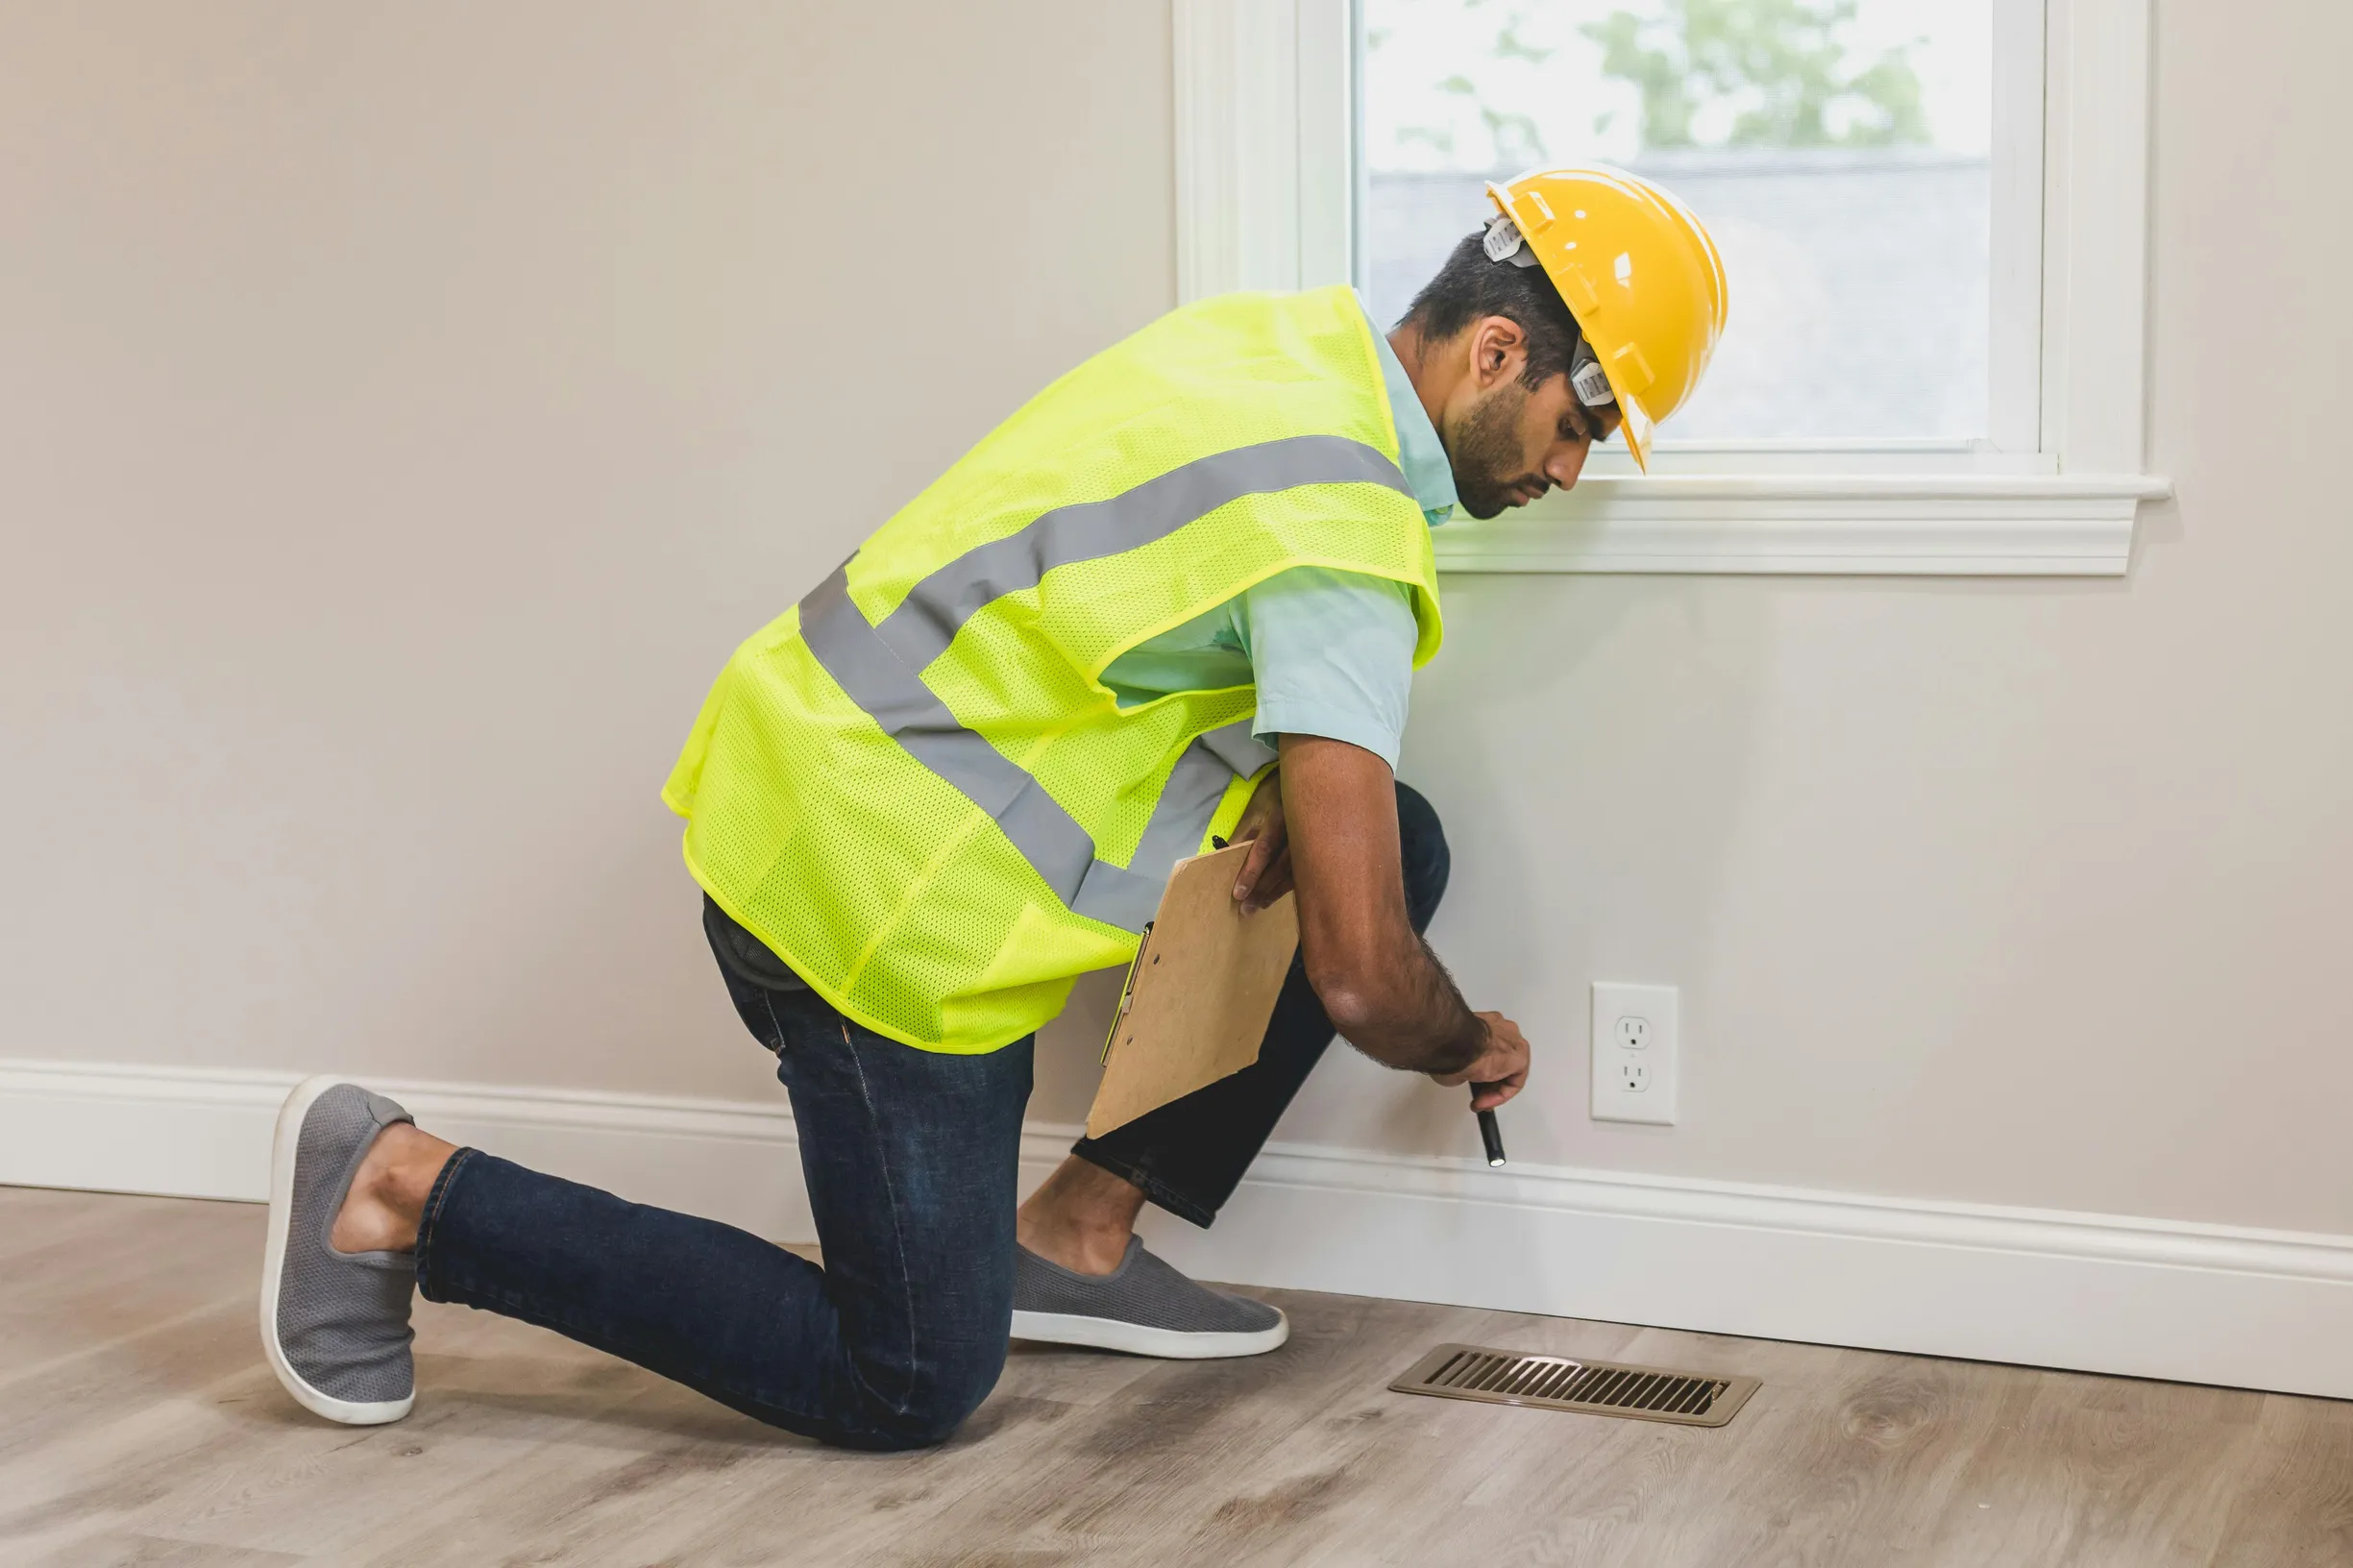
If you suspect there may be hidden insulation, start with a non-invasive visual check using a torch and a small mirror. Look in cavities and behind plants or furniture for tape-wrapped joints, layered coverings or residue trails that might be hiding insulation. Note any mismatched patches or recent coverings and make a simple sketch or take photos from a safe distance to record what you find. Do not scrape, drill or remove samples yourself; keep suspect areas intact and arrange for a qualified surveyor to safely test and classify any asbestos-containing materials.
2. Match the survey scope to your property and priorities
Start by describing the building and any access constraints. Note the construction type, number of storeys, roof and ceiling voids, plant rooms and service ducts. Flag spaces that cannot be checked without intrusive inspection so the surveyor can prioritise likely hiding places such as pipework lagging, soffits, eaves and textured coatings.
Match the inspection scope to the planned work. Is the aim routine management, refurbishment or demolition? Where the works will expose concealed fabric, require intrusive inspection, because non-intrusive checks can miss materials behind finishes or inside voids.
Be clear about inspection depth and your sampling strategy. Combine visual checks with targeted destructive openings where justified, and use representative sampling. Ask for the report to record sample locations, chain of custody and laboratory identification so readers can judge how reliable the findings are.
Start by prioritising areas according to risk and who uses them. Pay special attention to friable materials (those that can crumble and release fibres), mechanical services, and places used by vulnerable occupants. Ask for an assessment of condition and the potential for fibre release so you can decide whether urgent controls, planned removal, or ongoing management are needed.
Ask for these clear deliverables:
– Annotated plans showing sample locations and any areas of concern.
– Labelled photographs that match the plans.
– A concise condition assessment for each area checked.
– Specific recommended actions tied to each finding, so you know what to do next.
Make sure the survey records any access restrictions, assumptions, and the methodology used. That makes it possible to compare results between surveys and understand any limitations.
Finally, ensure the report links every sample result to its exact location, provides the laboratory identification and evidence of chain of custody, and explains the basis for the confidence levels given in the recommendations. That information makes it easier to plan sensible, proportionate next steps.

3. Ask surveyors the right questions and understand the survey report
If you are commissioning an asbestos survey, start by asking the surveyor to set out the survey scope, any stated limitations and any access assumptions. Ask for annotated floor plans and photographs so you can clearly see which rooms and materials were inspected and where gaps might exist. Request details of the sampling strategy, chain of custody records and the laboratory accreditation used, and ask for a plain-English explanation of how specific sample results support the identified asbestos type and condition. Challenge vague terms such as “presumed present” or “not accessible” by asking for the evidence behind them, and check whether intrusive inspection or targeted sampling of concealed spaces is needed to resolve any uncertainty.
Ask the surveyor to prioritise the findings into a clear, actionable order so you know what needs doing first. For each item they should:
– Set out immediate controls, any monitoring that is needed, and the realistic options for removal or encapsulation.
– Say who should carry out each task so you can brief contractors and managers without guesswork.
– Give plain language descriptions of the material’s condition, its form and an estimated quantity.
– Explain how each finding affects the risk of fibre release and what, if any, regulatory duties apply.
Finish with a justified recommendation that links the evidence to practical next steps. That way you can plan confidently, without relying on technical guesswork.
A targeted survey, chosen to match the building, access constraints and planned work, provides a thorough way to reveal concealed asbestos. Combine careful visual checks in high-risk areas with representative sampling and a recorded chain of custody to produce findings you can act on.
It helps to ask surveyors to set out the scope, any limitations, the sampling methods used and the actions they would prioritise. That way each finding points to a clear next step. Whether you are managing, refurbishing or demolishing, you can plan controls or removals with confidence and reduce the risk of unexpected hazards.