
We all know how frustrating it is when important papers are scattered in folders and digital files sit in unlabelled directories, turning a simple search into a time-consuming scramble. How can you organise both paper and digital evidence so the things you need are always at hand?
This step-by-step guide shows how to organise and manage evidence so it is easier to find, secure and share. Start by mapping items by value and urgency so you prioritise what needs attention. Design a single, consistent filing structure that works across file types and devices. Adopt clear naming, tagging and metadata standards so searches are reliable. Put in place secure storage, regular backups and sensible access controls to protect originals and copies. Keep a clear record of the chain of custody so reviewers can verify provenance. Following these steps will speed up retrieval, reduce risk and make cross-media evidence simpler to verify and share.

How to map and prioritise evidence by value and urgency
It can feel daunting to triage records, but breaking the process into simple steps makes it manageable. Start by defining clear scoring criteria, for example evidential strength, legal relevance, perishability, access frequency and sensitivity. Give each criterion a weight that reflects its importance, then score items against those criteria and combine the scores to produce a ranked list that matches your priorities. Plot the ranked items on a value versus urgency matrix and assign a handling rule to each quadrant. For example, high-value, high-urgency items should be captured immediately in a secure digital system with restricted access for review, while low-value, low-urgency items can be moved toward archiving or secure disposal under your retention rules. Using a numerical scoring method makes prioritisation reproducible and helps ensure triage decisions are auditable and defensible.
Keeping case material organised and searchable becomes much easier if you put a few straightforward rules in place.
– Use a consistent tagging, metadata and file-naming scheme. Include structured fields such as case identifier, source, custodian, acquisition method, retention instructions, keywords and priority level. Apply OCR to scanned documents so they are text searchable.
– Build a simple intake triage workflow and checklist to record provenance and condition. Capture any perishable material immediately, apply provisional tags and storage, log the chain of custody, and route items according to their place in your matrix.
– Map classification levels to specific physical and digital storage paths, access tiers and audit controls. For paper files, require photographed handovers or an access log. For digital files, use immutable audit trails and clear version history.
– Set clear reclassification triggers so items can move between tiers when new information, legal requests or case developments change their assessed value or urgency.
Keeping the system simple, consistent and well documented makes it easier to find what you need, demonstrate provenance and reduce risk.
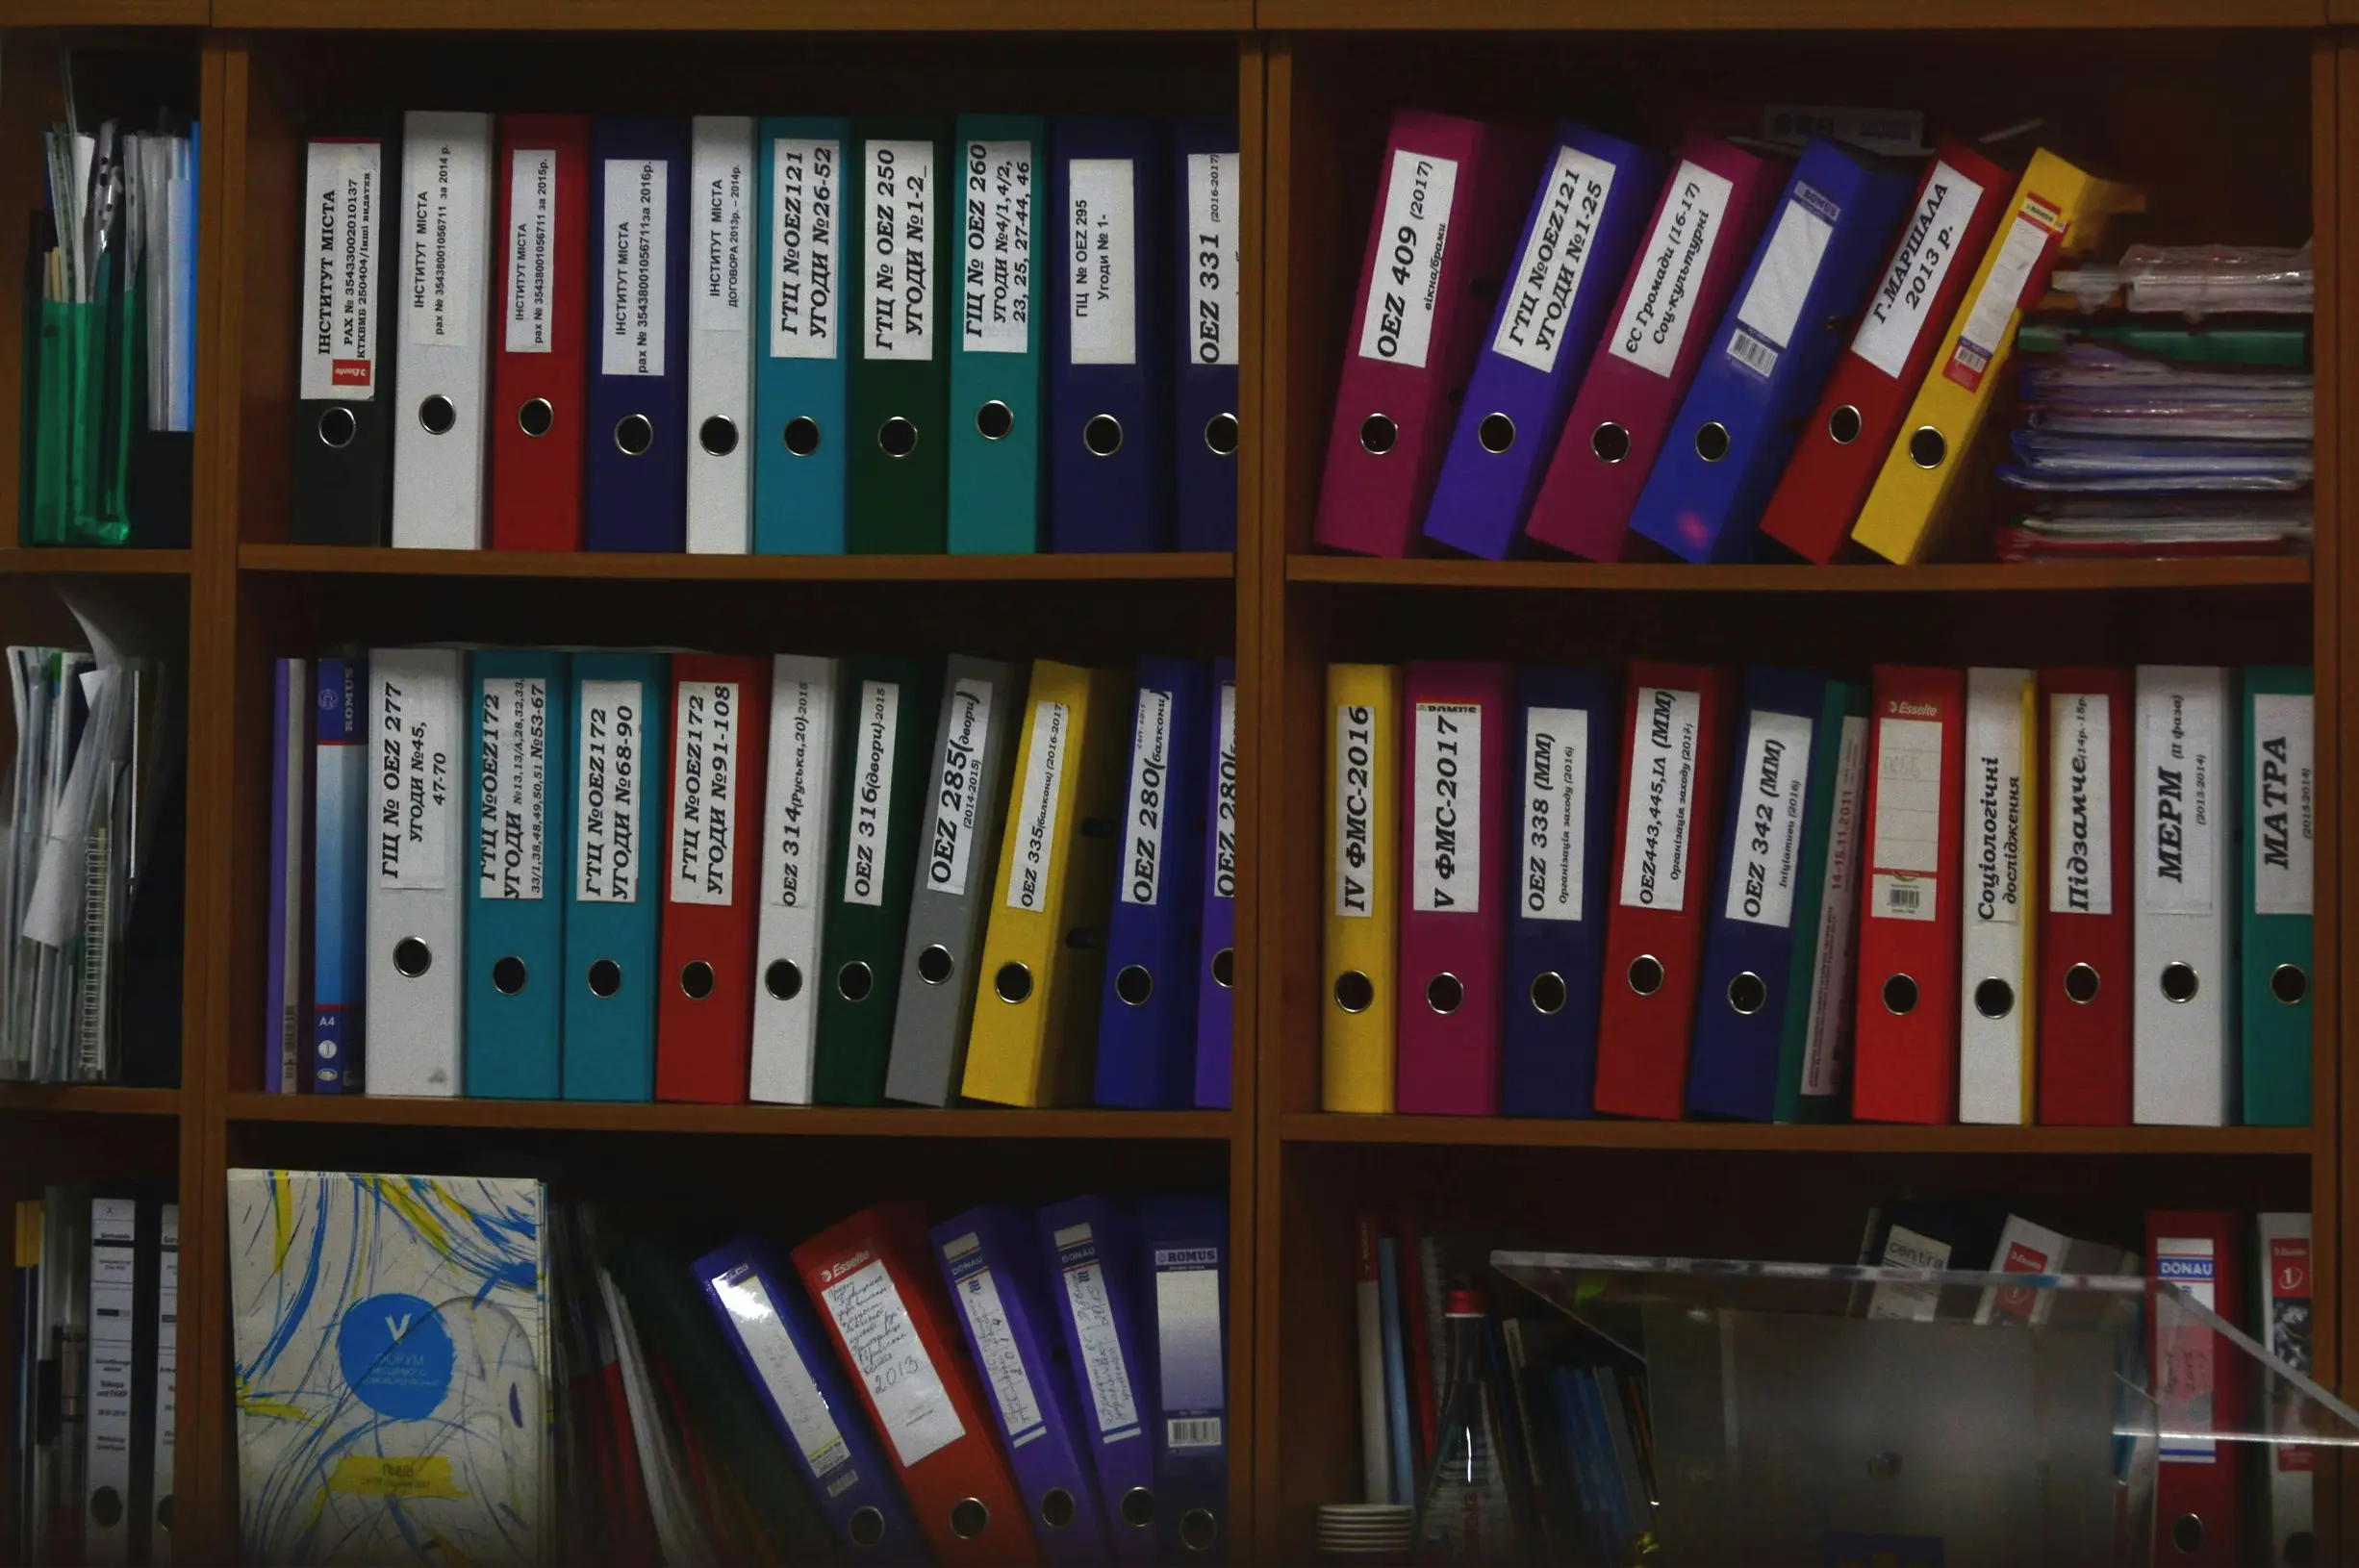
Create a simple unified filing system for paper and digital documents
Keep paper and digital files working the same way to save time and hassle. Start by choosing a small set of top-level categories that apply to both formats, for example Clients, Finance, Projects, HR and Archive. Limiting the number of categories reduces decision fatigue and makes filing faster. Use a single, clear naming convention for filenames and physical folder tabs, for example ClientLast_ClientFirst_DocType_Reference. Be strict about versioning and use consistent separators so both people and automated tools can parse names easily. Mirror the physical and digital hierarchies so every drawer or shelf has an equivalent folder path, and label physical folders with the exact digital path or identifier to minimise lookup errors.
Keeping records tidy saves time and stress. Make metadata consistent and easy to search so you can find what you need quickly.
– Assign a unique ID plus a client or project code, document type and status. Record these fields in file properties, a central index or a searchable spreadsheet so you can filter and sort across your records.
– Set clear rules for retention, archiving and access at the point of filing. That helps files destined for archive to be moved predictably and ensures restricted items receive the correct access tags.
– Keep a simple audit trail that notes who accessed or moved a record. This supports accountability as your system grows.
– Apply naming, metadata and retention rules consistently, and use the central index to cross-reference paper and digital records for fast retrieval.
Following these simple steps will make your records easier to manage and reduce the time spent hunting for documents.

How to adopt consistent naming, tagging and metadata standards
A good place to start is enforcing a tokenised filename template at the point of capture, for example [CaseID]_[DocType]_[Version].[ext]. Avoid spaces and pick a single casing style so listings and filters sort predictably. Define a controlled tagging vocabulary, grouping tags into families such as Document Type, Custodian, Jurisdiction and Status, and record the allowed values to prevent tag sprawl. Require a minimal metadata schema on intake that includes a persistent identifier, case ID, document type, a standardised capture marker, source and access class to keep searchability structured and reliable.
If you’ve ever wasted time hunting for the right file, a few simple routines can make searches reliable whether your records are digital or on paper. Embed searchable metadata and the full text into digital files, and link any physical folders to the same record by printing labels or barcodes that map back to it, so one search returns a single canonical result. Use OCR on scans, write metadata into file properties or XMP, and record checksums to protect integrity and enable automated deduplication. Automate upload validation and batch renaming to reject or flag items that lack required tokens, and use content-hash duplicate checks to cut down on manual review. Finally, assign a document owner to monitor, review and update the standard as needs evolve, so governance does not rely on individual memory.
Practical controls for filenames, tags, and embedded metadata
- Enforce a tokenised filename template and validate at intake: require a minimal pattern such as [CaseID]_[DocType]_[YYYYMMDD]_[Version].[ext], ban spaces, pick a single casing style (for example lowercase_with_underscores), and permit only a defined set of extensions. Specify required tokens, optional tokens, a separator character, and a version rule (for example vNNN, zero padded). Provide copyable examples for common document types, and implement automated checks that reject or flag files missing tokens, using simple regex rules that intake systems can apply.
- Design a controlled tagging taxonomy and governance process: group tags into families (Document Type, Custodian, Jurisdiction, Status), define allowed values for each family, and set rules for compound tags (for example family:value). Appoint a tag owner, require change requests for new tags, document an approval and review cadence, restrict who may create tags, and run periodic audits and training driven by usage metrics to prevent tag sprawl and keep searches reliable.
- Embed searchable metadata, run OCR, and automate integrity checks: write the minimal metadata schema into file properties or XMP (persistent identifier, case ID, document type, ISO timestamp, source, access class), apply OCR with language and confidence settings to produce searchable PDFs, and record a content checksum (for example SHA-256) in the index. Use content-hash deduplication to surface a canonical record, implement batch-renaming or remediation workflows for noncompliant items, and link physical records by printing barcodes that map to the same persistent identifier so a single query returns the canonical result.

Keep evidence safe with secure storage, backups and access controls
If you need to keep physical items and digital files secure and provable, these straightforward steps help. For physical items, store them in locked cabinets with access limited to authorised keys or credential-based entry, use tamper-evident seals, and photograph items every time they change hands. Complete a signed chain of custody form at each transfer to record who had possession and to establish clear provenance. For digital media, make a write-protected image, generate cryptographic hashes (a digital fingerprint) both before and after any transfer, and keep the original and working copies on separate storage media. When the hashes match and the photographs are linked to signed custody records, you have objective evidence that the files and items remained unchanged during handling.
It can feel overwhelming to lock down data, but a few practical steps make it manageable. Keep redundant backups in geographically separate locations and include at least one immutable copy. Regularly practise restoring those backups so you can be confident data can be recovered when needed.
Use role-based access with unique user accounts and multi-factor authentication, and give elevated permissions only for clearly defined tasks. Record all access and configuration changes to build a comprehensive audit trail. Detailed logs make it easier to spot and investigate unauthorised activity, and successful restores show that your backup procedures are working.
Publish clear handling and retention policies, train your team, and automate enforcement where you can. Run scenario tests to reveal weak spots, and keep records of policy changes so processes remain verifiable and practical.

How to preserve chain of custody when reviewing and sharing documents
Handling evidence can feel daunting, but a few straightforward rules make it far easier to keep things clear and defensible.
– Assign a unique identifier to every piece of evidence. Label originals and working copies consistently and record that identifier on all documentation so physical items, photos and digital files can be cross referenced during review and sharing.
– Keep a chain of custody log that records each handler, the reason for access, the condition at transfer and a signature. Require signed transfer receipts and make sure both sender and receiver keep a copy to reduce disputes and gaps in the record.
– When copying digital media, create forensically sound copies by using write blocking procedures. Calculate and record cryptographic hashes before copying and again after each transfer, then verify the hashes on receipt to check integrity.
Hashes are sensitive to the smallest change. A single bit alteration will change the hash, so any mismatch is objective evidence of tampering or corruption and should lead to further investigation.
If you need to manage important paper documents or physical items, follow a few straightforward steps to keep them secure and traceable. Pack papers and items into tamper-evident containers, photograph seals and labels, and note the item condition at intake. Store originals in controlled-access storage and keep working copies separate to reduce handling and wear.
Share evidence only via access-controlled channels, protect files with strong encryption, and obtain acknowledgement from the recipient. Log every transfer, recording who received it, the purpose and the method used.
Run regular audits and spot-checks to confirm the documentation matches what you actually hold. Use combined identifiers, custody logs and hash records to investigate and resolve any discrepancies.
Organising evidence is about assessing each item’s importance and urgency, bringing paper and digital records together, and using consistent file names, tags and simple metadata so everything is easy to find and can be trusted when you need it.
If you want records that are easy to find and you can trust, combine a few simple techniques: use OCR so documents are searchable, keep mirrored hierarchies to avoid single points of failure, assign unique identifiers and cryptographic hashes as digital fingerprints, and photograph handovers to show who had custody. Together these create searchable records and objective integrity proofs that speed retrieval and support defensible handling.
Work through these steps:
– Map the evidence: decide what needs keeping and why, so nothing important is missed.
– Design a unified filing structure: use the same folders or taxonomy across systems so records are predictable.
– Adopt naming and tagging standards: include a unique ID, a short description and key tags to make searching simple.
– Protect storage: use access controls, backups and encryption to keep records safe.
– Preserve custody: log transfers, keep photographs of handovers and record who handled each item.
Start with a simple intake rule and a basic metadata template, enforce those fields when new items arrive, and verify integrity at every handover by checking identifiers and hashes. Do this and your records will stay accessible, auditable and ready to share when needed.