
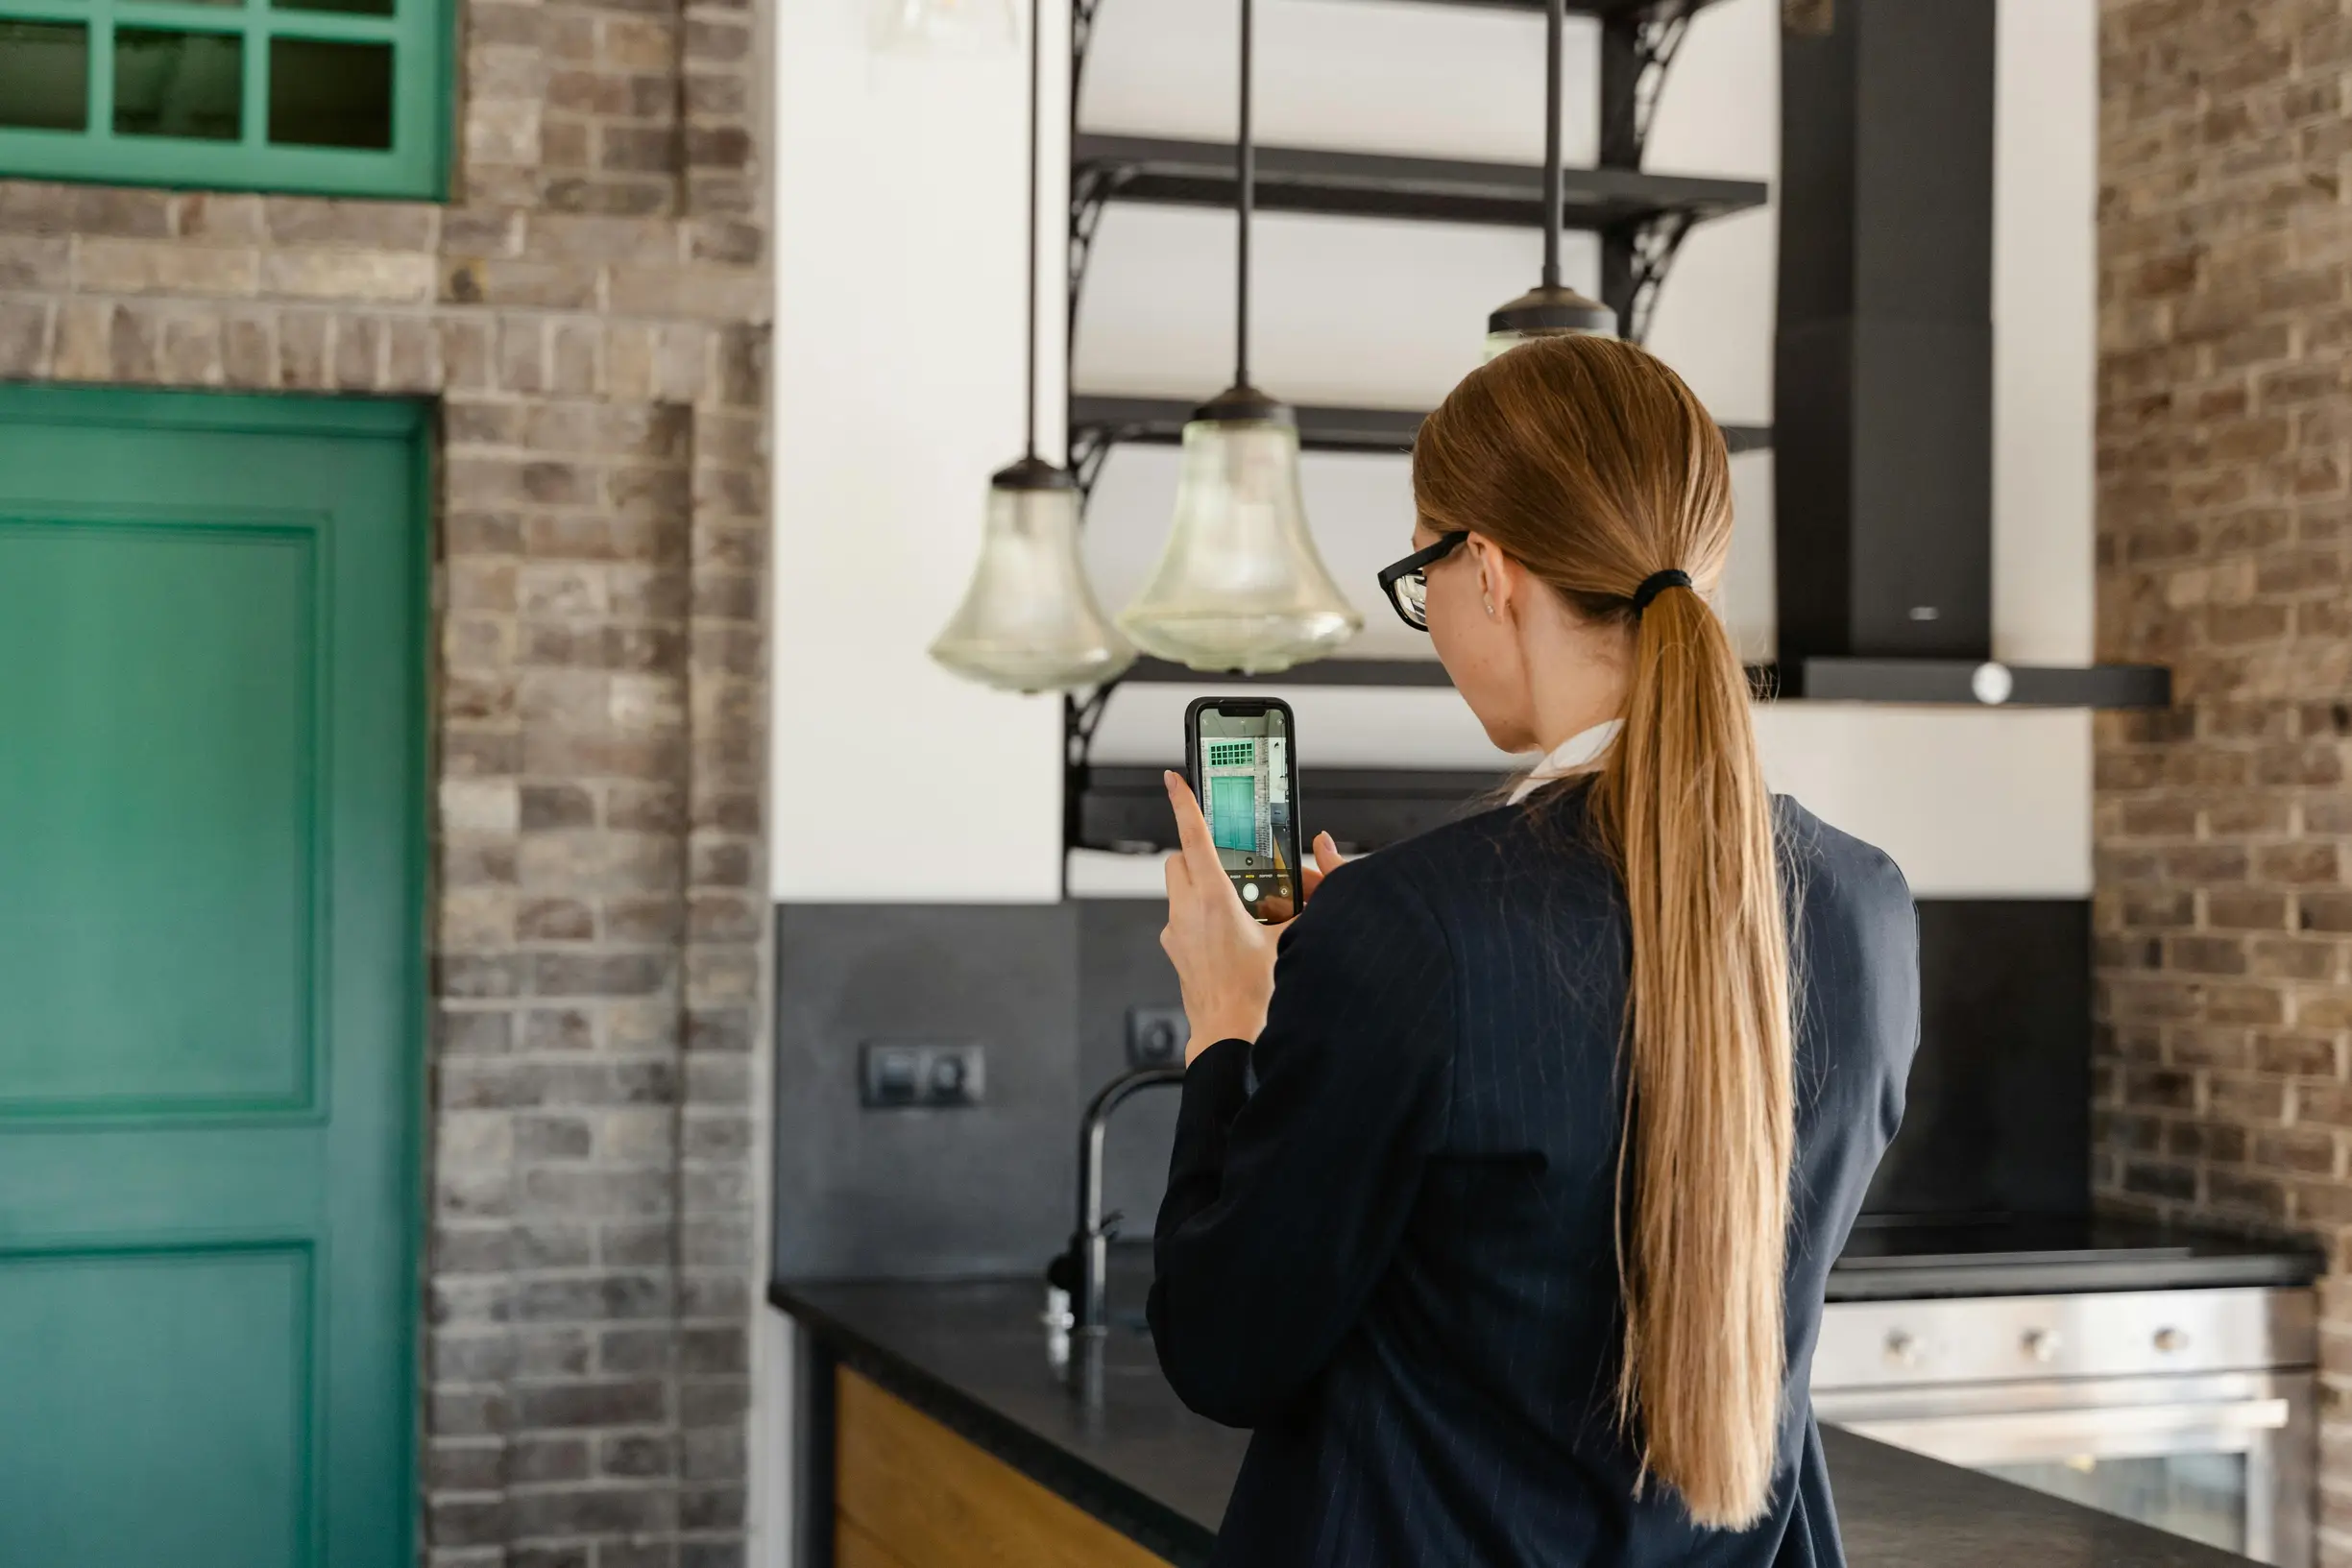
It only takes one photograph to make or break a repair claim, yet many fault photos confuse more than they clarify. So how do you photograph faults impartially, creating clear images that will stand up to scrutiny?
If you need to document a problem, this guide gives straightforward, practical steps: plan for safety and access, get informed consent, and use simple techniques for angles, lighting and framing. It also explains how to record context and scale so your images are clear and impartial. Follow these tips to show the issue accurately without exaggeration.
How to plan for safety, accessibility and informed consent in simple steps
Start with a site risk assessment that identifies unstable surfaces, drop or collapse zones, live services and traffic hazards. Reduce those risks by using suitable personal protective equipment (PPE), wearing safe sturdy footwear and having a clear approach and escape route. Record the hazards you find and the controls you put in place. Secure written or recorded authorisation from the property owner or site manager, note any area restrictions or whether an escort is required, and keep the name and contact details of the person who granted access to avoid disputes later.
A few simple steps will protect people and make your images more reliable. Get informed consent from anyone who can be identified. Explain the purpose of the photos, who will see them and how they will be stored or shared. Offer to anonymise images and, for anyone under 18, get permission from a parent or guardian. Note how consent was obtained and keep that record.
Plan your shots to minimise the chance of misrepresentation. Pair wide images that show location and scale with close-ups that reveal detail. Avoid shooting from angles or perspectives that could be misleading.
Prepare clear captions that say exactly what the image shows, what you are inferring from it and any limits to your certainty. Plain captions help later interpretation and reduce confusion.
Look after your own safety. Carry a charged phone and a basic first aid kit, tell a colleague where you will be and keep records of who accompanied you, access arrangements and environmental conditions. These records support safety reviews and help verify what happened if needed.

How to capture neutral evidence using angles, lighting and framing
If you need reviewers to assess faults clearly, follow this simple routine.
1. Capture three standard views
– Overview: show the feature in its context.
– Medium shot: isolate the fault.
– Close-up: reveal texture and edges. Include a clear scale object in at least one close-up and make sure the camera is perpendicular to any flat surface to avoid perspective distortion.
2. Use lighting that helps, not hides
Use diffuse, even lighting to reduce distracting shadows. Also take an extra low-angle image with raking light to highlight surface relief. Keep both exposures so reviewers can compare shape and subtle texture.
3. Record lens and distance details
Note the camera to subject distance and the focal length for each view. For larger features, step back and use a longer focal length to reduce wide-angle distortion.
4. Make a short rotation sequence
Rotate the camera in small, recorded increments to produce a brief sequence. That extra perspective helps independent evaluators judge shape and extent objectively.
Keep captions concise and factual. For each image, state what is shown, the location relative to fixed landmarks, the scale, the camera angle or distance, and the lighting condition. Link each caption to the image filename or unique identifier for easy cross-reference. Use neutral wording and avoid subjective qualifiers. Include the observer initials or an identifier so future reviewers can verify provenance. Preserve an untouched master copy for every exposure and record every post-capture adjustment, noting the software used, the parameters changed, and the person who made the edit. Maintain a simple index that links filenames to unique identifiers, site coordinates, measurement data and the observer to create a reproducible, auditable photographic record.
How to document context, show scale and write neutral captions
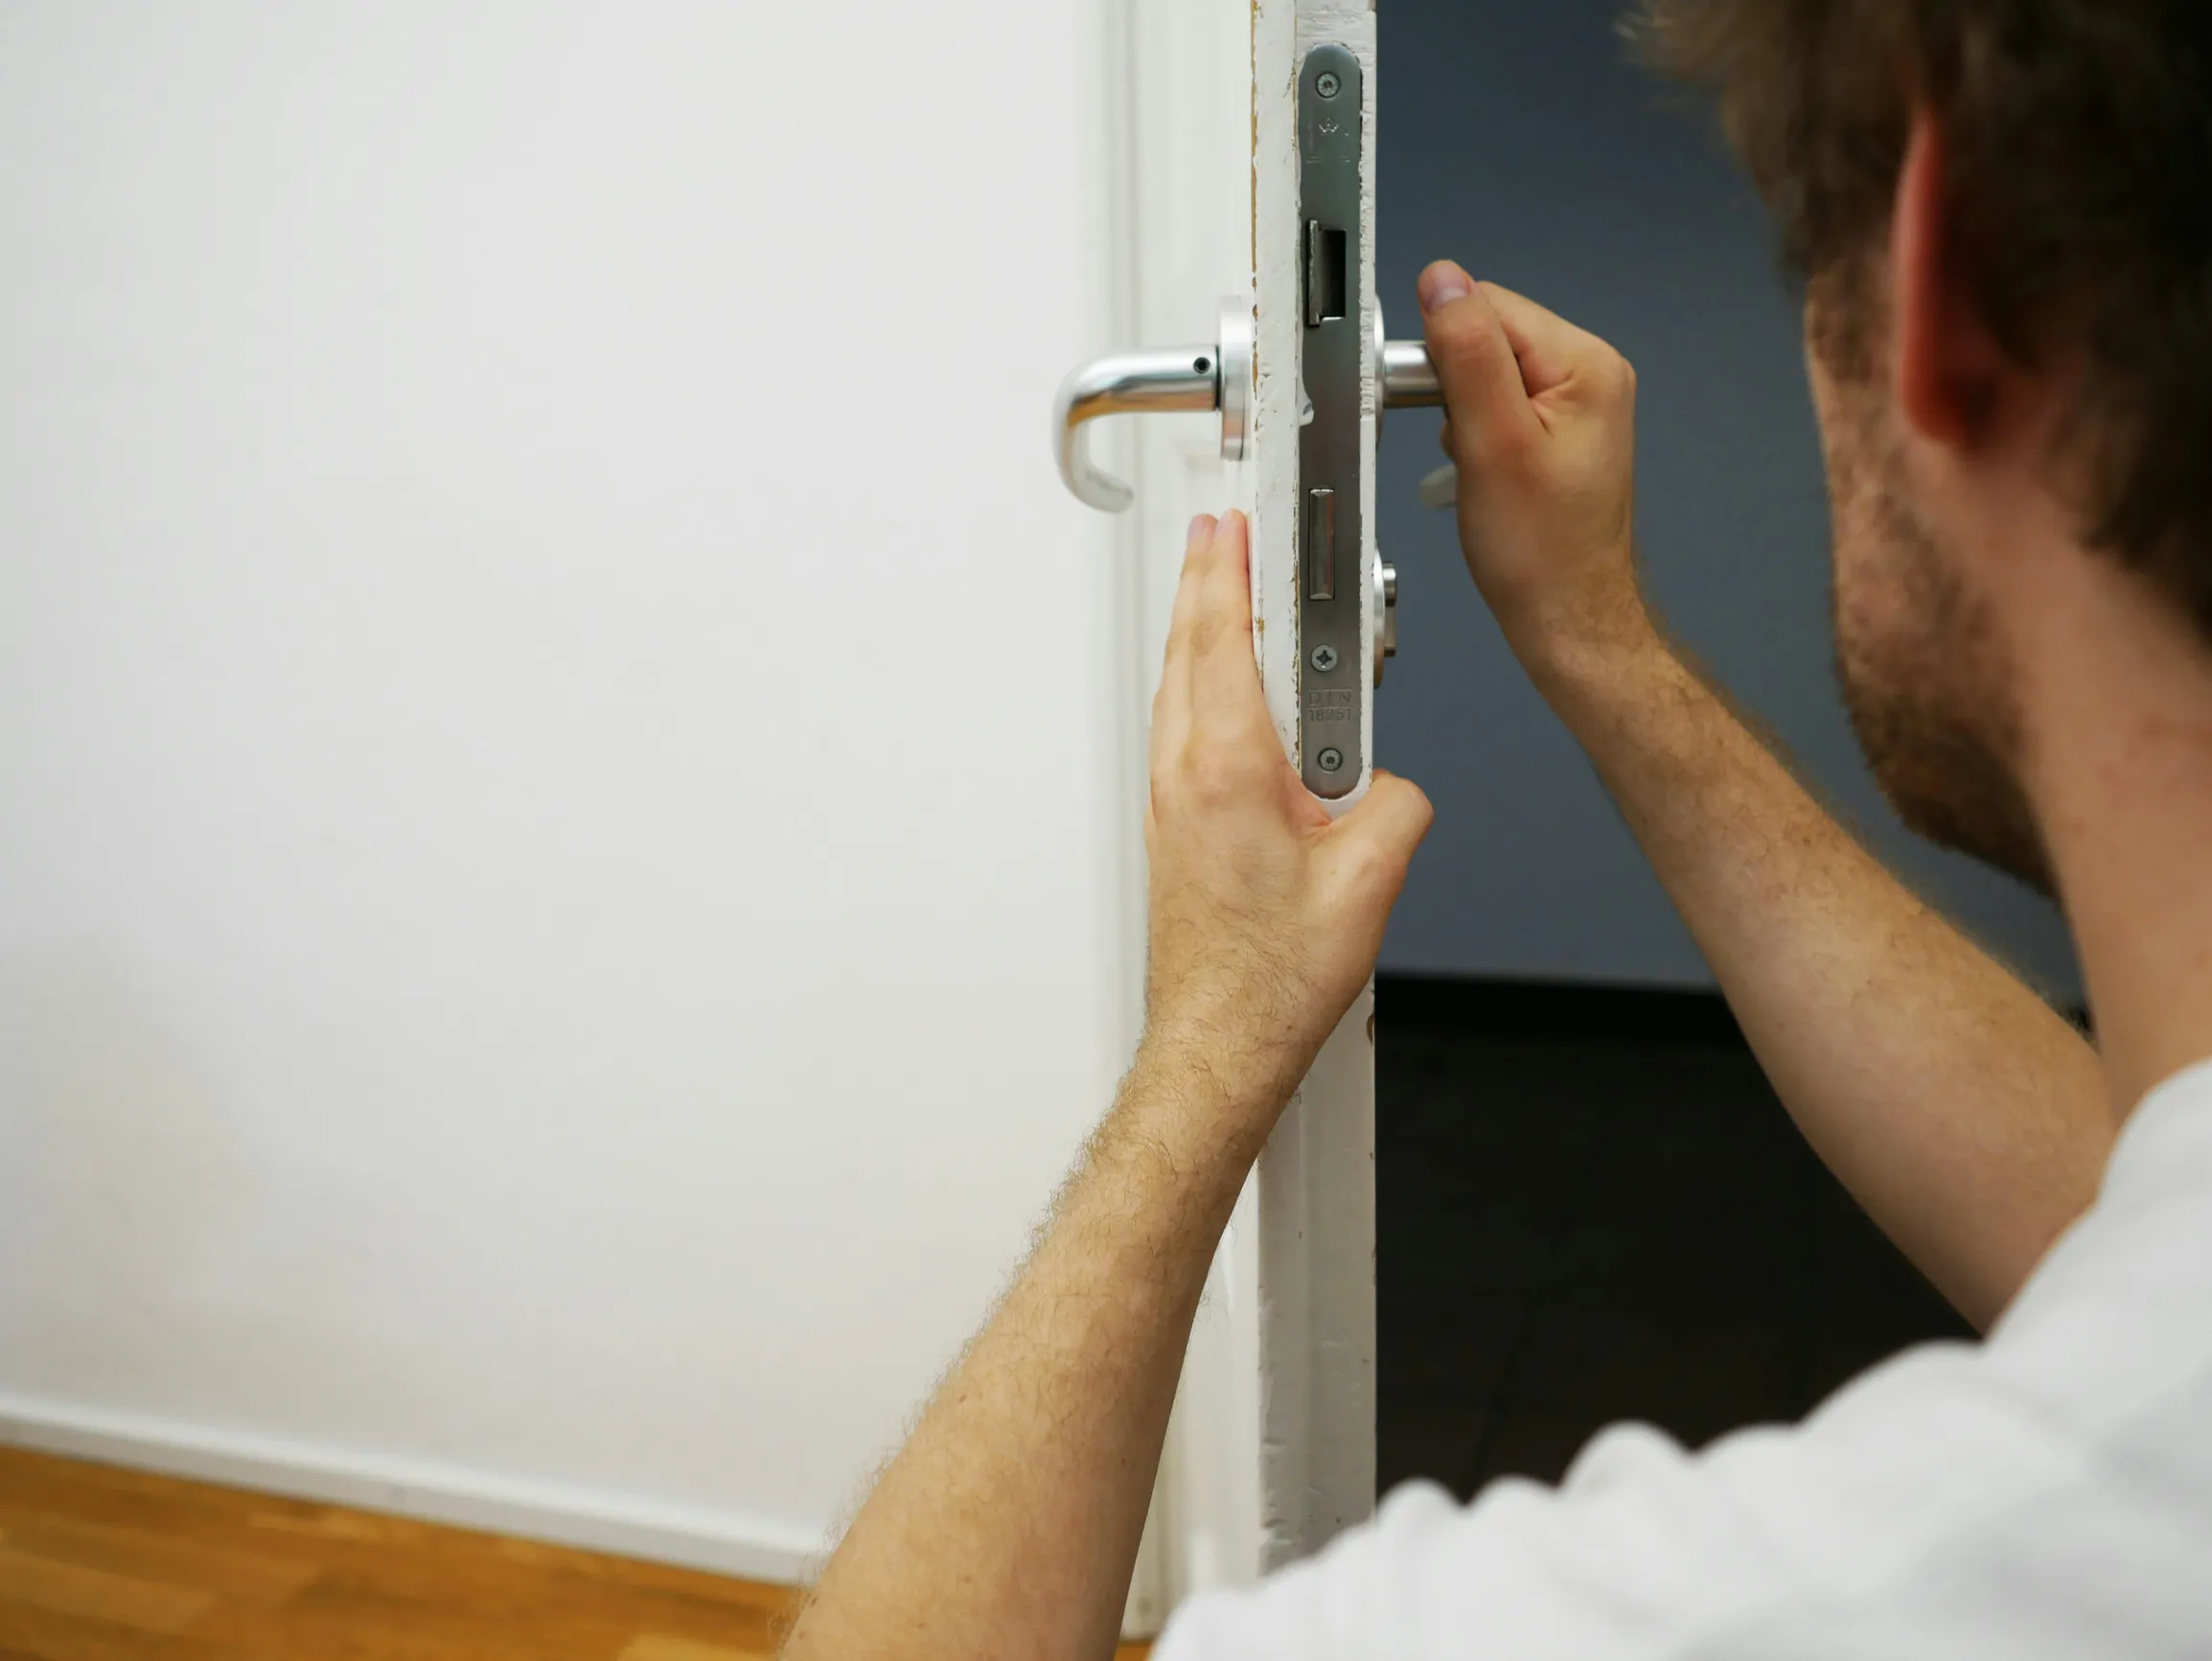
If you need to photograph a defect, start with a wide shot that shows where the fault sits in the room, structure or component. Then take progressively closer shots to isolate the defect. Take close-ups at right angles to capture the true width, and include oblique, side-lit shots to reveal depth and surface texture so others can judge shape and scale from the photos alone. Place a metric ruler or a labelled scale card in the same plane as the fault to avoid parallax, and photograph that scale in several frames from slightly different angles. In the caption, note how you measured and give an estimate of uncertainty so any size claims can be checked.
To make images useful and reproducible, record the camera and scene context: focal length or zoom setting, approximate shooting distance, camera orientation, and the direction and type of lighting. Note how perspective or illumination alters appearance so others can assess and reproduce the conditions.
Prefer diffuse, even lighting and include a neutral colour card when colour or staining matters. Add a directional side-lit shot when texture or depth are important, and describe how that lighting reveals or conceals features.
Use neutral, evidence-based captions that say what the image shows, where the fault sits in relation to fixed features, measured dimensions with units, viewing angle, and capture conditions. For example: Horizontal crack, 20 mm wide, along east edge of window sill; measured with a ruler placed adjacent; photographed perpendicular to the surface under diffuse daylight, focal length equivalent 50 mm.
When photographing faults, take three views: an overview, a mid-range shot and a close-up, each showing a visible scale. Keep the camera plane roughly perpendicular to the fault and use both soft, diffuse light and low-angle raking light so viewers can judge location, size and texture directly from the images.
Also record access authorisation, camera settings and the lighting conditions, and save an untouched master file for every exposure. That preserves provenance and makes independent verification straightforward.
Choose plain, factual captions that describe what an image shows, where it sits in relation to fixed features, its measured dimensions and the conditions when it was taken. Link images to site notes and measurement data so photos are easy to reference. Follow the planning, capture and documentation steps in the headings and you will produce clear, neutral evidence that reduces ambiguity and supports robust review and repair decisions.