Photos are often the clearest record after damage, but without context or metadata they can become unreliable. Have you ever handed over photos only to have them dismissed because date stamps were removed or items were left unlabelled, leaving key facts up for dispute?
If you need photographs that hold up in claims or investigations, make sure they keep their original file metadata, show the wider scene and have clear, consistent labels for each item. This guide explains how to photograph the scene properly, preserve metadata, record context, label evidence clearly and keep a secure, logged chain of custody so your images stay reliable and useful.

1. Take a photo of the scene and keep its metadata intact
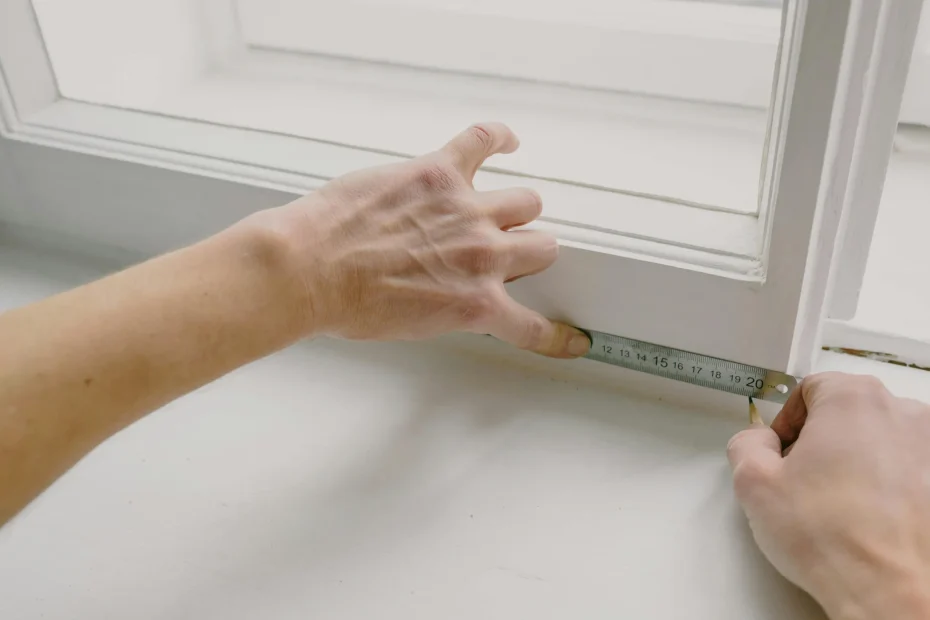
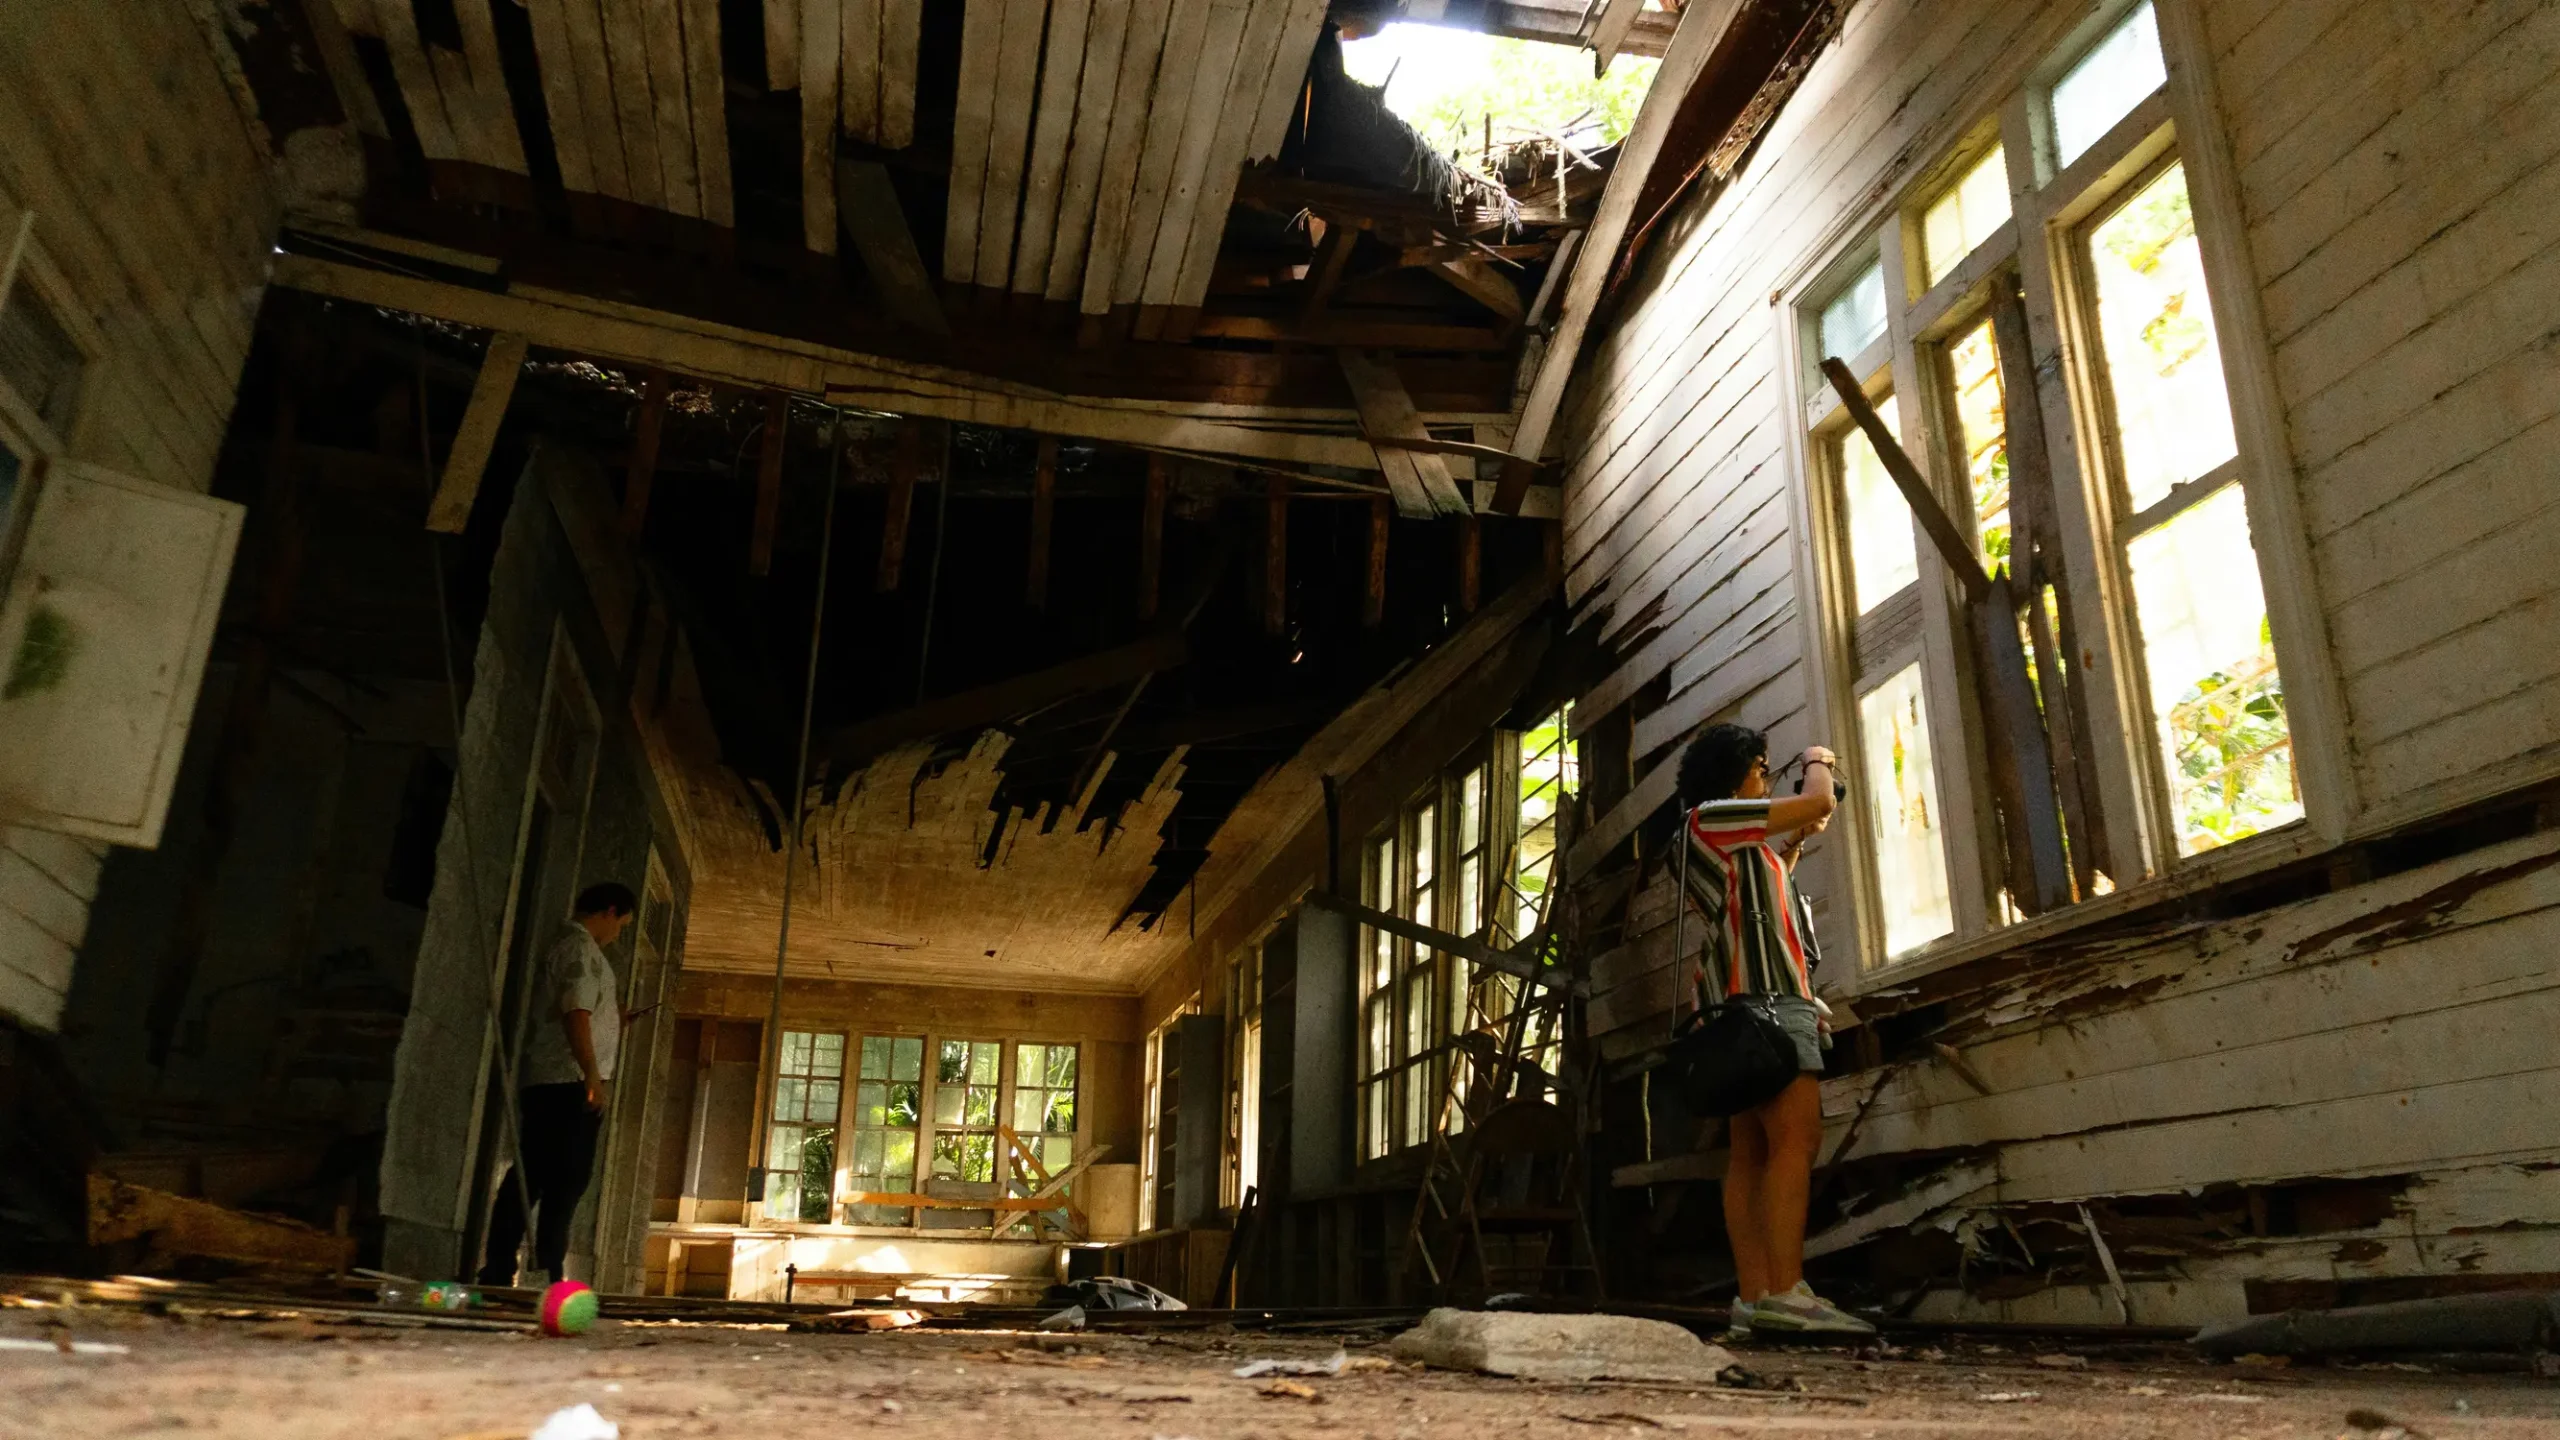
If you need to document damage, start with a wide shot that shows the whole scene. Then take mid-range and close-up photos from several angles so entry paths, neighbouring structures and landscape features are clear and can be used to reconstruct the location and spatial relationships. Include a measurable scale and an orientation marker in at least one photo by placing a ruler or an everyday object of known size next to the damage and adding a simple arrow or note to show direction. Also photograph identifying details such as serial numbers, labels, maker marks, adjacent damage and nearby fixed features to link the damaged item to its location.
If you want to keep photos completely authentic and verifiable, follow these simple steps — they are straightforward and worth the small effort.
– Keep originals untouched: do not edit or resave files, and avoid apps that strip EXIF data. Where possible keep RAW files to maximise image detail and metadata.
– Copy the untouched files to secure storage and never rely on a single copy.
– Record provenance for each image: who took it, which device was used, the original filename, and the storage location.
– Create a checksum (a file hash) for the original file so you can prove it has not been altered.
– Maintain at least two independent backups in separate locations for redundancy.
– Log any transfers and access so the chain of custody can be reconstructed if needed.
These steps keep your images safe, clear, and easy to verify without much fuss.

2. Record scene details and clearly label each piece of evidence
It helps to follow a simple, consistent sequence when photographing items of interest. Start with a wide scene image to show the overall location, then take mid-range shots to show relationships between items, and finish with close-ups that include a visible graduated scale to capture precise features. Place labelled, numbered evidence markers by each item and photograph the marker alongside the item from at least two different angles. Keep a written log that records the marker number, a brief description and the file name for each photograph so you can link images to specific pieces of evidence. Add orientation and scale cues by positioning a ruler or a commonly recognised object for size, and photograph a compass card or a clearly marked arrow showing the photographer’s viewpoint so the images can be measured and reconstructed later.
A few careful steps up front will make later review much easier. When photographing a scene, include surrounding access points and clear landmarks such as doors, signs and fences. Make a simple sketch or map showing where each photo was taken and the viewing angle so someone else can find the spot easily. Keep the original image files untouched and avoid any edits that change the picture. Note who took and handled each file, the file names and where they are stored to preserve the chain of custody. Where available, retain metadata such as camera settings and location coordinates to support the visual record during later checks.
3. Keep chain of custody with secure storage and transfer logs
To keep your image files verifiable, generate a cryptographic fingerprint (a hash) for every original image and record it, together with the raw file name and device serial number, in a signed manifest or secure timestamped ledger so the fingerprint and metadata are cryptographically bound. That way, later comparisons can genuinely show whether that specific original has been altered. Store originals in tamper-evident, access-controlled storage with read-only permissions and strong encryption, and keep separate working copies for any analysis. Run regular integrity checks to spot any unauthorised changes and log any discrepancies.
Keeping a clear chain of custody can feel like extra admin, but a simple, consistent routine makes everything traceable and easier to defend. Try this straightforward approach:
– Record every handover and access event. Note who handled the item, why they did so, how it was transferred, and where it was going.
– For transfers between teams add a confirming attestation, a witness signature or a digital certificate so there is an auditable trail.
– Match each photograph to its physical evidence by using the same unique identifier on the item, the evidence bag and any printouts. Also record the seal or tag number in the custody log.
– When sharing material outside your team produce approved review copies that are clearly labelled as derivatives and include the original file fingerprint plus the relevant custody entries.
– Restrict editing rights on shared copies and log every download and onward distribution to preserve provenance.
Following these steps will keep your records consistent and make it far easier to trace the history of any item or file.
If you want photos to act as reliable records, make sure you capture and keep three essentials.
1. Unedited image files with the original metadata intact. Keep the untouched files so timestamps and camera details remain available.
2. Clear contextual shots that show scale and orientation. Include a ruler, a familiar object or a labelled marker so reviewers can judge size and direction.
3. A logged chain of custody listing who handled the files, where they are stored and checksums to prove the files have not been altered.
Taken together, these steps help photographs serve as verifiable records and allow reviewers to reconstruct location, scale and provenance during a detailed review.
Photograph the original scene, label items consistently, and use secure, logged transfers so each image ties back to the physical evidence and its metadata. Make these steps routine to create auditable, reproducible records that hold up under scrutiny and help reduce disputes. It might feel fiddly at first, but these small habits save time and stress later.