
I know sharing a screenshot of a payment card or transaction often seems like the quickest way to prove something, but screenshots can reveal more personal and financial information than you realise. What details do organisations actually need to see, and what should you hide to prevent fraud and protect your privacy?
This guide walks you through ten practical steps, from cropping and masking to redaction and secure sharing, so you can keep the evidence you need while minimising what is exposed. Use these tips to preserve transaction date, amount and merchant details while concealing full card numbers, expiry dates and the CVV. Bear in mind that some visual redactions can be reversed; for truly permanent removal, choose tools that delete or overwrite the underlying data where possible.

1. Assess and reduce the risks of oversharing online
If you ever need to share a photo of a payment card, make protecting sensitive details your priority. Hide or remove full card numbers, the CVV code, any authentication tokens, and billing addresses before you share. If you cannot fully redact those items, do not send the image.
Quick ways to keep things safe: crop the image so only non-sensitive parts remain, place an opaque cover over anything that must still be visible, or delete the image entirely. Decide one clear action for each item before you share: crop, cover, or delete.
Why this matters: full card numbers and authentication tokens can be copied to clone cards or give remote access for unauthorised transactions. CVV codes are used for payment checks and must be removed. Names and billing addresses let attackers match records and complete identity or payment fraud.
If you need an audit trail, keep an encrypted original copy securely rather than relying on a partially redacted screenshot.
Images can contain device, session and location details hidden in their metadata. Before you share a photo, open it in a basic image editor, check the file properties or metadata pane, and remove metadata or export a copy without it. Then check whether the platform you plan to use preserves or strips those fields.
If you need to redact visible information, crop the image to remove sensitive areas where possible and cover any remaining numbers with solid opaque shapes. Avoid relying on blur or low-opacity filters, because these can sometimes be recovered using OCR tools. Always test the final image with an OCR tool to make sure no numbers remain.
Treat screenshots that include any two identifiers, for example a name and the last four digits of an account or a billing address, as high risk. Remove or fully redact at least one identifier, share only with people who have a legitimate need, ask for confirmation that the recipient has deleted the file when appropriate, and record why you shared it and how long you will retain access so you can revoke it later.
2. Only provide the information needed to claim a refund
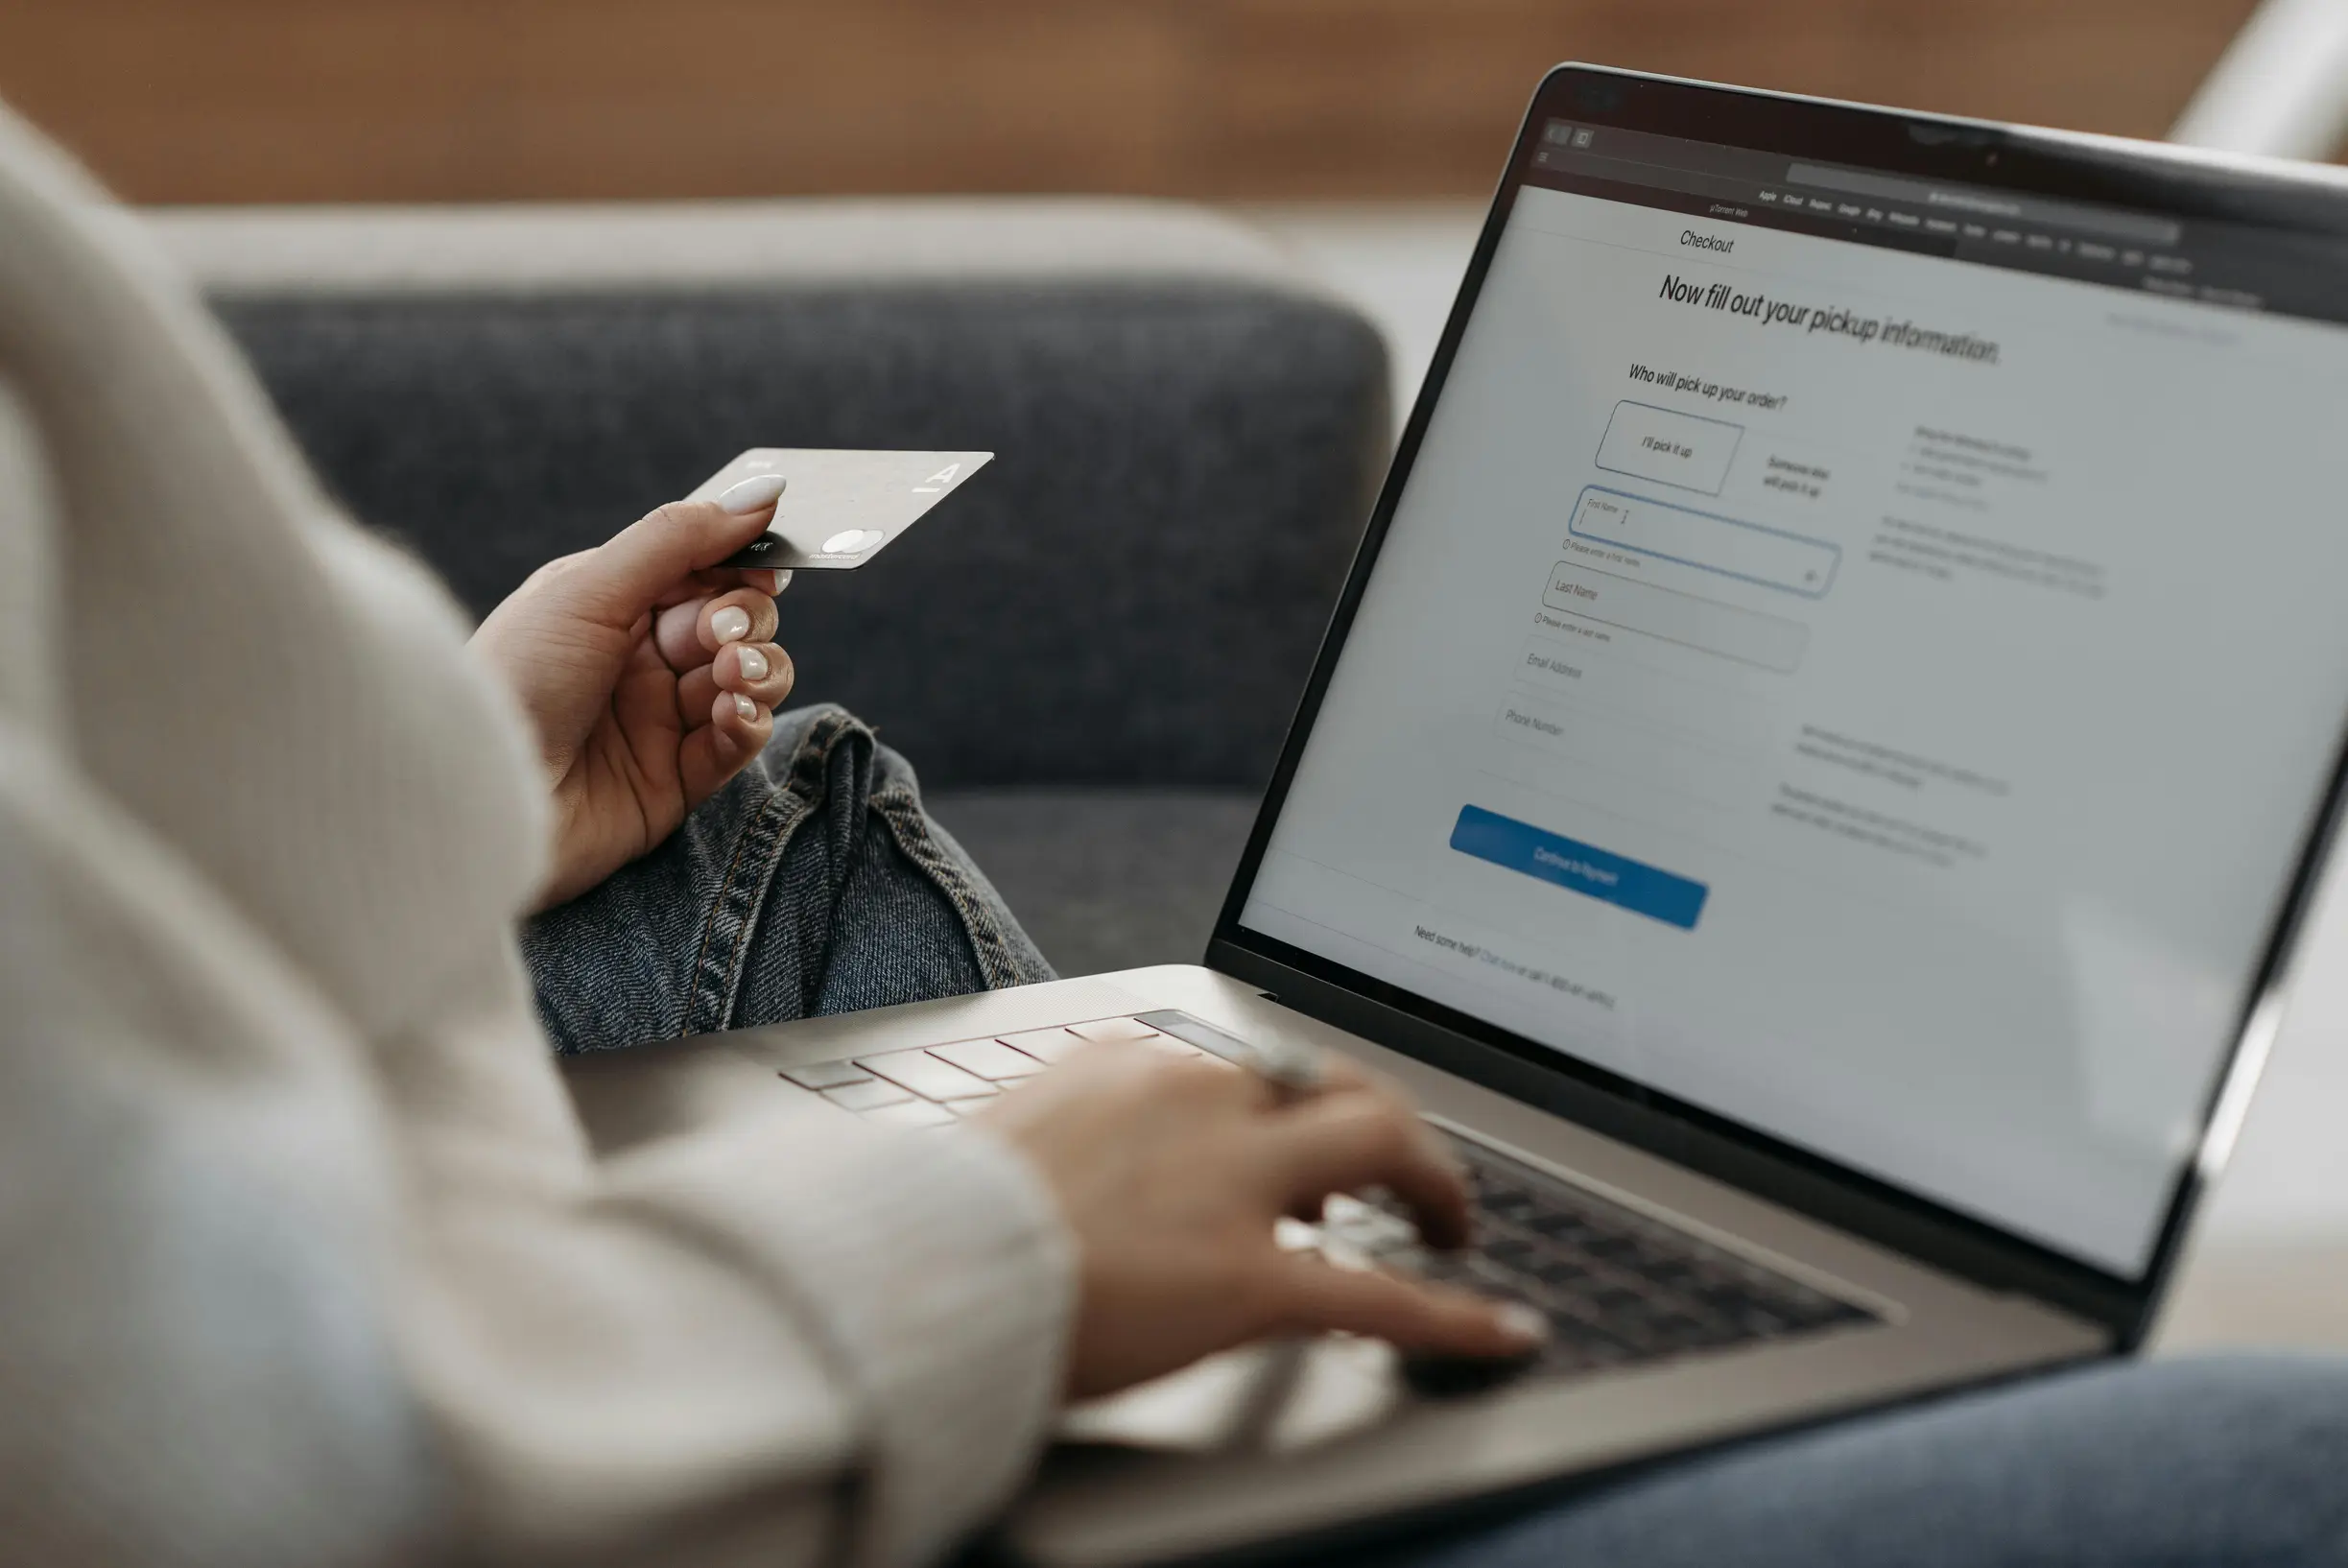
To keep things simple and protect your privacy when sending an image for a refund, include only the essentials: a masked card number showing the last four digits, the cardholder’s name if asked, the transaction reference and the refund amount. Each item has a purpose: the masked digits link the payment to the account, the name helps with ID checks when needed, the reference ties the image to the specific purchase and the amount shows what will be refunded. Prepare the image by cropping tightly to those fields, applying pixelation or a permanent redaction tool rather than a quick scribble, and saving the edited file as a new copy so the original unredacted picture is not kept.
If you need to share a screenshot as part of a refund claim, take a few simple privacy and security steps first:
– Remove image metadata and any GPS tags, and check the file for embedded thumbnails or other hidden data that could reveal extra information.
– Send the cleaned screenshot only through the channel the merchant or card issuer asks you to use. Confirm the recipient by a separate method, for example a phone call or a secure message, and make a note of that confirmation to support your claim if needed.
– Keep the screenshot only while the refund is being processed. Restrict access with clear permissions and record why the image was retained to make any later compliance enquiries easier.
These straightforward steps help protect your personal information and keep the refund process moving smoothly.
3. Hide your full card number, expiry date and CVV
If you need to share a card image for verification, follow these simple steps to keep payment details safe — it might feel fiddly, but it’s worth the extra minute.
– Mask all but the final four digits of the card number.
– Redact the expiry date and CVV with a solid block or a strong blur so the details cannot be read.
– After editing, enlarge the image and increase the contrast to double-check the redaction holds up. Simple blurs can sometimes be reversed, so it pays to check.
– Where possible, use screenshots of masked or tokenised payment views from the payment portal rather than photographs of the physical card. Masked displays provide proof while minimising exposed data.
When you need to share proof of payment, crop the image so the front of the card is not visible. Capture only the transaction reference, the merchant name and the last four digits of the card. Remove image metadata and hide any visible details that could identify the cardholder, such as the name or billing address, using a metadata remover or by exporting the file from a secure editor. Bear in mind that the card number, expiry date and CVV together can be used to make payments without the physical card, increasing fraud risk, so treat the CVV as single-use information and do not store or share it.
4. Show transaction date, amount and merchant details for easy tracking
Present the date, amount and merchant in the same predictable order so people can scan statements quickly and reconcile entries with minimal effort. Format amounts consistently, right-align numeric values and make it clear whether each entry is a debit or a credit to avoid misreading when comparing items. These simple layout choices help users spot discrepancies faster and reduce the chance of reconciliation errors.
Make transactions easy to understand at a glance. Treat each entry like a short, friendly receipt so someone can spot unfamiliar items without hunting through full records.
– Surface the basics: show a category, purchase type and a concise location or channel tag. These three details usually tell people what the transaction is for.
– Flag the transaction state clearly: pending, settled or refunded. Make refunds and disputes visually distinct so their impact on the available balance is obvious.
– Help people act on lifecycle states where possible. For example, link a pending entry to short guidance on how settlement works or how to raise a dispute.
– Protect privacy by masking full card and account numbers. Display only necessary identifiers such as the last four digits, and require reauthentication before revealing any full details.
– Keep an access log so any view of sensitive transaction data is recorded for auditability.
This approach keeps things transparent, useful and safe for users while minimising the need to dig through long statements.
5. Crop screenshots to protect sensitive information before sharing
Crop screenshots to the smallest area that still shows the full card title, essential labels and the call to action. Remove account numbers, email addresses and other personal identifiers that do not support your point. Align each crop to natural interface boundaries such as card edges, rows or paragraph breaks so text and controls stay intact and readers can interpret the layout without ambiguity. Scale the cropped image to the size it will appear in the article and check that text and icons remain readable. If they become blurred, increase the resolution or widen the viewport. When cropping would remove important layout cues or microcopy, redact small bits of sensitive data using opaque shapes or pixelation so surrounding elements remain visible for verification.
When you need to compare example images, standardise the crops using a template for aspect ratio, padding and alignment. That keeps comparisons fair and reduces manual fiddling. Build those templates into automated workflows so repetitive edits are less error prone, and carry out regular spot checks to catch any accidental exposure before anything is published. Consistent cropping, together with targeted redaction, preserves context while minimising how much sensitive data is visible to readers.

6. Apply Blur, Masking or Flattening to Redact Sensitive Information
When you need to redact card screenshots, test your chosen method against automated tools and by zooming in, because light blur or small pixel blocks can still leave characters recoverable. If you need the change to be irreversible, cover sensitive areas with an opaque mask, then rasterise or flatten the image to remove editable layers and export it as a new file to prevent restoration. Also strip metadata and non-visible elements that commonly leak information, such as EXIF and GPS data, comments, embedded thumbnails, hidden layers and vector objects.
When you need to redact screenshots or documents, follow these practical steps to keep things clear and secure:
– Mask only the smallest area required, but keep surrounding UI and indicators visible so the file still makes sense.
– Add concise alternative text that explains what was removed so recipients are not left guessing.
– Check duplicates and exports carefully: zoom in, run optical character recognition (OCR), and re-open the exported file in a fresh editor to confirm nothing recoverable remains.
– Keep the original securely offline and keep a simple log of the redaction steps for audit purposes.
– If automated reading or OCR still picks up redacted content, increase the redaction strength or switch to a different method until the data is unrecoverable.

7. Make redaction permanent and check for hidden backups
It can be surprising how easy it is to leave sensitive data behind. Simply placing a black box or shape over digits often keeps the original pixels intact in layered or editable files. To be sure the information is actually gone, remove it rather than just covering it.
Steps to remove sensitive data safely:
1. Rasterise or flatten the image, then crop out the sensitive area and export the result to a new raster file such as PNG or JPEG.
2. Open that exported file in a different editor to confirm there are no editable layers or hidden objects remaining.
3. Strip all metadata and embedded content, including EXIF records, embedded thumbnails, colour profiles and any searchable text produced by OCR.
4. Re-save the cleaned file as a fresh raster to avoid residual data that file inspectors might still find.
Following these steps reduces the risk of sensitive information being recovered from the file.
Before you assume a file is safe, remember that a single delete often isn’t enough. Cloud sync and versioning can keep earlier, unredacted copies, so check every device that might have the file and review your backups and version history. Delete the original and any previous versions, then confirm those deletions have propagated to all synced locations. Use secure deletion tools so removed files cannot be easily restored.
To make sure the sanitisation has worked, try simple recovery checks yourself: run OCR, adjust contrast and levels, or open the image in different editors. If any sensitive data still appears, repeat the removal steps. Finally, clear the clipboard, empty application caches, and re-run metadata and backup checks until only the sanitised file remains.

8. Check redacted images meet the recipient’s privacy and format requirements
If you need to be sure redactions are truly permanent, use these practical checks to give yourself confidence.
– Open the file in more than one viewer or PDF reader and try to select or copy text. If you can select or copy what should be redacted, the redaction has not worked.
– Run an OCR pass on the file to see whether hidden or faint text is picked up. If OCR returns original text or legible fragments, reapply the redaction and flatten layers before exporting.
– Zoom in to pixel level to confirm any redaction is a solid, opaque fill rather than blurred or obscured pixels that might still reveal information.
– Extract and inspect metadata, XMP, thumbnails, layer data and any embedded files using a metadata inspector to make sure no hidden details remain.
– Save a new copy in a format that does not preserve editing layers or internal previews. Match the file format, colour profile and resolution to the recipient’s needs, then open the saved file at the intended display or print size to confirm the redacted areas remain secure and the document is legible without exposing hidden information.
Redaction Report
Summary
This report lists which fields or regions were removed, describes the redaction method used, and provides a checksum so you can verify the delivered file.
1. File delivered
– File name: [filename.ext]
– File format: [PDF / PNG / JPG / other]
– Colour mode: [colour / greyscale / black and white]
– Resolution: [e.g. 300 dpi]
2. Removed fields and regions
– Removed fields/regions: [brief list of fields or region descriptions, e.g. Name field, Account number field, page 2 image area]
3. Redaction method used
– Method: [describe method, e.g. irreversible pixelation, opaque overlay applied to export, removal of metadata]
– Tools used: [tool or software name and version]
– Verification of irreversibility: [e.g. checked underlying text layer removed, OCR tested negative]
4. File integrity
– Checksum algorithm: SHA-256
– Delivered file checksum (SHA-256): [insert hash value]
5. Simple verification steps you can run
1) Open the delivered file in a standard viewer that supports the file format.
2) Visually confirm the listed fields or regions are redacted and the visible content meets your requirements.
3) Try to select and copy the redacted areas to confirm no hidden or selectable text remains.
4) Verify the checksum matches the value above. Example commands:
– macOS or Linux: shasum -a 256
– Linux alternative: sha256sum
– Windows PowerShell: Get-FileHash -Algorithm SHA256
5) If the file is an image, confirm colour and resolution match the values above using your viewer or image properties.
6. Acceptance and follow up
– Please reply with explicit confirmation that you accept the redacted file and checksum, or note any issues you find.
– If you would like, I can rerun the redaction tests and supply updated screenshots or logs.
7. Records retained
– I will retain copies of verification screenshots and process logs to demonstrate the steps taken if any questions arise.

9. Only share redacted screenshots through secure channels
Screenshots shared over insecure channels can be intercepted, forwarded beyond the intended audience, or retain hidden metadata and editable overlays that undo apparent redactions. Common failure modes include sharing screenshots via unencrypted links, applying redactions as overlays that remain selectable, and circulating files without any tracking.
Use channels that offer end-to-end encryption, strong recipient authentication, expiring links, fine-grained access controls and immutable audit logs. Encryption helps stop interception, authentication reduces the risk of misdelivery, expiring links and access controls limit onward sharing, and audit logs show who accessed the file. Match these features to your threat model so you can decide which risks are tolerable and which need stricter controls.
Before sharing a screenshot that contains sensitive information, take a few simple precautions. Remove metadata and permanently apply or flatten redactions so they cannot be undone, and convert the image to a non-editable format. Verify the redaction by trying to select or copy text from the image or running a quick OCR check. Send any passwords or decryption keys over a separate channel, and ask the recipient to confirm receipt via a second channel. Use controls that let you set expiry or revoke access, and keep a secure audit trail of who accessed the file and what they did. After sharing, try to reverse your own redaction with OCR or file inspection, review access logs for unexpected viewers, and request written confirmation that the recipient has securely deleted any copies. Combining careful preparation, channel safeguards and verification helps you test likely failure points and estimate the remaining risk before you share sensitive screenshots.
10. Keep original documents, logs and follow-up evidence
If you need to keep screenshots or image files as a reliable record, follow a simple, no-fuss process. Keep the original screenshot untouched and work only from copies. Archive every original at its native resolution and file format so the file metadata stays available. When you first save the file, compute and record a cryptographic checksum, for example SHA-256, and store that hash with the file record to demonstrate the file has not been altered. Also keep the unedited source alongside any redacted or annotated versions. That preserves provenance and makes independent verification straightforward.
Keep a clear, tamper-evident log of every access and edit. Note who accessed the file, the stated purpose, what changes were made and which tools were used. Protect those logs with append-only storage or by keeping separate checksums so any tampering is obvious.
When you need to share material externally, provide a clearly labelled, redacted copy and keep the original private. Link each published version back to its original through a formal release workflow that records requests and approvals.
Also preserve supporting communications such as emails, chat transcripts, transaction identifiers, confirmation messages, screenshots and system logs. Together, these records create a verifiable chain of custody that is useful for resolving disputes, handling refunds or supporting audits.
If you need to share a payment screenshot, keep it useful but safe. Remove full card numbers, the CVV and any other unnecessary personal identifiers, while keeping the transaction date, amount and merchant details so the payment can be verified. Use irreversible redaction methods and strip all metadata. Finally, check the edited image with OCR and, where possible, with more than one reviewer or viewing tool to make sure nothing recoverable remains.
Follow these straightforward steps to reduce fraud risk and keep a clear audit trail when sharing images. Crop images tightly so only the necessary area is visible, and use opaque masks to hide any personal or sensitive details. Send images only over secure channels and keep logs that make tampering obvious. Treat every shared image as evidence: note any edits you make, retain the original files, and ask recipients to confirm they received the image and how they will use it, so you can show exactly what was sent and why.