If you need to document tampering or poor workmanship without putting off the assessor, how you photograph the scene matters as much as what you record. I get that you want to be fair rather than accusatory. Simple, considerate framing and clear captions can turn ambiguous evidence, whether dodgy appliances or shoddy repairs, into objective proof and help keep inspections constructive.
If you need to show what happened during an assessment, aim for these five practical photo types: frame shots that put assessors at ease; checks that confirm safety, consent and privacy were considered; contextual wide shots to show location and scale; close ups with a visible scale such as a ruler or a coin; and organised, timestamped images with neutral captions. Use these steps to present clear, impartial evidence that helps get things sorted sooner and reduces the chance of people getting defensive during assessments.
1. Frame your photos to put assessors at ease
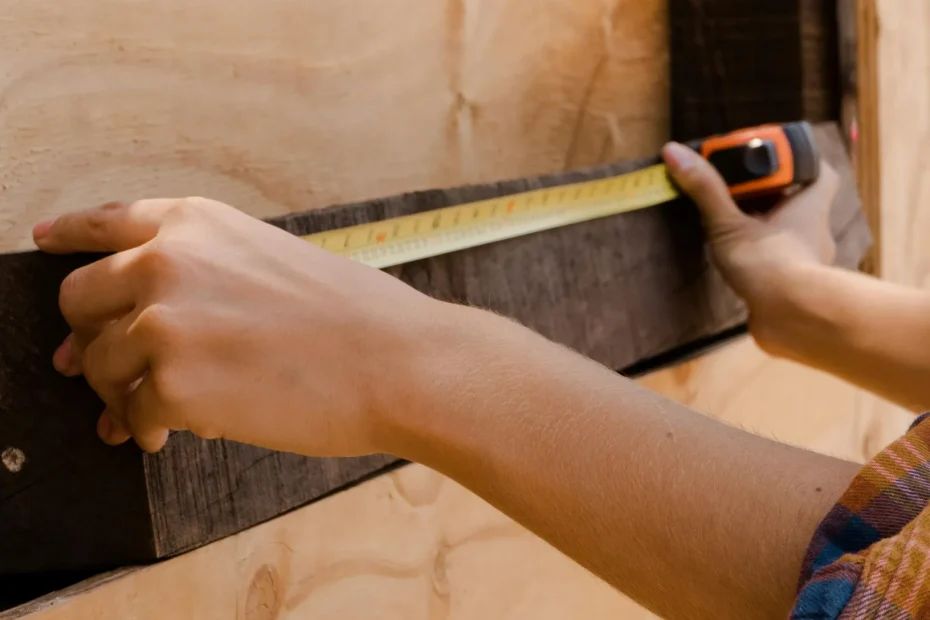
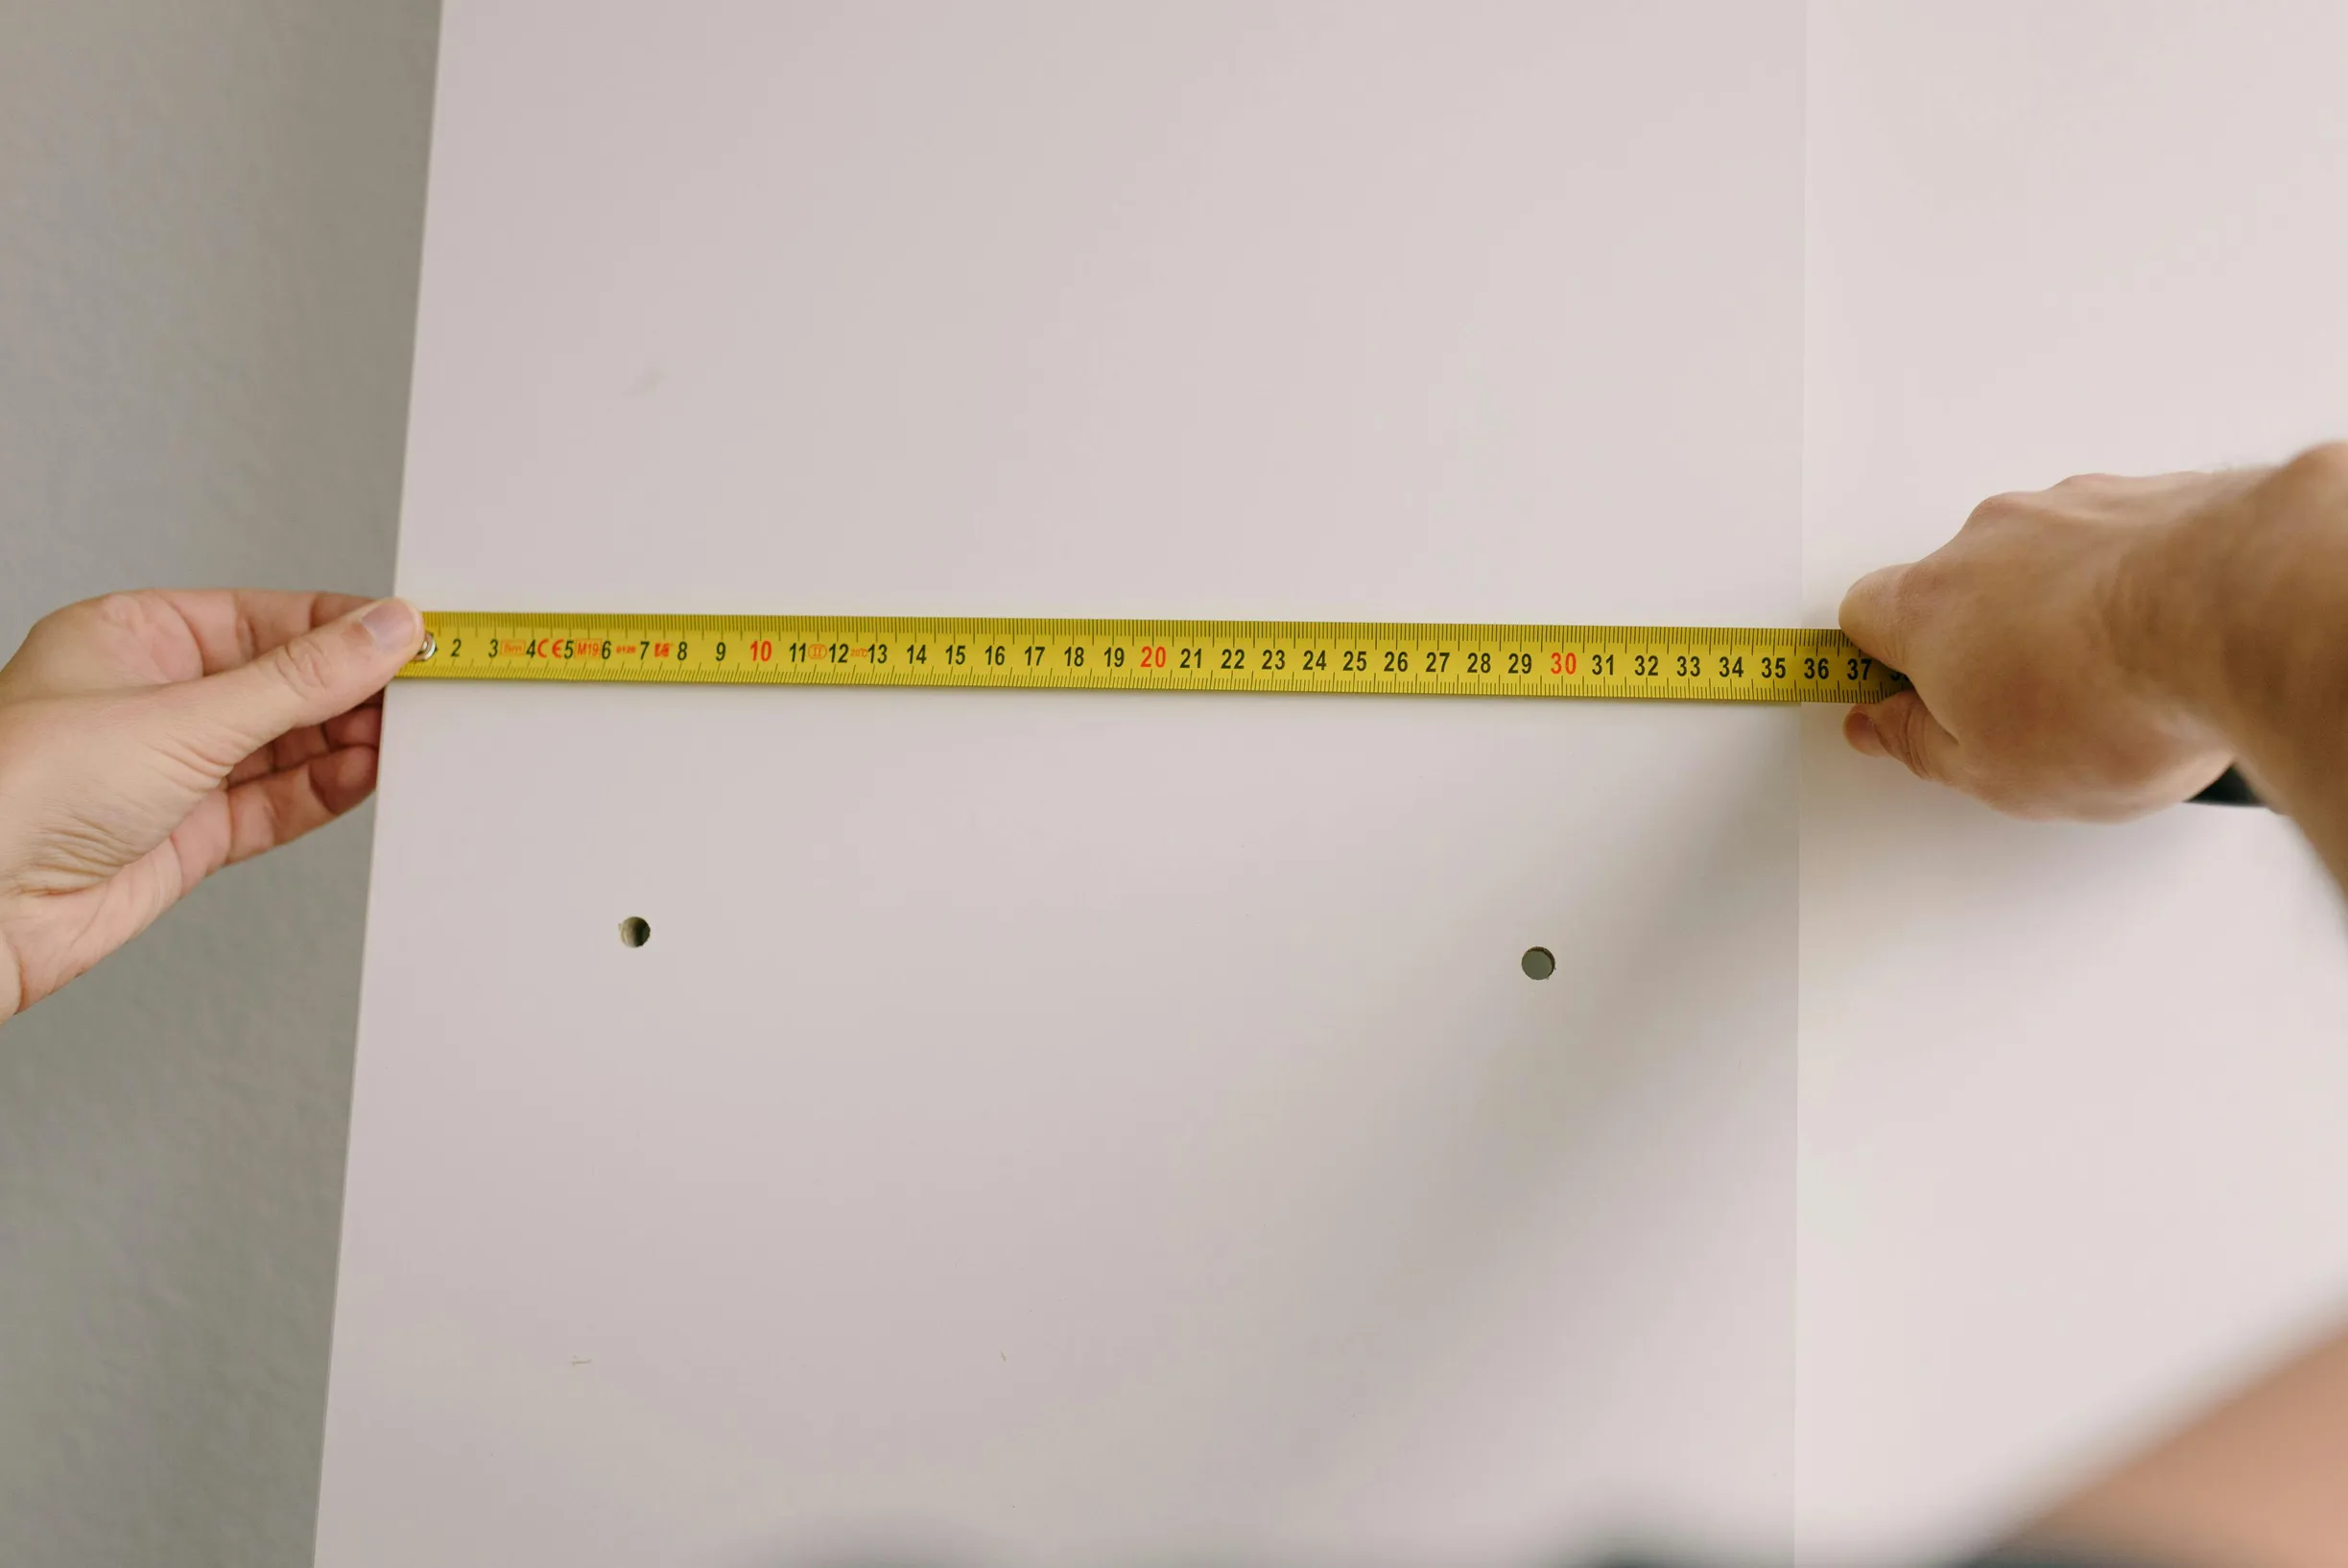
Think of it like telling the whole story. Start with a neutral wide shot that shows the whole room, the area of concern and the surrounding intact surfaces so the assessor gets the full context rather than a cropped complaint. Follow with a straight-on mid shot, keeping the camera level and the defect centred to minimise distortion and make comparisons straightforward. Finish with a close-up taken at right-angle to the surface with a visible scale, such as a ruler, tape measure or common coin placed flat beside the fault, and include the measured dimension in the file name so the size is unambiguous.
If you suspect tampering or poor workmanship, photograph any nearby clues from several angles. Look for things like fresh tool marks, adhesive residue, mismatched fixtures or exposed fasteners and capture each detail clearly so a pattern of faults is visible without commentary. Keep the record factual and traceable: preserve the original image metadata, save files in a clear sequential order and add brief, neutral captions saying what each photo shows, the distance from the camera to the object and the lighting conditions. This lets assessors judge evidence about dodgy appliances or poor installations on their merits, rather than feeling accused by selective or emotive presentation.
2. Confirm safety, consent, and privacy
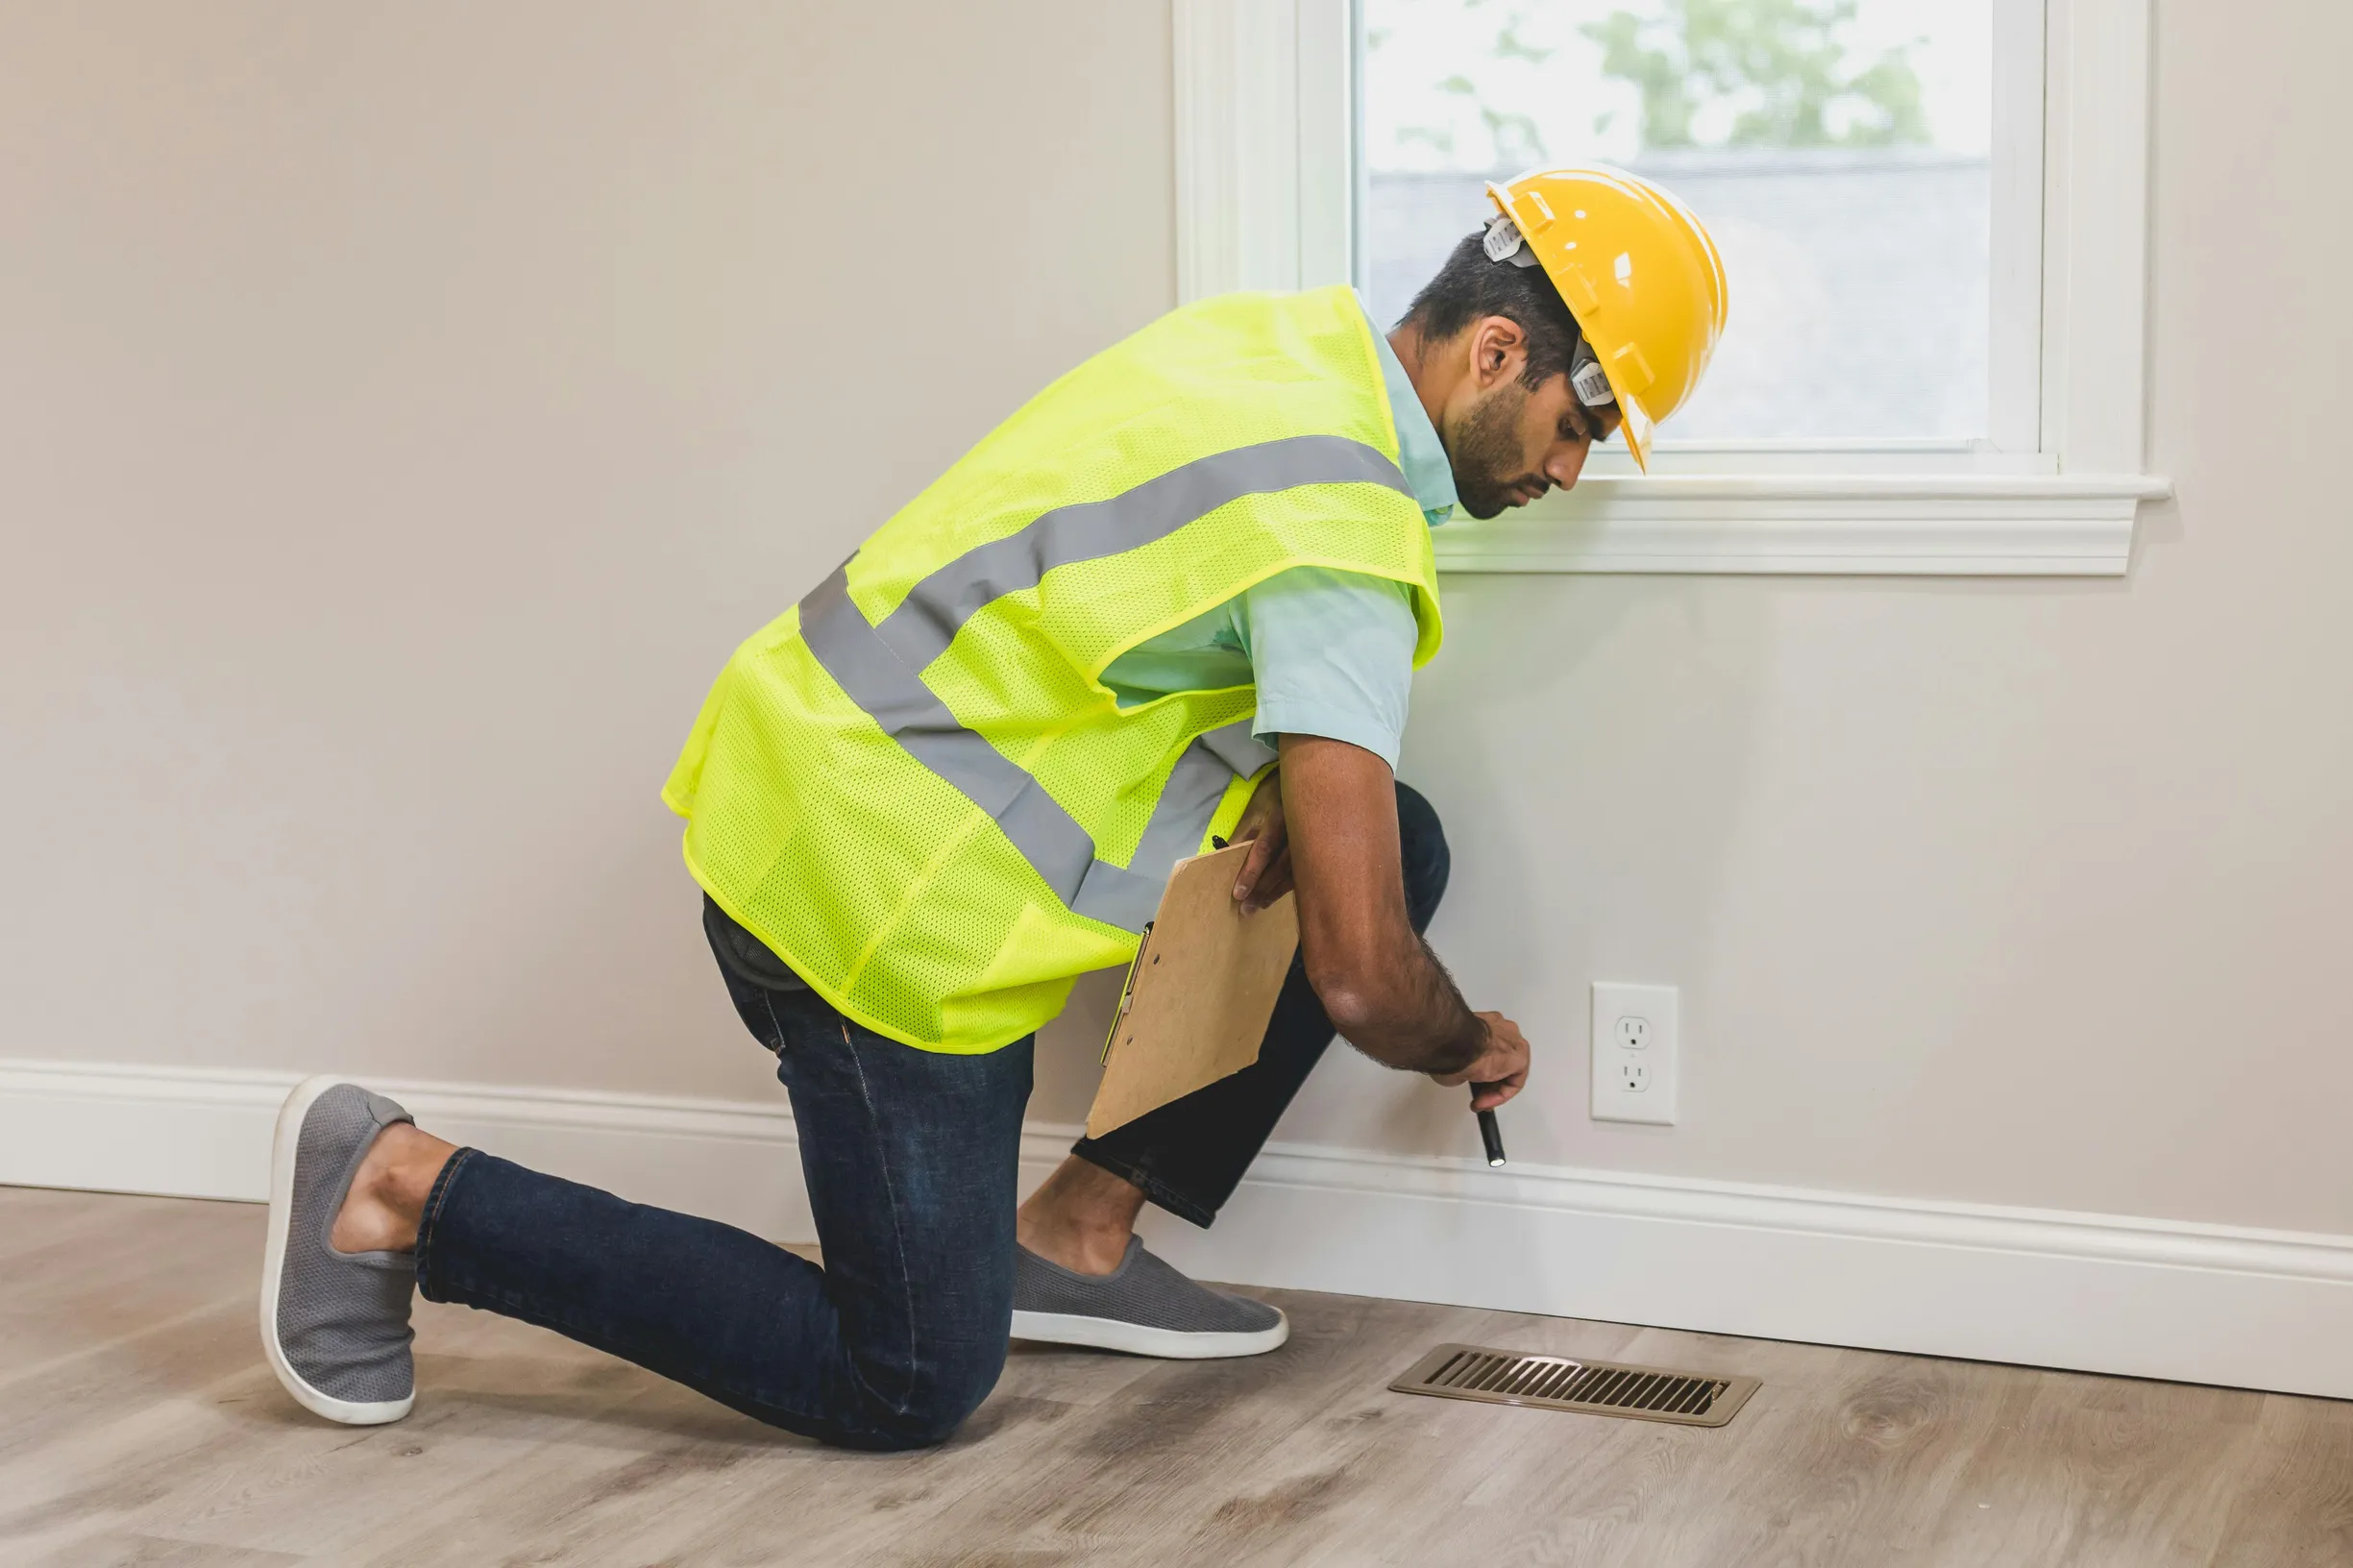
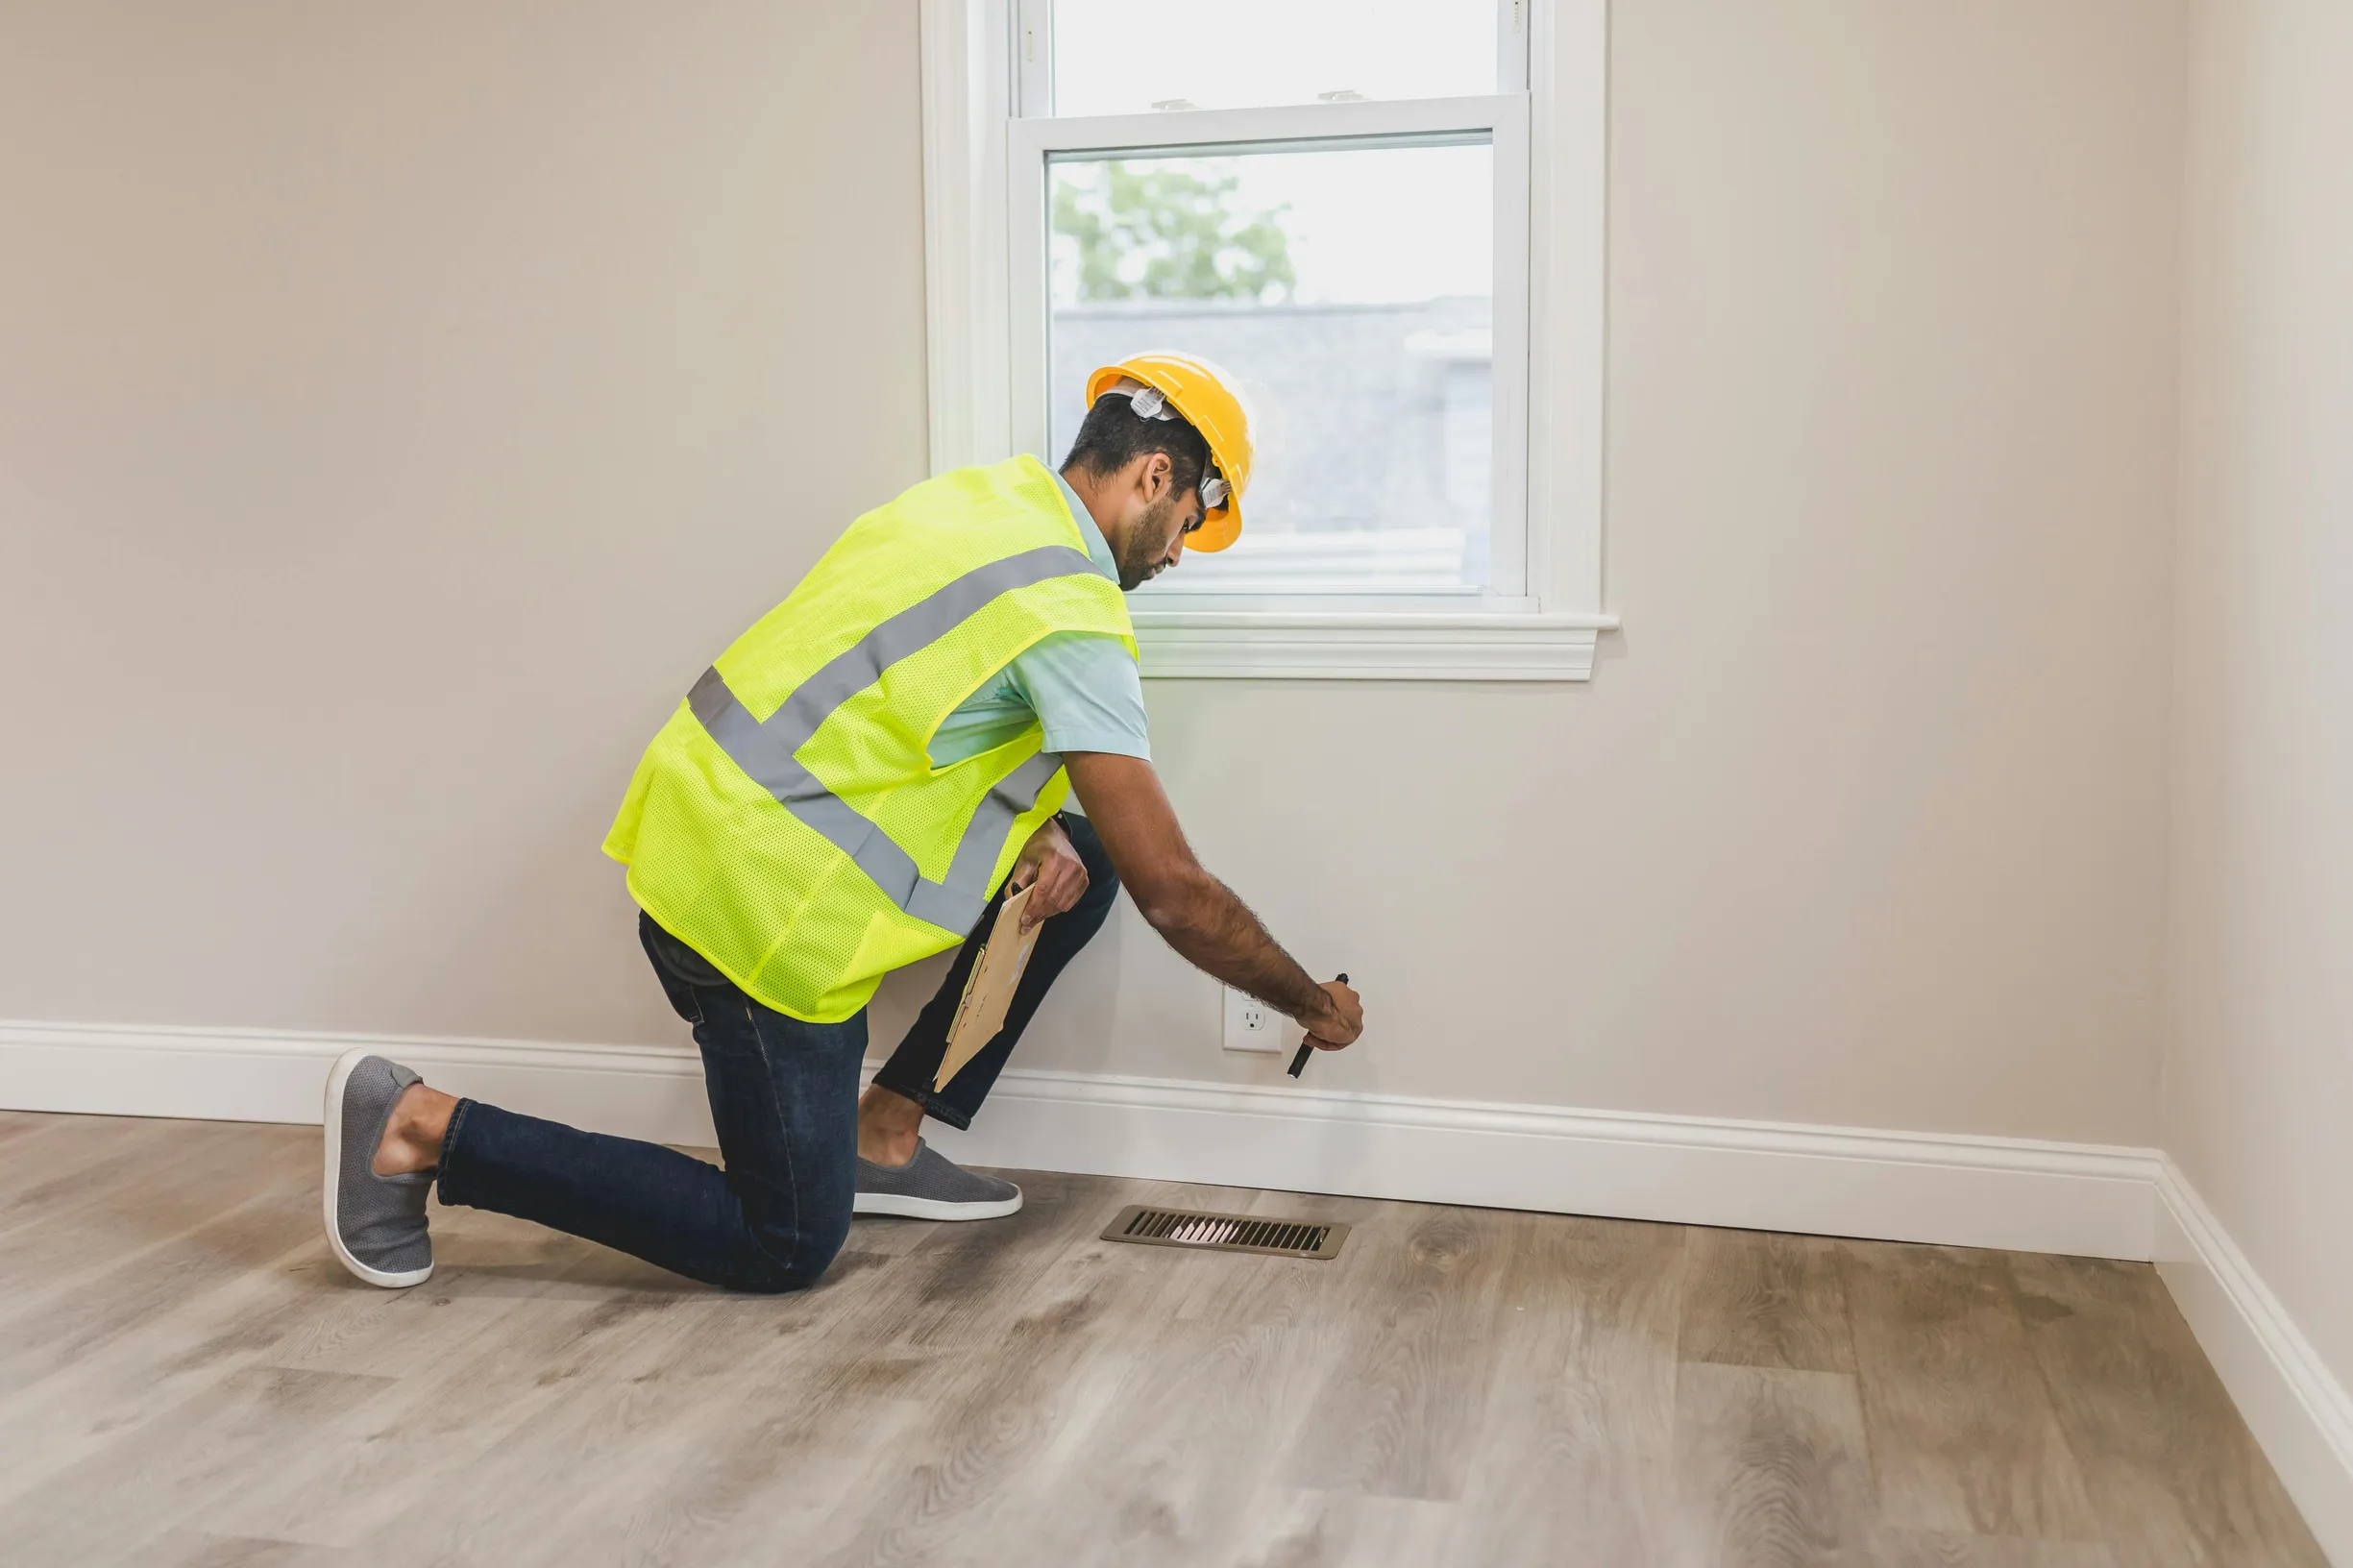
Before you start photographing, do a quick safety sweep and put on the right PPE. Look for live wiring, unstable fittings, gas odour, standing water or dodgy appliances. If a hazard stops you getting close, photograph it from a safe distance with a ruler or tape measure in shot and note the risk in the caption.
Ask for consent in a neutral way, for example saying you need photos for the inspection. Where possible get written consent or record verbal permission so it is linked to the images and avoids later disputes.
Exclude or neutralise personal identifiers by avoiding faces, paperwork, name badges, house numbers and registration plates. If needed, ask the occupant to cover or move those items before you shoot, or crop or blur them afterwards. If you are ever unsure about a risk or privacy issue, step back and seek advice.
A quick, consistent routine helps protect privacy and keeps photographic evidence useful. If you need to take photos while on site, switch off automatic cloud syncing and save the images to a secure, access-controlled folder. Add a short caption noting the location, orientation and what the photo is intended to show. Keep a simple log that links each filename to the consent record and to the assessor who took it. Use neutral captions that describe the condition rather than assign blame, to reduce defensiveness. Offer to share copies with the occupant and clearly explain who will see the photos. Follow data protection guidance so the images remain usable and proportionate as evidence.
3. Capture context to show location and sense of scale
Start with a wide, corner-to-corner photograph that shows the whole room, the entrance and nearby fixtures so an assessor can see the problem in relation to windows, doors, skirting boards and any dodgy appliances. Include something for scale, such as a ruler, a tape measure with visible numbers, an A4 sheet or a 1p or 2p coin, and make sure the measurement markings face the camera so gaps, protrusions or missing parts are obvious. Photograph the same detail from three distances: wide, mid and close-up, keep the camera angle consistent, and either label each file or include a small notepad in the frame with a reference ID so the shots can be linked together.
When you photograph a fault, mark the location in at least one image by holding or fixing a written label that names the room and the component. Show one or two nearby fixed landmarks, for example a dodgy boiler, sink or skirting board, to help pinpoint the defect. Include a human-scale reference such as a gloved hand, fingertip or shoe sole to communicate depth and reachability. Keep the original unedited image files so metadata and context remain intact for later review. Together with scaled measurements and a consistent sequence of shots, these elements let an assessor quantify the problem, verify exactly where it sits and trace the issue through the property.
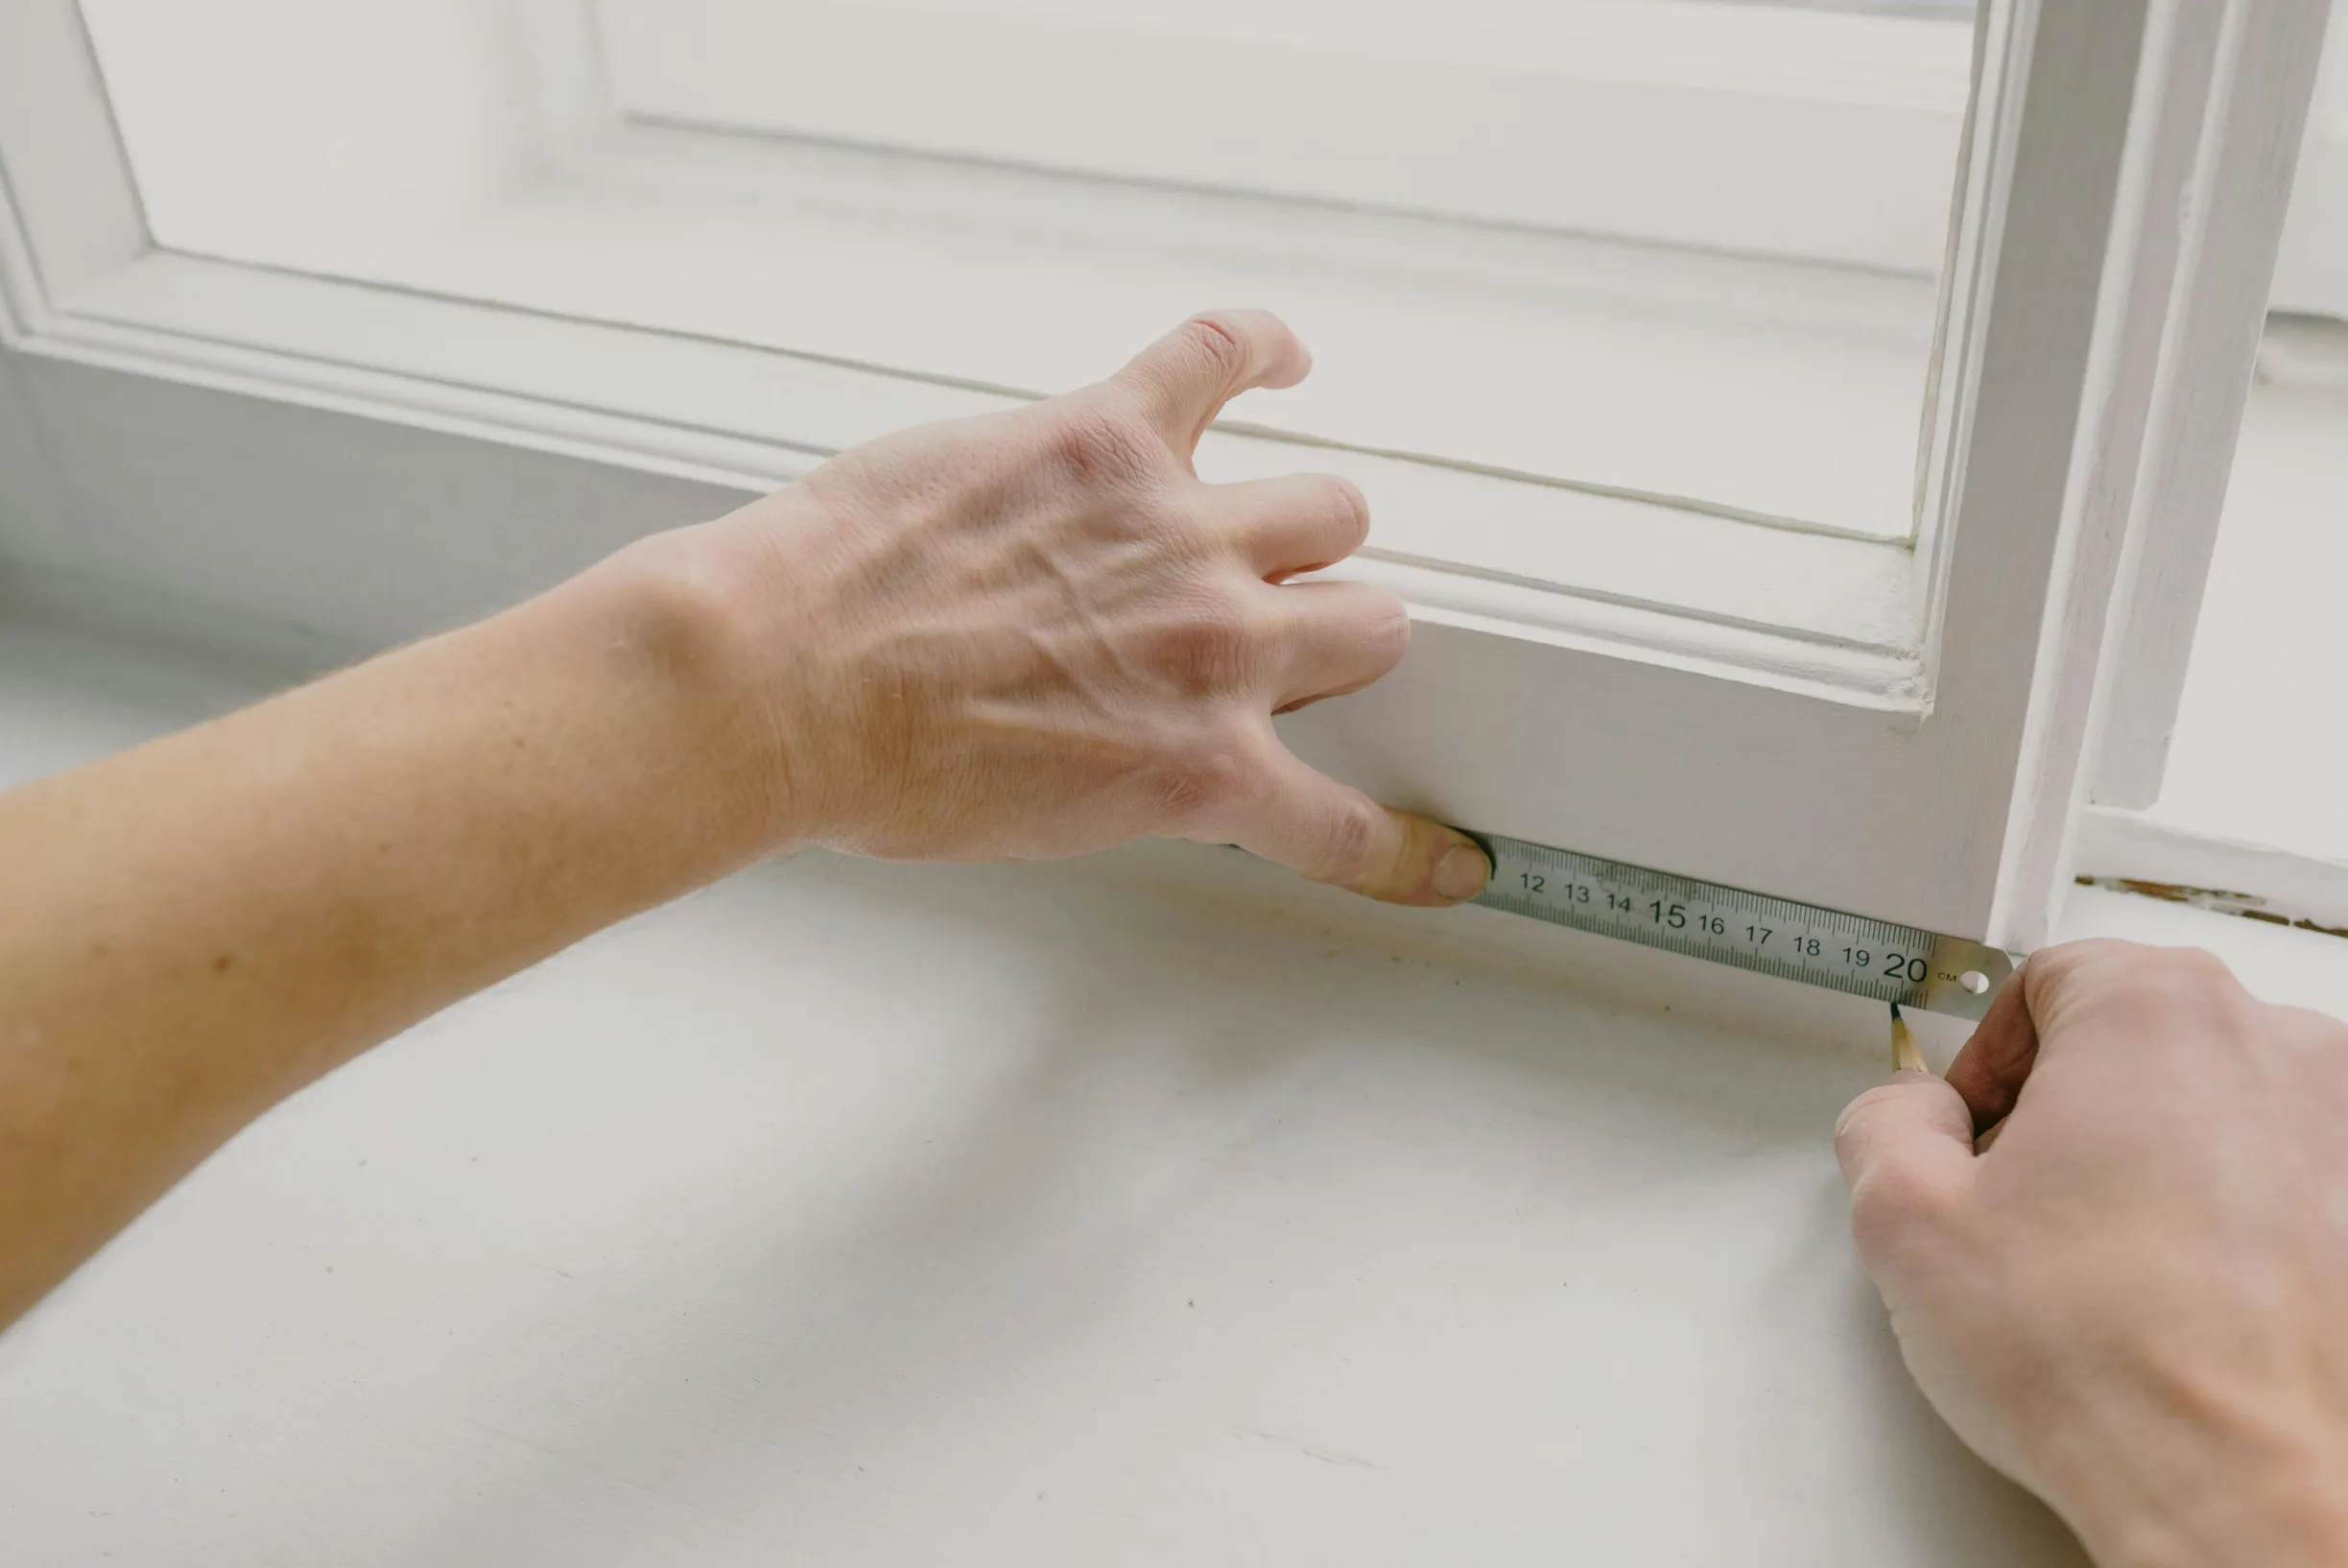
4. Take close-up photos with a ruler or coin to show scale
When you need to show a fault clearly, follow these simple steps. Place a rigid metric ruler or tape measure flat and flush against the defect and hold the camera perpendicular to the surface so the centimetre and millimetre markings are sharp; this removes parallax and makes the size immediately verifiable. Include a neutral reference object for scale and provenance, for example a plain coin, a gloved fingertip or a small handwritten evidence card with the property or job reference and a clear orientation arrow. Position the reference so it does not obscure the fault but gives an intuitive sense of size and handling. Photograph any serial numbers, maker plates or fixture tags in the same frame as the scale. Use angled or diffused lighting to avoid glare so characters stay legible. Finally, label each file with the location, measurement and a short description to help with traceability.
When you photograph a fault, stage a few close-ups at different focal lengths. Start with an extreme macro to show texture, tool marks or fractured edges, then take a slightly wider close-up that includes the surrounding materials and a scale so the fault sits in context. Show depth or a gap with a side profile or a cross-section view alongside the scale, use consistent, shadow-minimising lighting, and include at least one untouched shot with no hands or tools so the item is shown as found. Clear, factual images with a neutral scale reference let an assessor draw their own conclusions rather than relying on opinion, which helps reduce defensiveness.

5. Organise footage, add timestamps and neutral captions for clarity
Keep things simple for an assessor by organising files with a consistent naming and folder structure. Use a short template such as PropertyID_Room_Item_View_Seq, and save overview, mid-distance and close-up shots in separate folders. Where permitted, preserve original files with embedded EXIF and location data, and export any annotated or overlaid versions as separate files, noting in the log that they are derived copies. Add the assessor’s initials to edited copies when relevant so it is clear who is responsible for changes.
Keep captions simple and factual so assessors can cross-check images without guessing. Use this short template for every caption: Room, Item, View, Orientation, Measurement, Photographer, Cross-reference. Stick to neutral language that describes what the photo shows, not why it was taken or whether something is good or bad.
Always include three reference shots:
– A wide shot for orientation.
– A medium shot for context.
– A close-up with a ruler or tape measure in frame to show scale and whether a defect is isolated.
Tie each shot directly to its caption. For example: Kitchen; worktop joint; close-up; left of sink; 12 mm gap visible; photographer JS; see Photo 003 for context.
Log chain of custody, backups and every edit or enhancement. Record who captured the files, where the originals are stored, and note any contrast adjustments or crops in the caption. Keep the unedited originals available for independent review so others can verify the images and any changes made.
Whether it’s a dodgy appliance or a cracked tile, clear, well-framed photos turn vague faults into verifiable evidence an assessor can check against the surroundings and any measurement marks. Use a simple sequence: an orientation shot to show where you are, a mid-distance image for context and a close-up for detail. Make sure a ruler or tape measure is visible, preserve the file details and timestamps, and add a neutral caption that records location, size and condition without assigning blame.
Stick to five practical photo types: neutral frame shots, safety and consent checks, contextual wide views, scaled close-ups and organised, timestamped files. These straightforward framing, consent, scaling and filing habits create a clear, reproducible record. Adopt them so assessors can verify the facts, residents feel respected and any disputes are decided on the strength of the images.