
When a dodgy appliance turns up, a few well-taken photos can mean the difference between a quick repair and a long fight with customer services. This guide shows what to photograph and log at each stage so you build clear, chronological evidence that supports warranty or repair claims.
If you’re dealing with a dodgy appliance, take clear photos of any visible damage, the rating plate and serial number, and keep receipts and the original packaging. Record a video showing intermittent faults as they occur. Follow these ten practical steps to build a clearly organised, searchable evidence pack that makes claims straightforward for repair centres, ombudsmen or consumer advice services.

1. Check your warranty and know your consumer rights
If you need to make a claim, it’s worth photographing the warranty, proof of purchase and any registration confirmation. Take both full-page and close-up shots so model and serial numbers and retailer details are easy to read and the paperwork clearly matches the item. Photograph the terms and any exclusions, noting clauses that limit cover such as accidental damage, unauthorised repairs or excluded parts, and save the page title or URL if the terms were online. Also take photos of how the product is installed and used, including connection points, serial number locations and the surrounding environment, to show you followed the instructions and to help counter any suggestion of misuse.
When reporting a fault, gather clear photos and short video clips showing the problem in action, plus close-ups of any physical damage and any visible error codes. Add brief diagnostic notes or service reports and give each file a descriptive name so your claim makes sense at a glance. Keep the original files and preserve their metadata to help prove authenticity.
Save copies of support emails, chat transcripts and warranty cards, and jot down adviser names, complaint reference numbers and any escalation steps you were given. This level of detail is especially useful for dodgy appliances or complicated installations.
If you contacted a consumer advice service or used an alternative dispute resolution scheme, include evidence of that too so there is a clear trail showing all attempts to resolve the issue.

2. Take clear photos of obvious faults and visible damage
If you need to document a dodgy appliance, start with a tight close-up of the fault, then step back for a wider shot that shows the whole appliance and its surroundings. Place a ruler or a common coin next to the damaged area to show scale. Photograph the fault from at least three angles, including one with side lighting to bring out hairline cracks or warping. Make sure one image is sharply focused on the fault so the details are clear for a repair or a claim.
When you report dodgy appliances to a service or warranty provider, clear photos make a real difference. Start by photographing the surrounding surfaces and systems so you can show how the problem started or spread — for example, scorch marks on the worktop, water pooling beneath the unit, or blistering paint on nearby walls. If parts have come away, lay any loose, bent or broken components beside the appliance and take a photo with a simple handwritten tag or sticky note that names the part. Be sure to capture serial and model plates, labels, error codes and any display messages so the issue ties back to the specific unit. Finally, photograph control settings and indicator lights as they appear to link the fault to the appliance’s recent behaviour. I know it feels fiddly, but these clear images really help when you make a claim or book a repair.

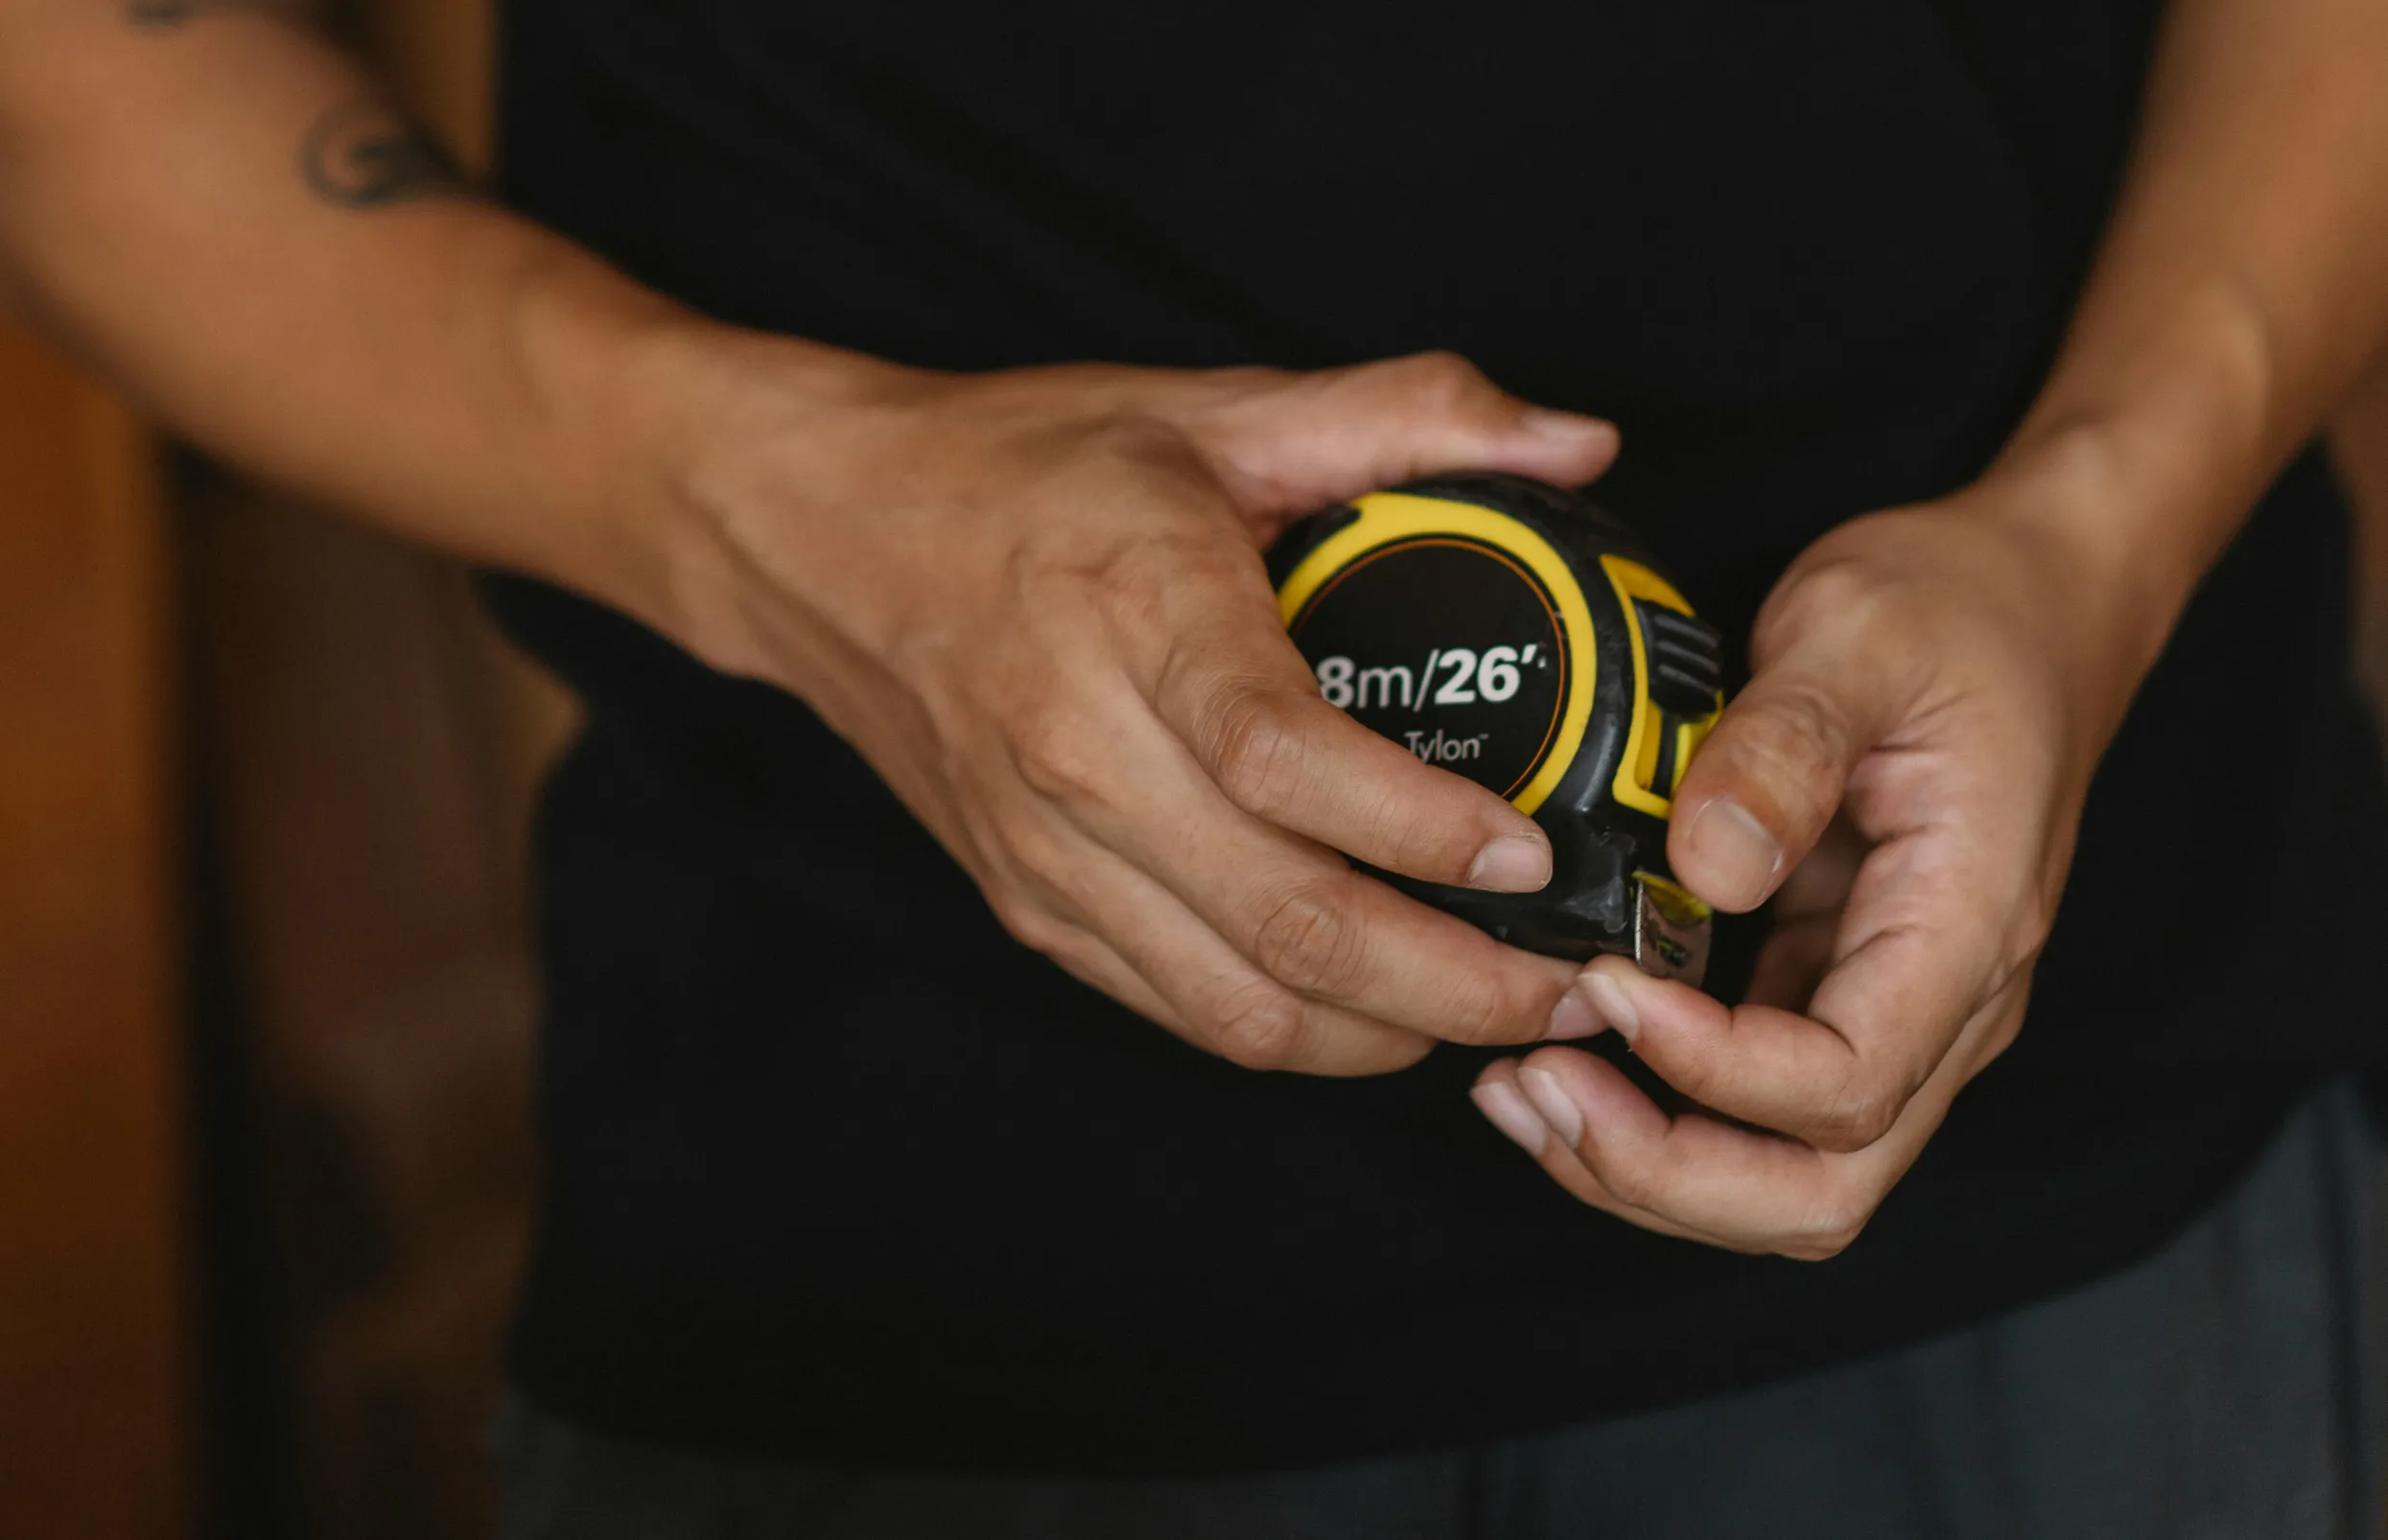
3. Take photos of the model, serial number and rating plate
If you’re dealing with a dodgy appliance, take two shots of the rating plate: a tight, in-focus close-up that clearly shows the model number, serial number and any certification marks, and a wider shot that shows exactly where the plate sits on the appliance. Hold the camera square on to the plate and angle the light to avoid glare so the characters stay legible. Capture any barcodes, QR codes or stamped numbers, and where possible photograph those same numbers on the original packaging, user manual and receipt together in one shot to link the item to proof of purchase and supporting paperwork. Do not edit these paperwork images so the original information and metadata are preserved.
If you need to document a dodgy appliance, a few careful photos and a simple log will save time and headaches later. Try this straightforward approach:
1. Search for label locations beyond the obvious place. Check inside doors, behind service panels, on the rear and under the unit so you do not miss any identity plates.
2. Take close-ups of fixings and the surrounding material to record any signs of removal, repainting or tampering. Look for stripped screw heads, fresh sealant or mismatched fixings and photograph them clearly.
3. Give at least one image installation context and a sense of scale by placing a ruler or a coin beside the plate. Also photograph nearby cabling, isolator switches, vents and mounting fixings so it is clear whether the installation or environment could be affecting the fault.
4. Preserve original image files. Avoid heavy compression or cropping and keep EXIF data and the full visual context so assessors can check authenticity.
5. Pair each photo with a plain-text log or spreadsheet. Record the model, serial, label location and the photo filename to make retrieval and cross-checking straightforward.
Doing this carefully means you will have reliable evidence if you need someone else to assess the fault, and it makes the whole process less faff.
4. Snap clear photos of receipts and delivery notes for proof
If you need to make a warranty claim or sort a refund for dodgy appliances, a few clear photos will save time and hassle. Capture the whole receipt or delivery note on a contrasting background so every edge and any retailer stamps are visible. Make the document look untampered and let common photocopying artefacts show.
Take close-up shots of key fields such as the item description, serial or model number, SKU, and order or tracking numbers so the item can be matched to purchase records even when the main description is generic.
When photographing proof of payment, include the payment method and the last four digits of the card, and redact or blur the rest to balance traceability with privacy. Keep images well lit and in focus so handlers do not have to ask for repeats.
If a delivery looks dodgy or damaged, photograph the parcel and the delivery label before you open it. Make sure the tracking barcode, courier name and any crushed corners or visible damage are clear in the shots, as they will be invaluable if you need to dispute delivery faults for dodgy appliances or other goods. Save email confirmations, online receipts and screenshots as searchable PDFs, and back them up to a cloud service and a local copy so you have a spare. Use a consistent file-naming scheme that includes the item name and document type to speed up any future claim review. These simple steps build cross-referenced evidence that warranty handlers and couriers can use to verify purchase, delivery and payment details.
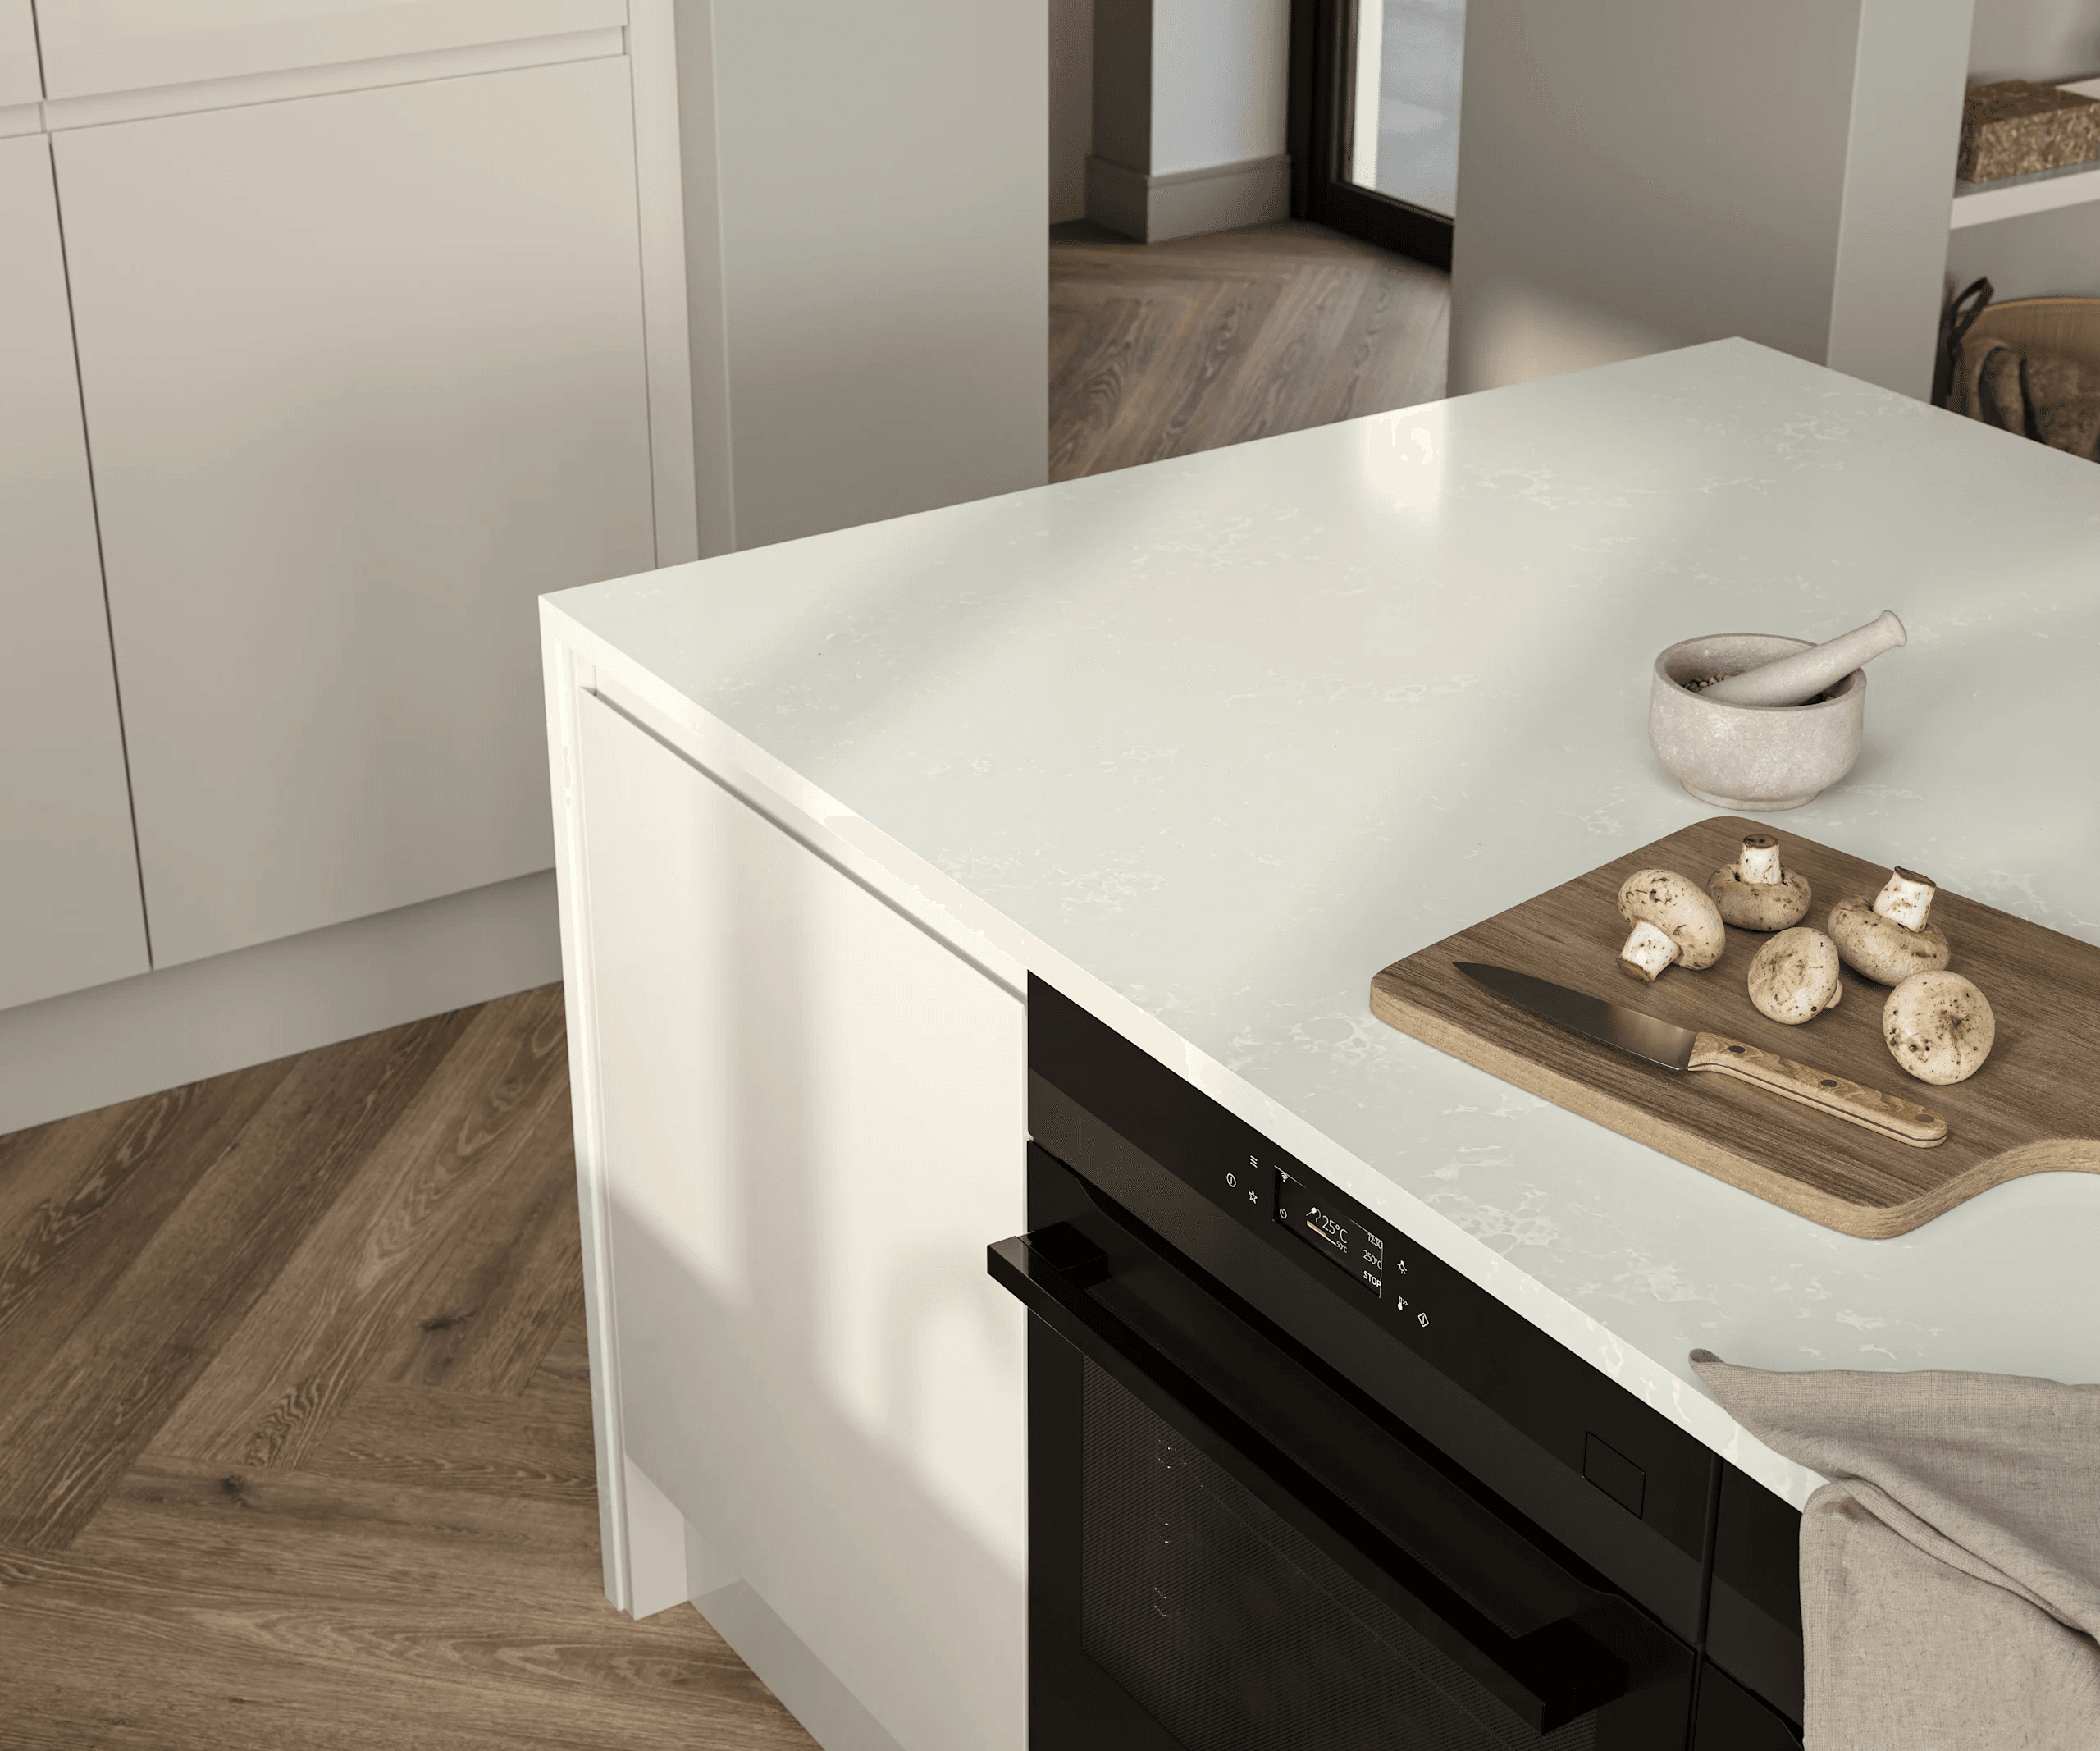
5. Document the installation, positioning and surrounding area thoroughly
If you need to document an appliance, take a clear set of photos so anyone can understand the problem without guessing. Try this simple checklist:
– Start with wide shots of the whole room from several angles to show the appliance in context. Make sure you capture clearances to walls, windows, doors, sockets and neighbouring units. Include a tape measure or ruler in at least one shot to show distances and orientation.
– Take close-ups of mounting points, brackets, screws, wall plugs and seals where the appliance meets the structure. These images help spot cracked tiles, loose fixings or other signs of poor workmanship that could point to dodgy appliances.
– Photograph rating plates and serial numbers, plus any installer paperwork. If you have the installer’s business card or ID, include photos of those too so the installation can be traced without relying on memory.
It’s worth taking your time when you’re doing this so you don’t have to chase missing details later.
If you need to document services for a repair or an insurance claim, aim for a simple, traceable record that a repairer can easily follow. Take both wide shots to show where things sit and close-ups to capture details of plumbing, gas lines, condensate pipes, flues, vents and electrical entry points. Make sure clamps, joints and isolation valves are clearly visible. Photograph access panels to show whether they are removable and how services enter the building so a repairer can assess access and routing. Record nearby site conditions that might affect performance or a claim, for example heat sources, signs of water ingress, restricted access, uneven floors or blocked ventilation from dodgy appliances. Add brief notes or clear file names to flag each issue and link images to the relevant paperwork for a complete, traceable record. If you are doing this yourself, a few well-labelled photos will save a lot of back-and-forth later.
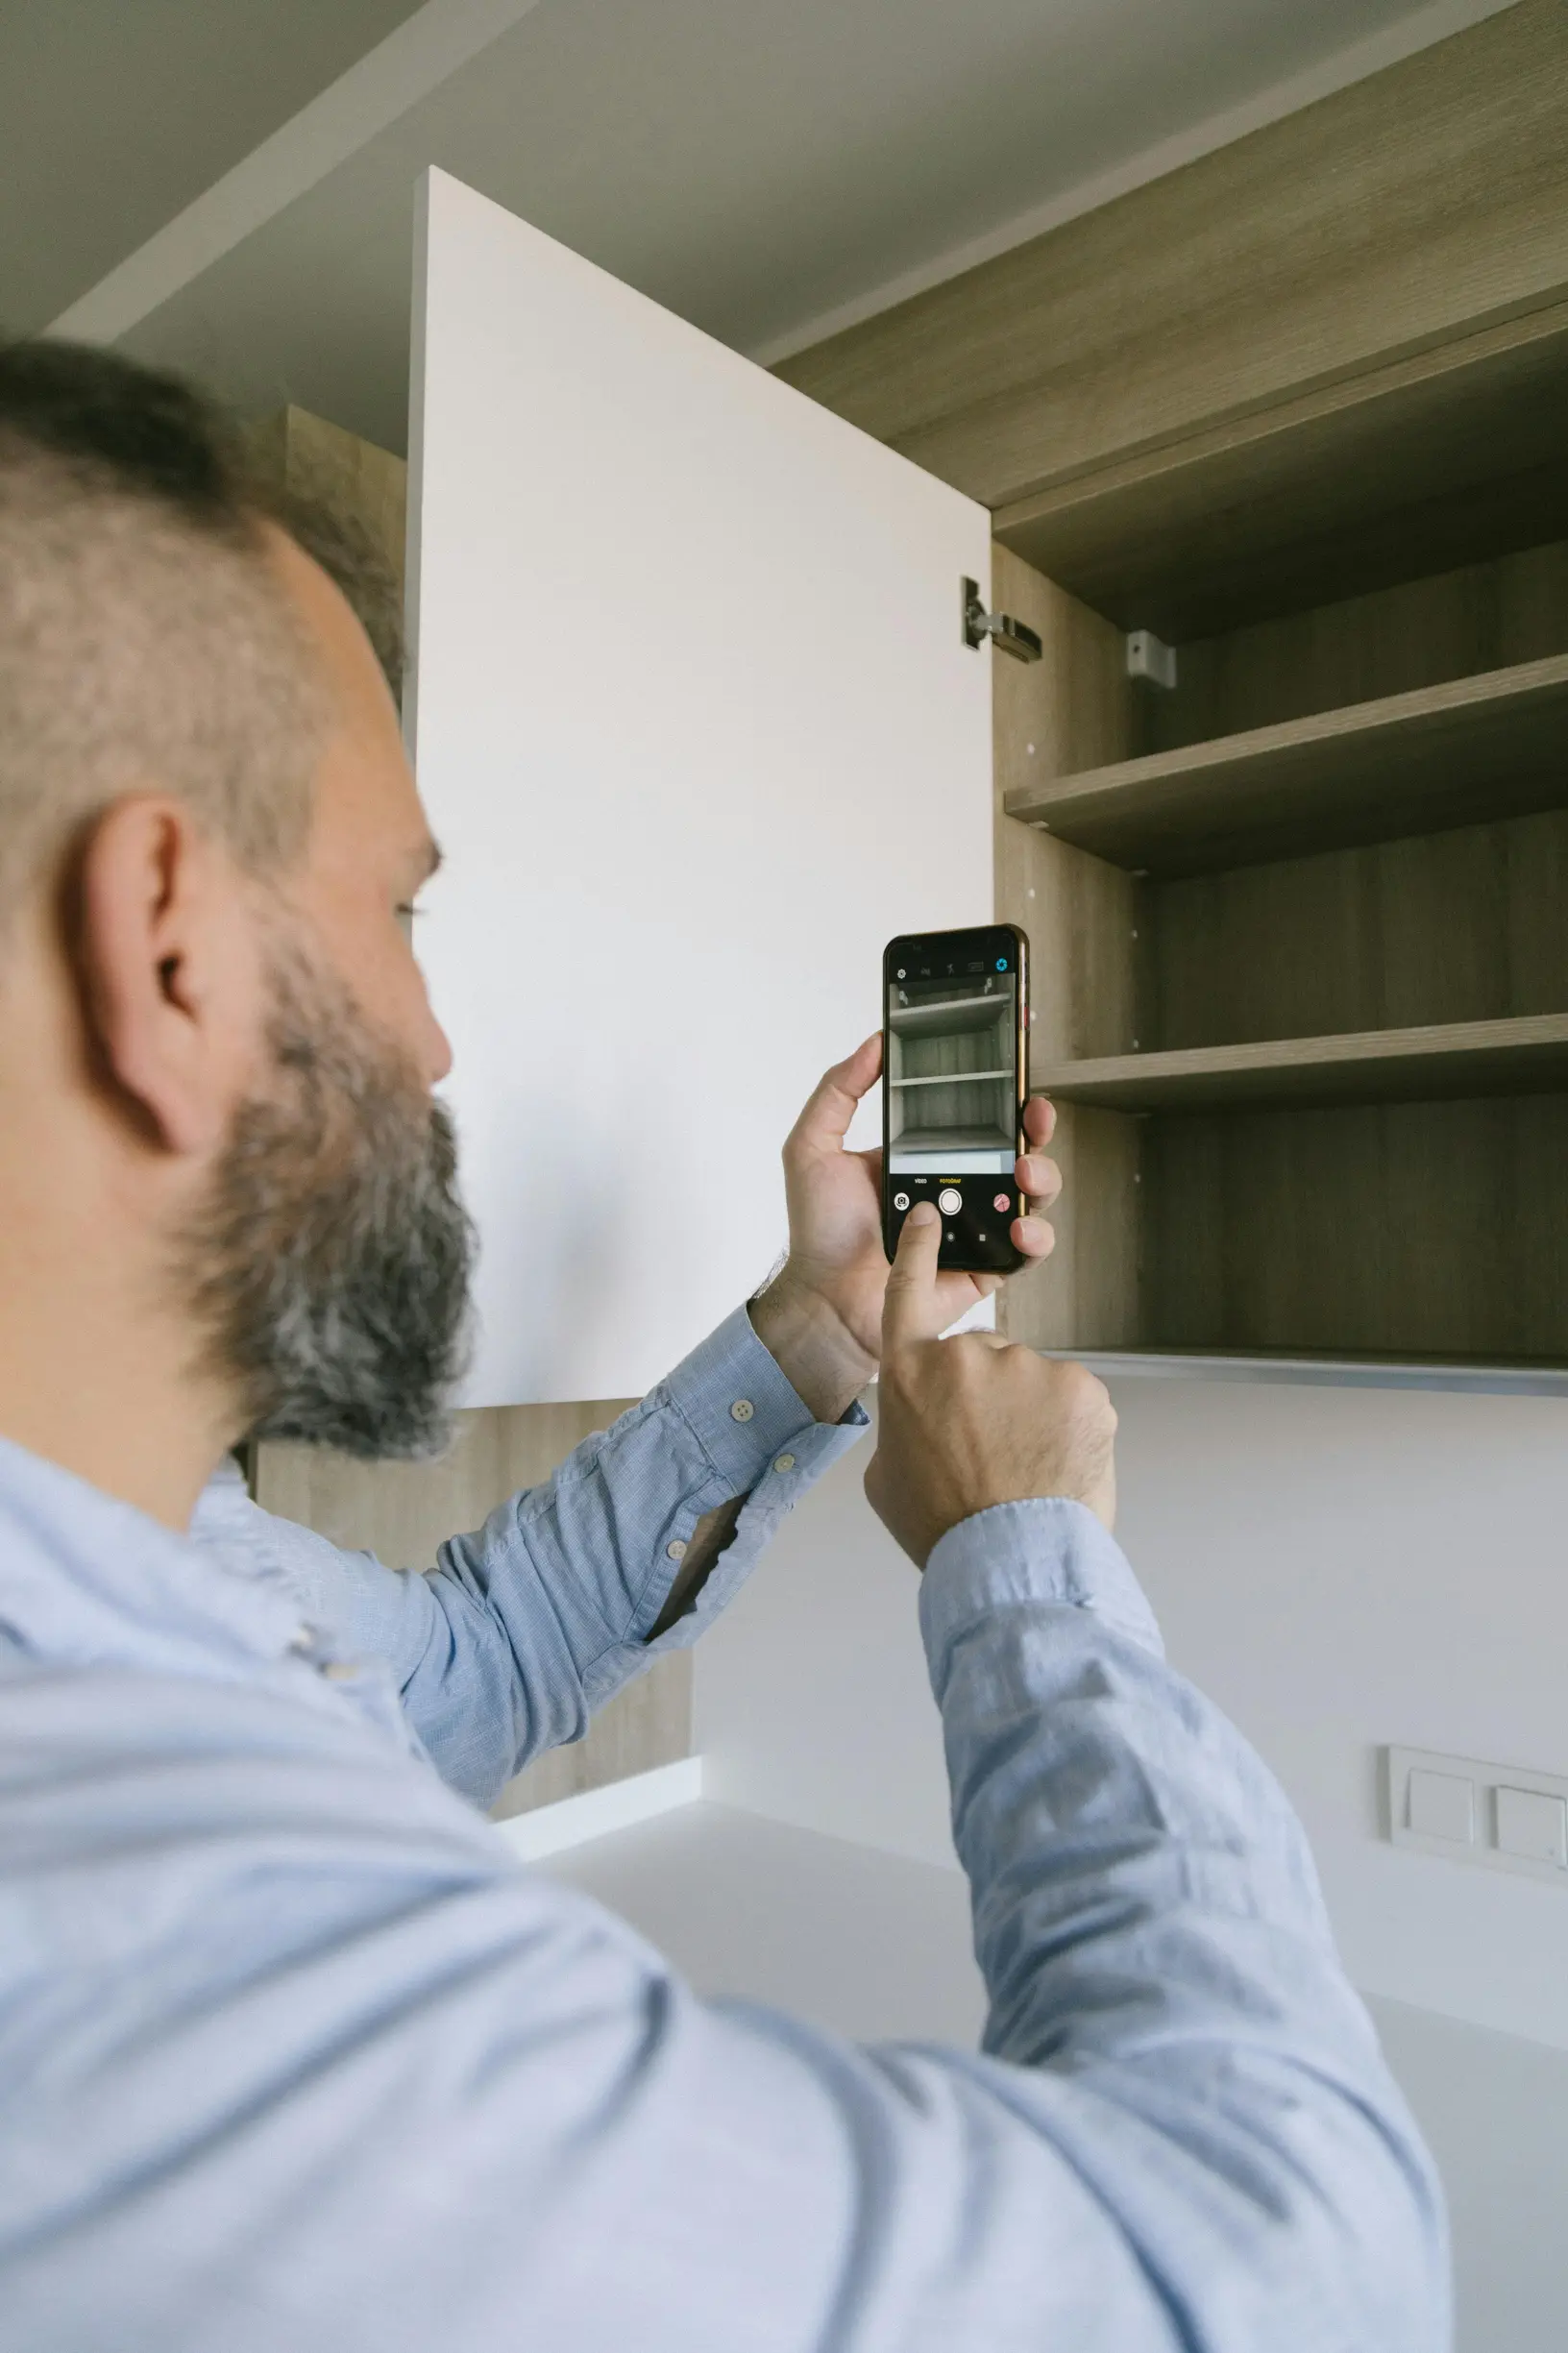
6. Photograph the original packaging and any included accessories
If your delivery looks damaged, clear photos will make any complaint much easier to sort. Try this simple approach:
– Take a photo of the outer parcel and the courier labels, making sure tracking numbers, sender details and any dents or tears are readable. This links the delivery to the purchase and shows transit damage.
– Lay out every included accessory on a plain background. Take a top-down shot with a ruler or an everyday item such as a mug or a 50p coin for scale, and count the items in the photo so you can prove if anything is missing.
– Photograph protective packaging too, like foam inserts, blister trays and sealed bags, showing where they sat and what condition they were in to demonstrate whether the item was packed properly or mishandled in transit.
When you unbox a new appliance, take close-up photos of the serial numbers, model codes and compliance markings on the product, any accessories and the packaging to prove warranty eligibility. Photograph any mismatched or poorly printed labels too, as these can be signs of dodgy appliances, and make sure the characters are clear and legible for verification. Also photograph the paperwork inside the box — the warranty card, registration stickers and the manual cover or first page — so you have a record of warranty terms and retailer details. Keep your photos organised and add short notes saying where each image was taken so you can present a coherent record if you need to claim a repair or a replacement.
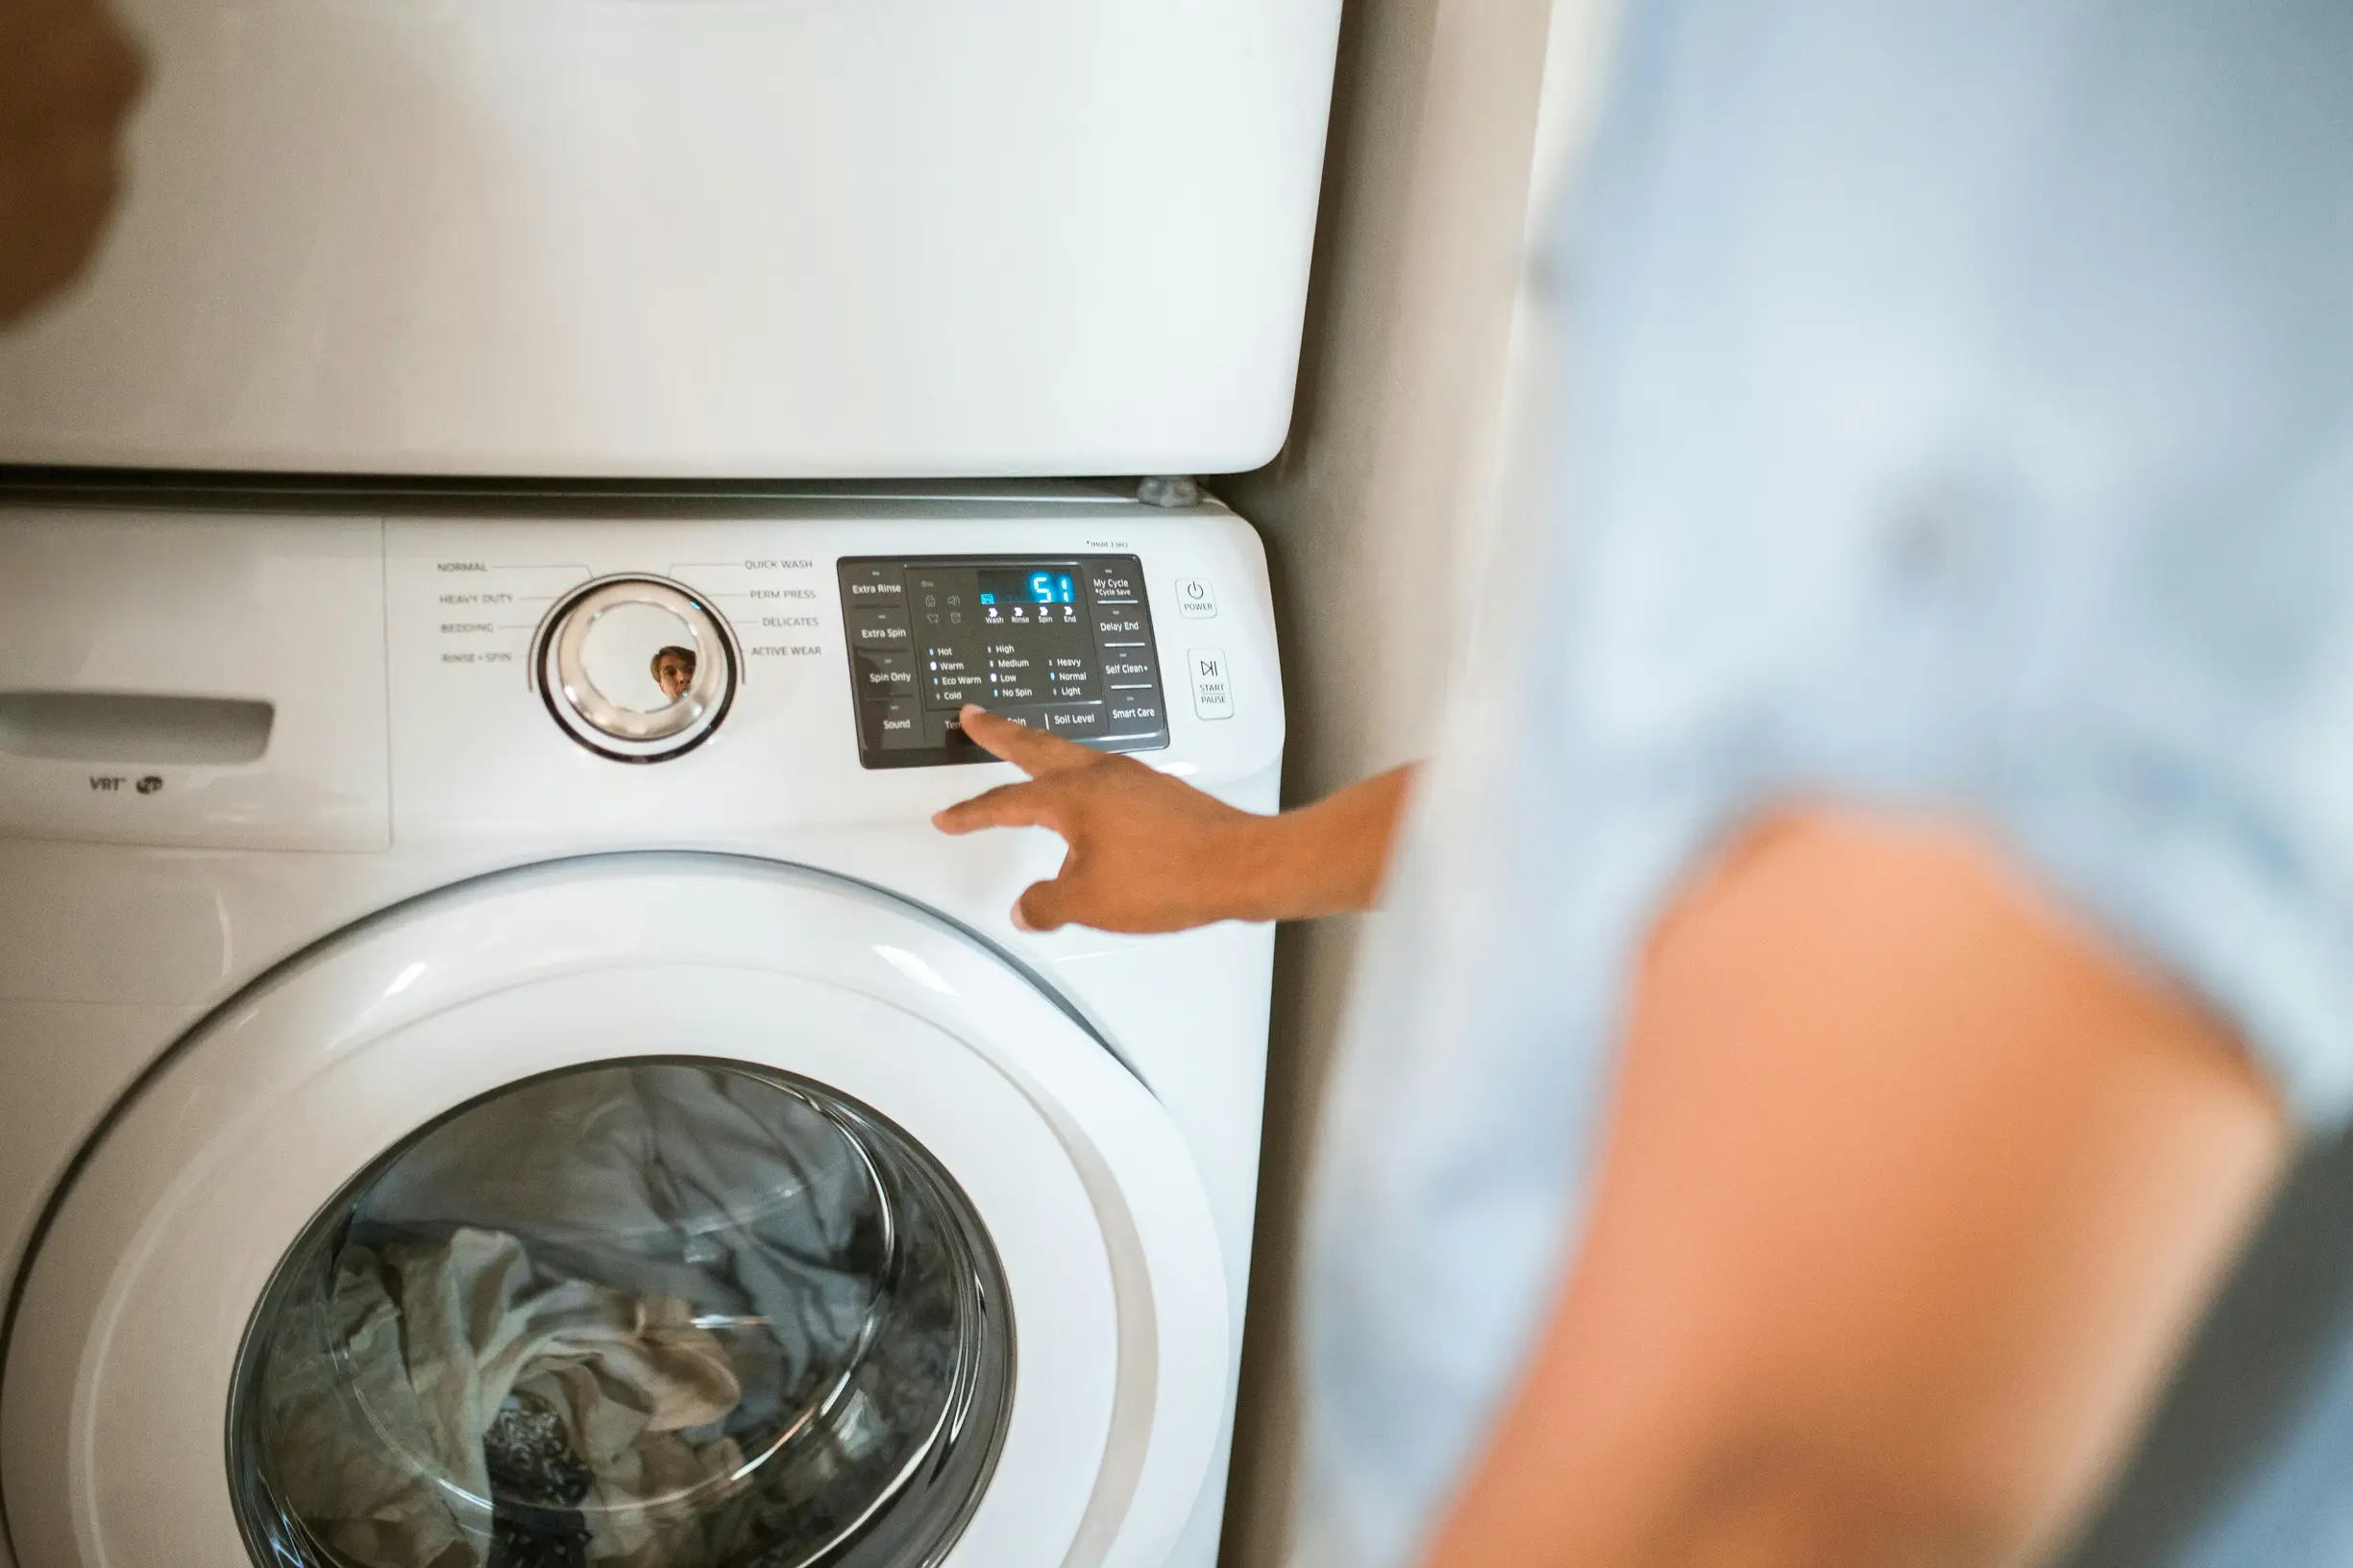
7. Record a time-stamped video of intermittent faults
If you need to show a dodgy appliance to a repairer or for a claim, record one uninterrupted, time-stamped video that captures the fault from just before it starts until the appliance returns to normal behaviour. Use an on-camera timestamp overlay or a timestamping app, and copy the original file to separate storage straight away so the metadata is preserved.
Start with a wide shot that shows the room, the appliance and its power source so the context is clear. Then move in for close-ups of the control panel, indicator lights and the serial or model plate so a technician can identify the unit and spot visible damage. Keep the camera steady, avoid edits, and, if possible, let the recording run a little longer after the issue stops to show normal behaviour again.
Finally, include an on-camera playback or open the file properties on-screen to confirm the timestamps and show the footage has not been edited. Label and back up the saved file so it is easy to find when you need it.
If you need to document a dodgy appliance for a repair or warranty claim, clear, simple evidence makes life easier. As you record, narrate what you are doing: say what you expect to happen, what actually happens, and call out any unusual noises or smells so whoever reviews it gets the full picture. If you consider trying to reproduce the fault, only do so when it can be done safely. Do not attempt to recreate problems if you see smoke, sparks, a burning smell, exposed wiring, or water near electrics; when in doubt, stop and call a qualified engineer. When it is safe to proceed, repeat the fault a few times while varying likely triggers such as different loads or movement, and note which attempts produced the issue so patterns are obvious on review. Keep a simple provenance log linking each filename to the device, its location, the actions performed and the number of attempts, and preserve the original files as evidence. Tie the log to the raw files with a screenshot of the file properties or by showing the filename on camera playback to demonstrate authenticity and maintain a clear chain of custody for repair or warranty claims.

8. Keep a log of every troubleshooting step, test and attempted fix
When you report a fault, give a clear, step-by-step record so someone else can reproduce what you did. Think of it as telling the whole story — simple, numbered notes and photos make life much easier for the person helping you.
1. Number each troubleshooting step. For every step say what you did, what you expected to happen, and what actually happened.
2. Capture error codes and displays. Take close-up photos or screenshots of any error codes, indicator lights or instrument readouts so the exact message can be read.
3. Photograph removed parts. If you take a part out, photograph it in place, in a bag, and beside the replacement. Make sure images are clear and labelled so their position is obvious.
4. Record part details. Note part numbers, serial numbers and any visible wear or damage to show whether a component failed or was fitted incorrectly.
5. Show wiring and damage. Take clear images of wiring, connectors and any corrosion or shear marks that point to mechanical stress on dodgy appliances.
6. Keep filenames and short captions. Name each file and add a brief caption that ties the image to the numbered step so the sequence is easy to follow.
7. Add a short tools and safety note. List the tools you used and any safety precautions you took to help others reproduce the work safely.
Clear notes and labelled photos save time and stop guesswork — they help whoever reviews the fault to understand exactly what happened.
When you’re dealing with a dodgy appliance, good records make life easier. It might feel tedious, but keeping clear evidence will help if you need to claim under warranty or chase a repair. Capture the test data and the exact settings you used for tools and diagnostics. For example, note multimeter ranges and readings, save router status pages or command output, and record the appliance programme or cycle used. Save a copy or screenshot of every output so you can compare results directly.
Save and summarise every contact with support or repair services. Copy chat transcripts, screenshot reference numbers, note the agent’s name and the advice given, and attach any emails or paperwork so a claims handler can follow the timeline and responsibility.
After each fix attempt, log whether the fault returned and attach before and after photos or measurements. Note any relevant environmental factors, such as the mains connection or installation issues. If you can, have a witness confirm the documented result to strengthen a warranty or repair claim.

9. Keep a dated, searchable evidence log and back it up
If you spot a dodgy appliance, get into the habit of taking timestamped photos and videos and linking each file to a short note that names the appliance, records its serial number, says where it is in the property and explains the fault. Take a wide shot for context, a close-up for technical detail and include a familiar item such as a coin or house key to show scale so viewers can judge size and severity. Keep the original, unedited files safe and add checksums or file hashes so you can detect any corruption during storage.
Keep a simple, consistent filing system so you can find what you need fast. Use a clear file-naming convention and an organised folder hierarchy that includes device type, serial number, a fault keyword and a version marker. Maintain a searchable master index that links straight to each item.
Scan receipts, warranty papers, installation notes and service reports, and run OCR to pull out and tag purchase and serial fields so those tags show up in searches. Keep copies of everything, preserving the originals where possible. Build redundancy by keeping a local copy plus an offsite backup, and export read-only archives for claims. Verify file integrity with checksums before handing anything over.
Track an audit trail for every entry: who captured the evidence, who uploaded or edited it, and why changes were made. Produce exportable, timestamped reports that include captions, metadata and a clear chronology to help repair technicians or warranty assessors deal with dodgy appliances or other faults more quickly.
It might feel like a faff at first, but a tidy system saves time and stress when you need to make a claim or arrange a repair.

10. Put together a claim-ready pack of documents you will need
Take clear photos that show identifying details and the fault. Get close-up shots of the serial number, model plate or rating label, and keep a photo of the purchase receipt or order reference so anyone assessing the issue can link it to the exact unit. Capture the fault from several angles: wide shots to show the item in its setting, close-ups of the damage or malfunction, and images that show scale and nearby fittings such as plug sockets and pipework to help indicate a likely cause. Keep a short, chronological timeline of the fault: when it started, what troubleshooting you tried, who you rang and any engineer visits. Attach the relevant photo, screenshot or email to each timeline entry so the sequence is verifiable. Together these elements show where the dodgy appliance sits, what failed and the steps you took, which cuts down on ambiguity for the assessor.
If a dodgy appliance or service has left you chasing a repair or refund, getting your paperwork in order will save time and stress. Scan receipts, warranty and installation certificates, service reports and message threads into searchable PDFs, and keep the originals or verified scans. Use a consistent file-naming convention so everything is easy to find. Create a one-page index and a short summary of the remedy you want, then assemble the files in numbered order so a reviewer can move through the pack quickly. Back up copies in at least two different places, export a single ZIP or one combined PDF for easy upload, and keep one copy ready to share with consumer advice services such as Citizens Advice or Trading Standards.
If you’re dealing with a dodgy appliance, put together a clear, searchable evidence pack of photos, time-stamped video, receipts and unedited files. Label items clearly, preserve metadata, use consistent filenames and link images to a simple timeline. That creates a verifiable record assessors and support teams can trust, cuts down the back-and-forth and makes it easier to escalate to consumer advice services.
Chasing a repair? Use these seven headings as your checklist: confirm your warranty, note visible damage and serial numbers, photograph receipts and packaging, record installation details, capture intermittent faults, log any troubleshooting you’ve tried, and back everything up. Having that concise pack ready makes it much easier to present clear, traceable evidence that speeds up repairs, supports credible escalation and protects your consumer rights.